2. Create resolutions, post-functions, and priorities
The change management workflow, and the whole process you’ll be using, needs some additional configuration items, such as new resolutions, post-functions, and priorities.
Create and associate resolutions
For more info about resolutions, see Defining resolution field values.
The result of the change should be reflected on the request’s resolution when it transitions to Closed. To make it happen, create the resolutions Changed failed and Change successful and make them available when resolving a change.
To create the resolutions:
Go to Administration > Issues > Resolutions.
Create the following resolutions:
Change successful
Changed failed
To make the resolution available when resolving a change:
Go to Administration > Issues > Workflows, and open your change management workflow in the Text mode.
Select one of the Close transitions, and click Edit.
In the Transition View field, select your Resolve Issue Screen (you can use the one with this name in a default Jira instance), and save. The screen will be added to the transition and users will be able to select a resolution when closing a change through this transition.

Repeat these steps for the remaining Close transitions. There are four in total.
Remember to publish the workflow to apply these changes.
Add post-functions to clear resolutions when the change is reopened
For more info about post functions, see Advanced workflow configuration.
It might happen that you’ll need to reopen a change or just move it back on the workflow. These post-functions will make sure that the resolution is cleared when that happens, just to avoid confusing your users.
To add post-functions to your workflow transitions:
Edit your workflow in the Text mode.
Select one of the transitions going out of the status Closed. Here are all of them for your reference:
Back to post-implementation review
Back to Completed
Back to Canceled
Back to Declined
Select Post-functions, and click Add post function. Use the following details when adding one:
Name: Update Issue Field
Issue field: Resolution
Field value: None
Repeat the steps for the remaining transitions.
Remember to publish the workflow to apply these changes.
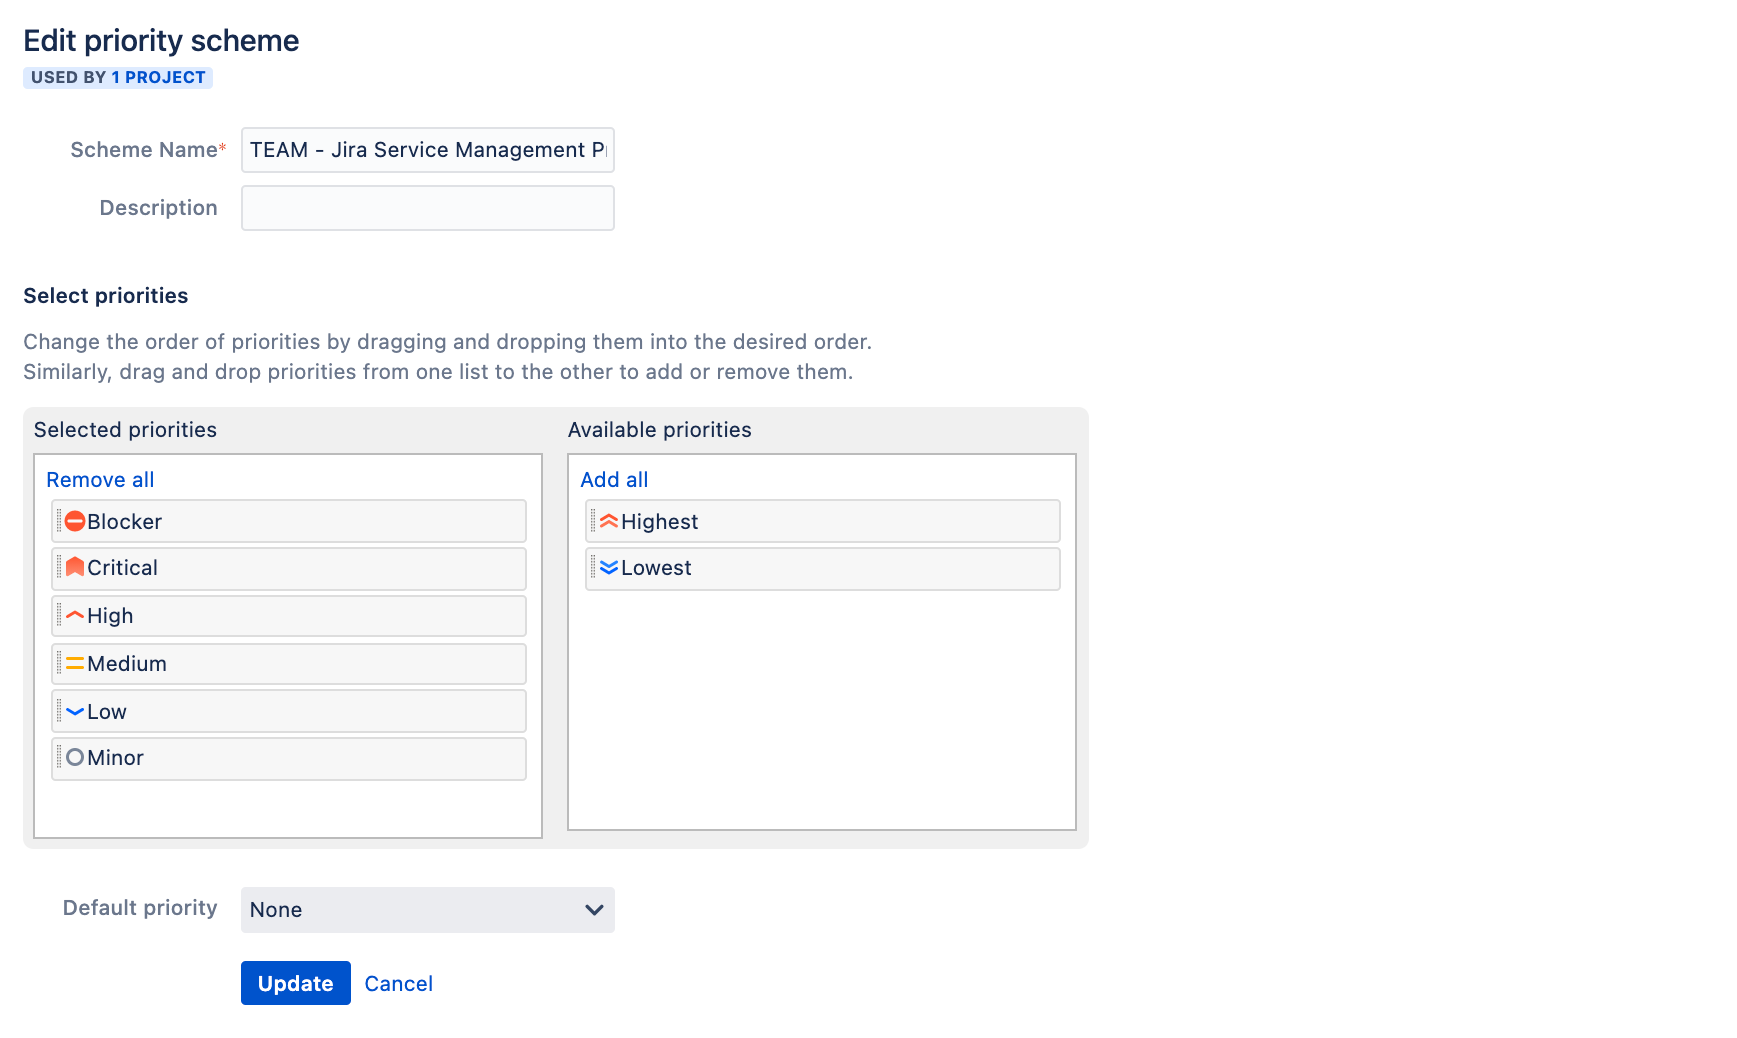
Create the Critical priority
For more info about priorities, see Defining priority field values.
Jira comes with the default Highest priority, but it doesn’t have the Critical priority. Create one to follow the ITIL terminology. It is also required for other steps to work – automation rules that you’ll configure later will use this priority.
To create the Critical priority:
Go to Administration > Issues > Priorities.
Select Add priority.
Call your priority Critical, give it some description and icon. Click Add.
To associate the priority with your project:
Go to Administration > Issues > Priority schemes.
Find the scheme used by your project and select Edit.
Move the Critical priority to the list of Selected priorities.
Next steps
When you’re ready, go to 3. Create and update custom fields.