Setting up incident management
You can set up incident management to allow your agents to view and manage Opsgenie incidents within their Jira Service Management projects. This allows them to quickly respond to disruptions, get up to speed with what’s going on, create incidents and provide more context for the Opsgenie teams to resolve them.
1. Set up your Opsgenie account
Major incidents are stored and managed in Opsgenie, an Atlassian application used for alerts. You’ll need an Opsgenie account to integrate it with Jira Service Management. If you don’t have one already, check out this link:
2. Integrate Jira Service Management with Opsgenie
User: JIRA ADMIN
Integrating Jira Service Management with Opsgenie is a one-time action that will let the two applications exchange information between one another. Once that’s done, every project admin can enable incident management for each project separately.
Before you begin
You’ll need the Opsgenie API URL and API key to create the integration. Check Getting Opsgenie API information to learn how to find them.
Steps
Go to Administration > Applications > Opsgenie integration.
Enter your Opsgenie API URL and API key.
Select Save. Your integration is now enabled.
3. Enable incident management for your projects
User: PROJECT ADMIN
If you’d like to use incident management in your project, you can enable it in project settings. This will give agents working on a project access to ongoing major incidents, and some special permissions like linking incident to requests.
Go to Projects settings > Incident management.
Allow agents to view, link, and manage major incidents within this project.
4. Work with ongoing major incidents
User: AGENT
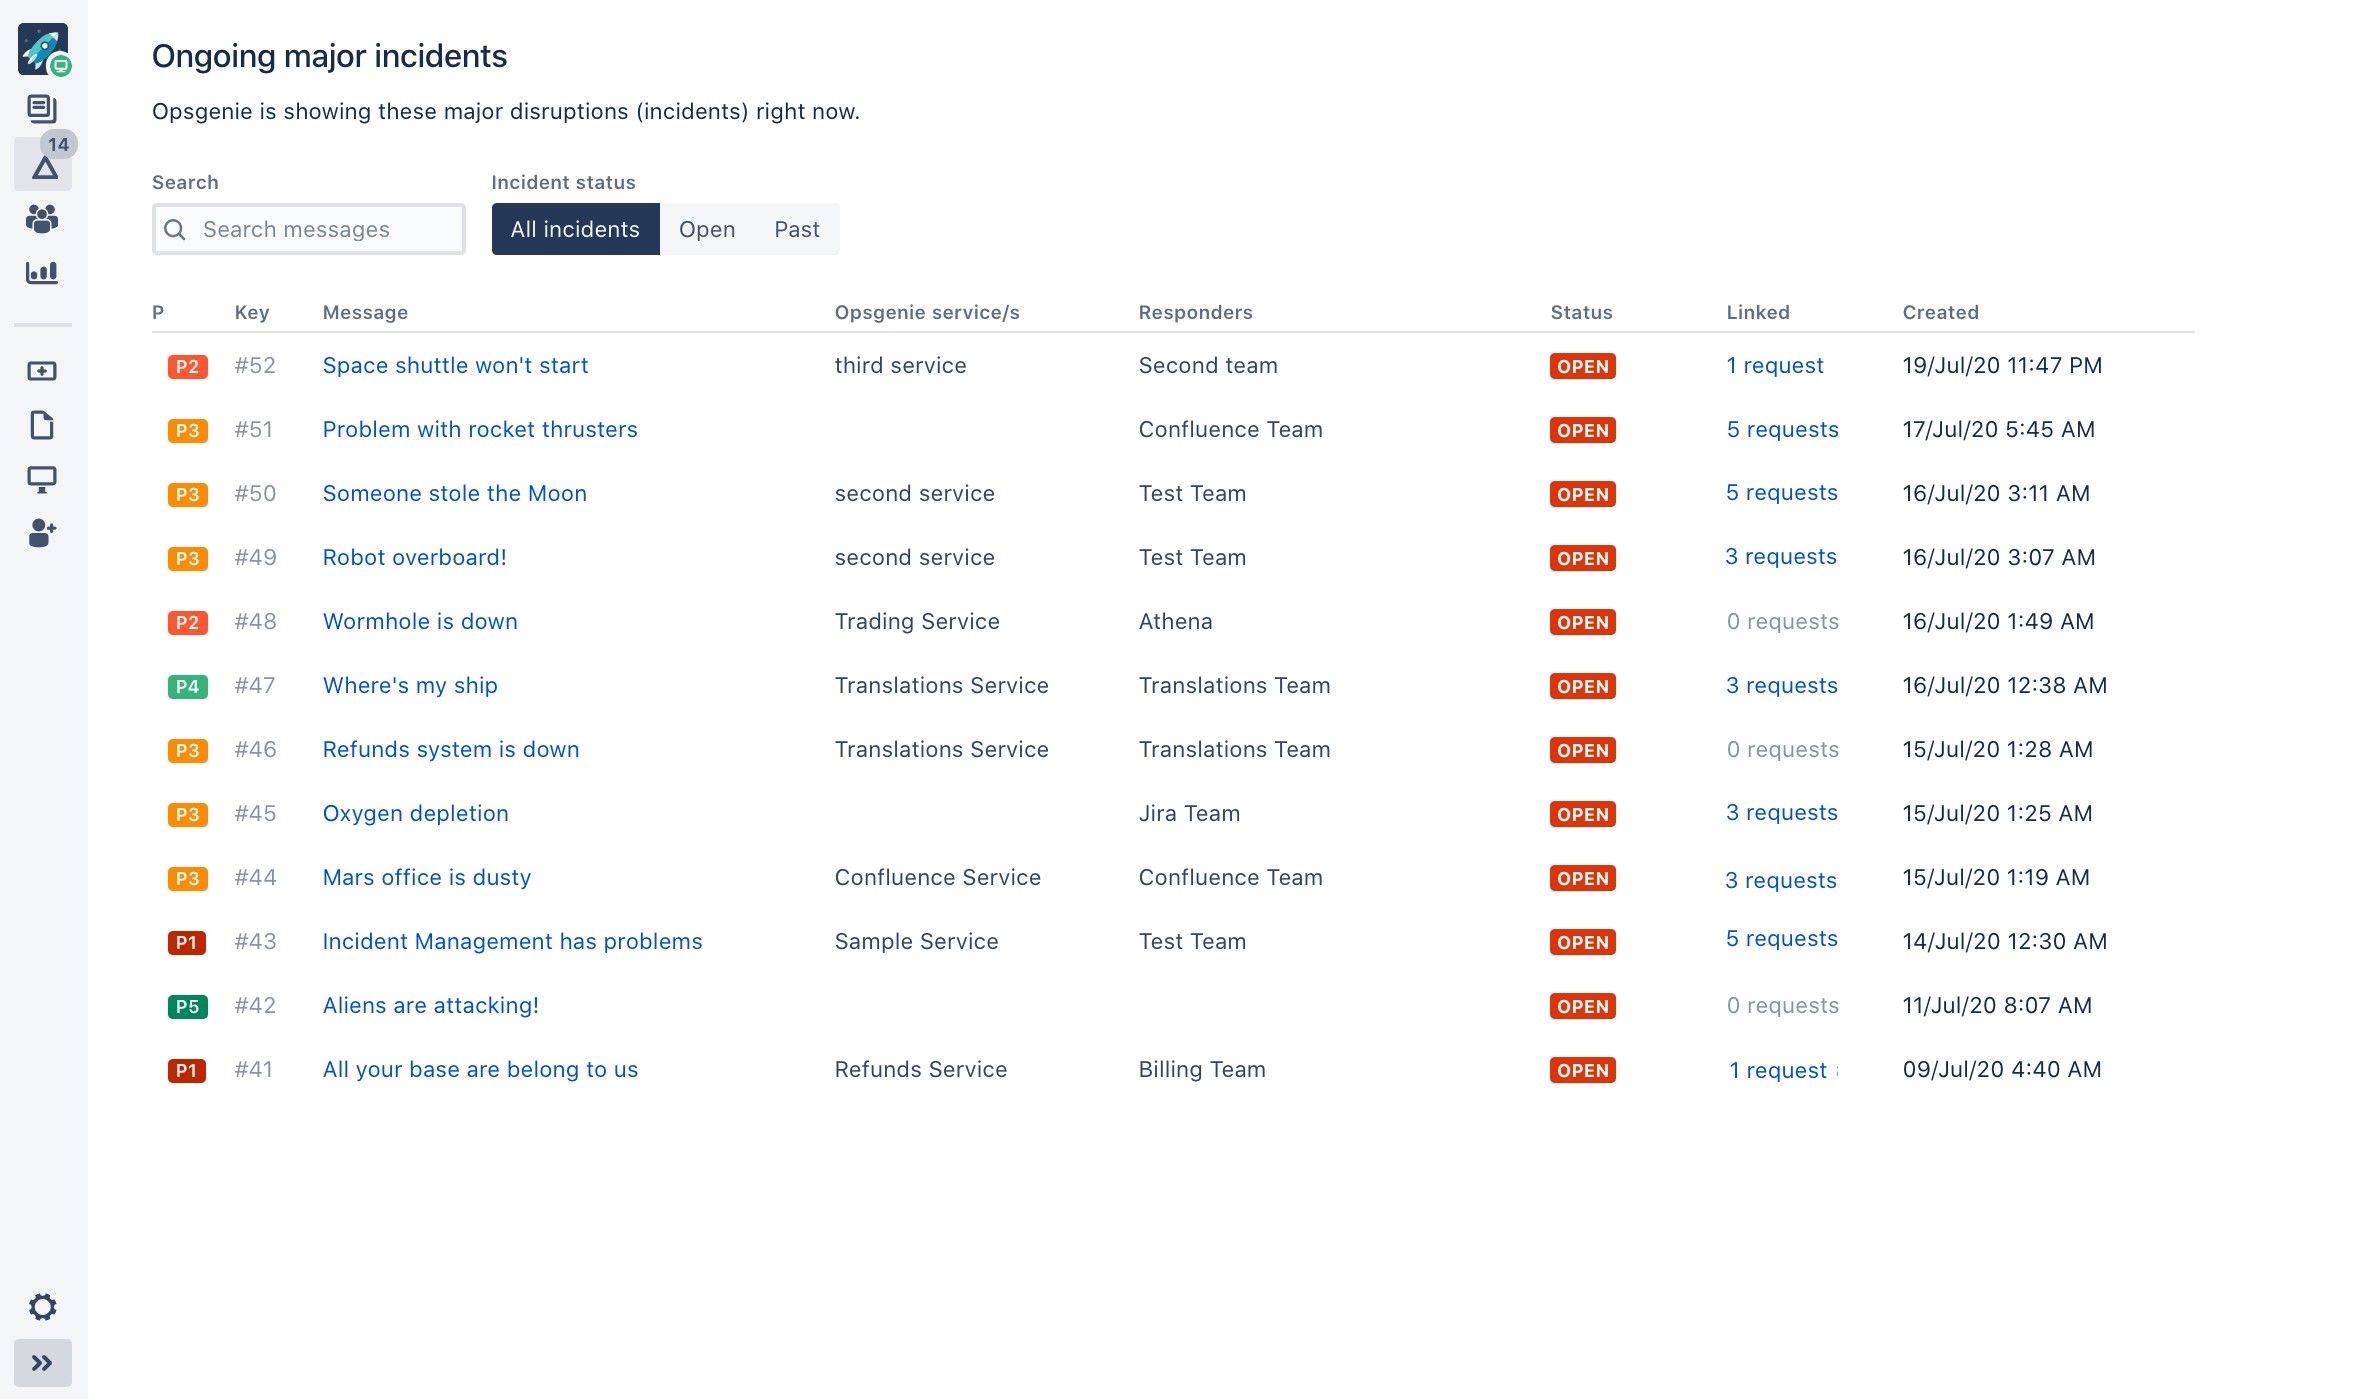
Enabling incident management brings a new screen to your Jira Service Management where you can view ongoing major incidents to be up to date with any disruptions, and link them to requests to help your Opsgenie teams resolve them faster.
- Read Working with major incidents for more details.
