Lockout recovery process
This page describes how to recover administrator access for Bitbucket Data Center and Server 5.X+, and later. For releases prior to that, please refer to the documentation specific to that version.
As an administrator, you may find yourself locked out of Bitbucket and unable to log in. This situation can arise when all users are managed externally from Bitbucket, and it becomes unable to access those user directories for some reason, including:
- The external user directory server is not accessible (because the network is down, or the directory is down, or the directory has been moved to another IP address).
- Users are managed within a Jira application and the Application Link from Bitbucket to a Jira application has been accidentally deleted.
- The admin password has been forgotten or lost.
- The admin account is shaded by a remote account in an LDAP or Jira application that is connected to Bitbucket but which is unavailable.
Steps for Linux:
Edit the
<Bitbucket installation directory>\bin\_start-webapp.shfile and add the "-Datlassian.recovery.password=temporarypassword" value to theJVM_SUPPORT_RECOMMENDED_ARGSproperty. The property value must be non-blank, and should look like this when you've done that:# Occasionally Atlassian Support may recommend that you set some specific JVM arguments. # You can use this variable to do that. Simply uncomment the below line and add any required # arguments. Note however, if this environment variable has been set in the environment of the # user running this script, uncommenting the below will override that. # JVM_SUPPORT_RECOMMENDED_ARGS=-Datlassian.recovery.password=temporarypassword
Here we are using "temporarypassword", but you should use your own value.
- Start Bitbucket manually by running
<Bitbucket installation directory>\bin\start-bitbucket.sh. - Log in using the 'recovery_admin' username and the temporary password specified in Step 1.
- Repair your configuration. We strongly recommend that you do not perform other actions while Bitbucket is in recovery mode.
- Confirm your ability to log in with your usual admin profile.
- Shut down Bitbucket, remove the
atlassian.recovery.passwordargument from_start-webapp.sh, and restart Bitbucket as usual.
Steps for Windows:
If you're running Windows and Bitbucket is starting as a Windows service:
- Open a Command prompt and change directory to where your
<BITBUCKET_INSTALL_DIR>\binis located. The following example is usingC:\Atlassian\Bitbucket\atlassian-bitbucket-7.20.0as the<BITBUCKET_INSDTALL_DIR>:
Now, execute the following command to edit Bitbucket Service:
bservmgr.exe //ES/AtlassianBitbucket- That will bring up the Atlassian Bitbucket Properties service manager.

Select the Java tab and at the end of Java Options content, add the following:
-Datlassian.recovery.password=temporarypasswordHere we are using temporarypassword, but you should use your own value.

- Select Apply and then OK.
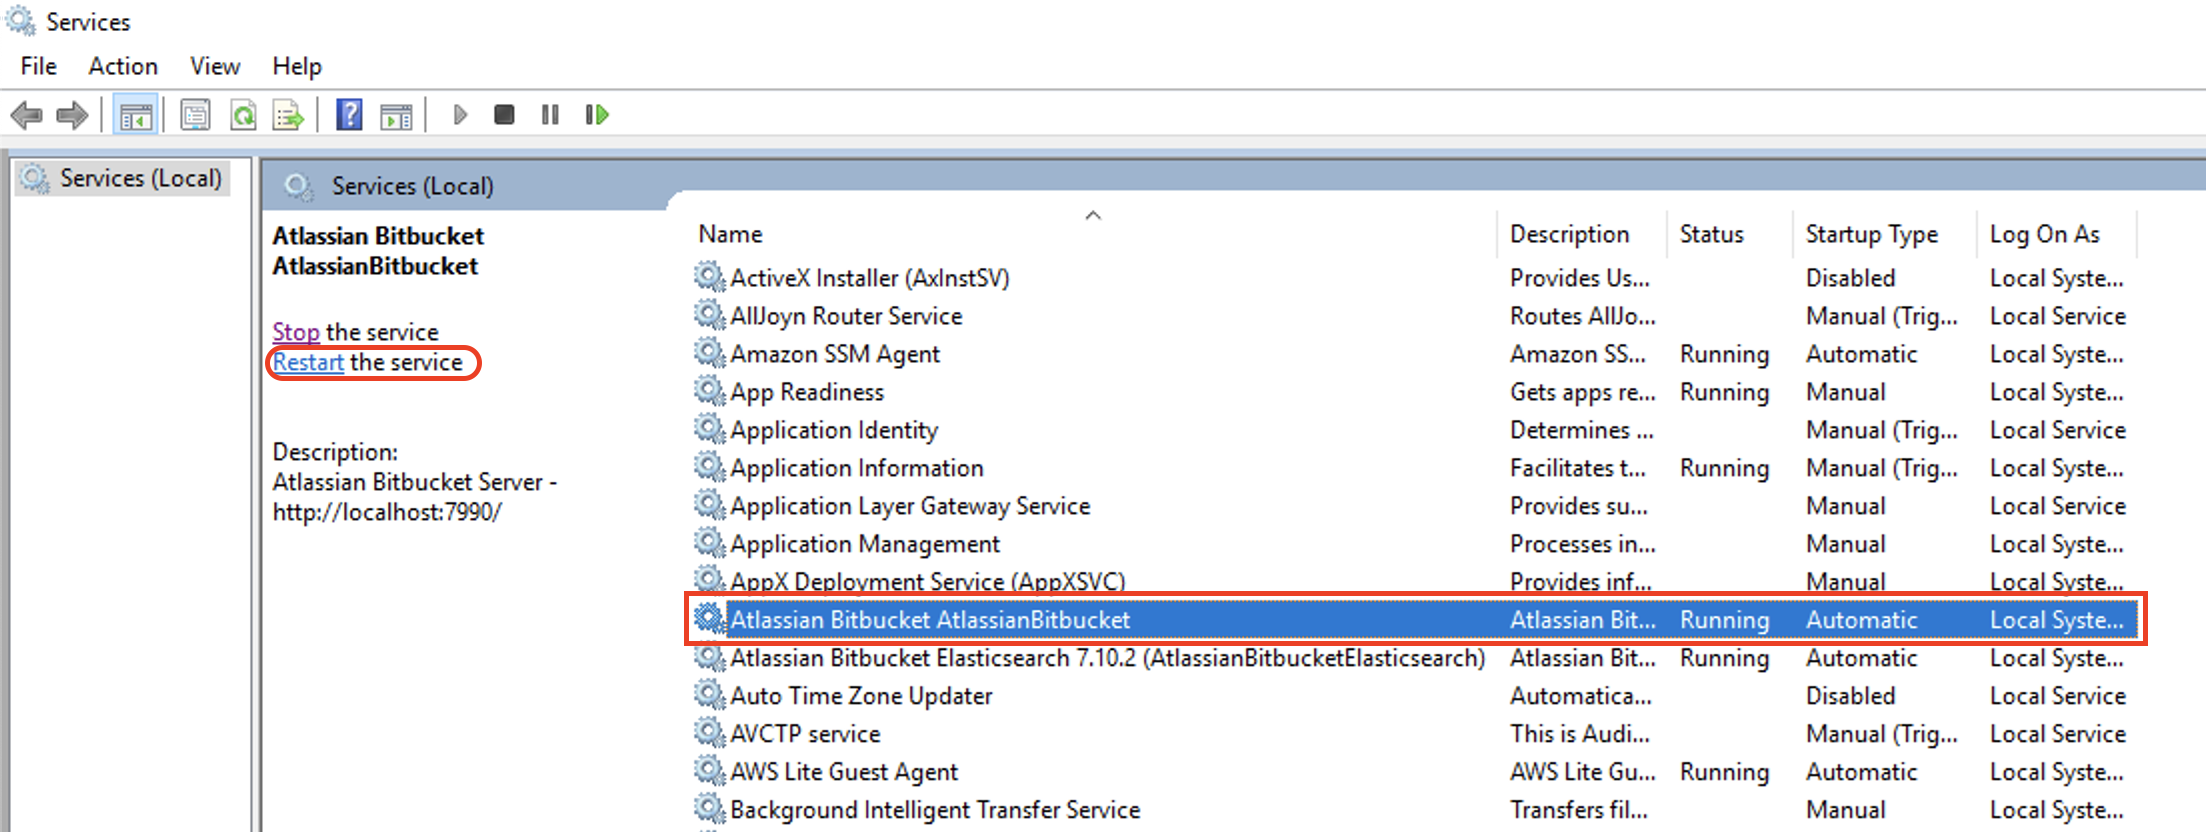
- If your Bitbucket instance is still running, select the Atlassian Bitbucket service and then select Restart. Otherwise, if the service is already stopped, just Start it.
- Log in using the recovery_admin username and temporary password previously specified.
- Repair your configuration. We strongly recommend that you don't perform other actions while Bitbucket is in recovery mode.
- Confirm your ability to log in with your usual admin profile.
- Shut down Bitbucket and remove the
-Datlassian.recovery.password=temporarypasswordby executingbservmgr.exe //ES/Atlassianbitbucketonce again, and then select Apply > OK. - Restart Bitbucket as usual.