Column Macro
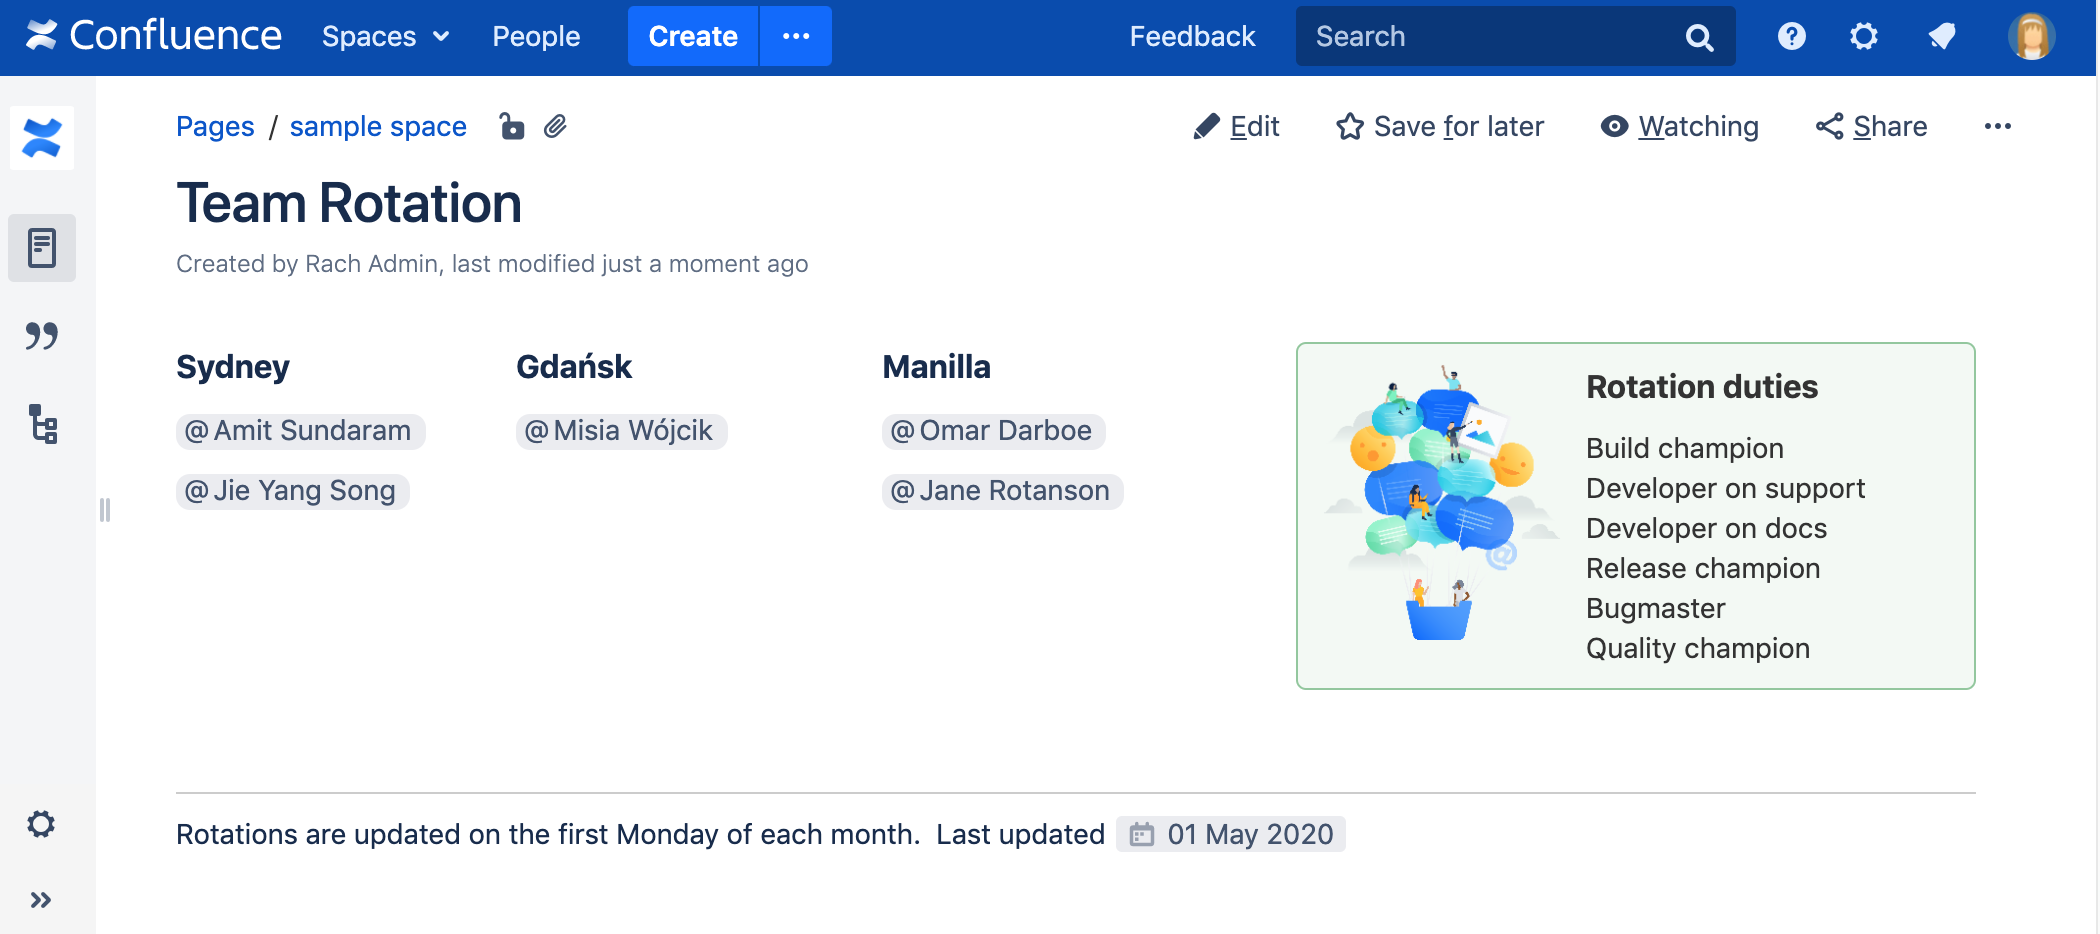
Screenshot: page with a four column layout using the Section and Column macros.
Want a simpler way to lay out your page? Try a page layout instead.
Add this macro to your page
Column macros must be added inside a page layout section, or within a Section macro.
To add the Column macro to a page:
- Position your cursor inside the body of a Section macro, or page layout section.
- From the editor toolbar, choose Insert > Other Macros.
- Choose Column from the Formatting category.
- Choose Insert.
You can then start typing into the macro body, then publish your page to see the macro in action.
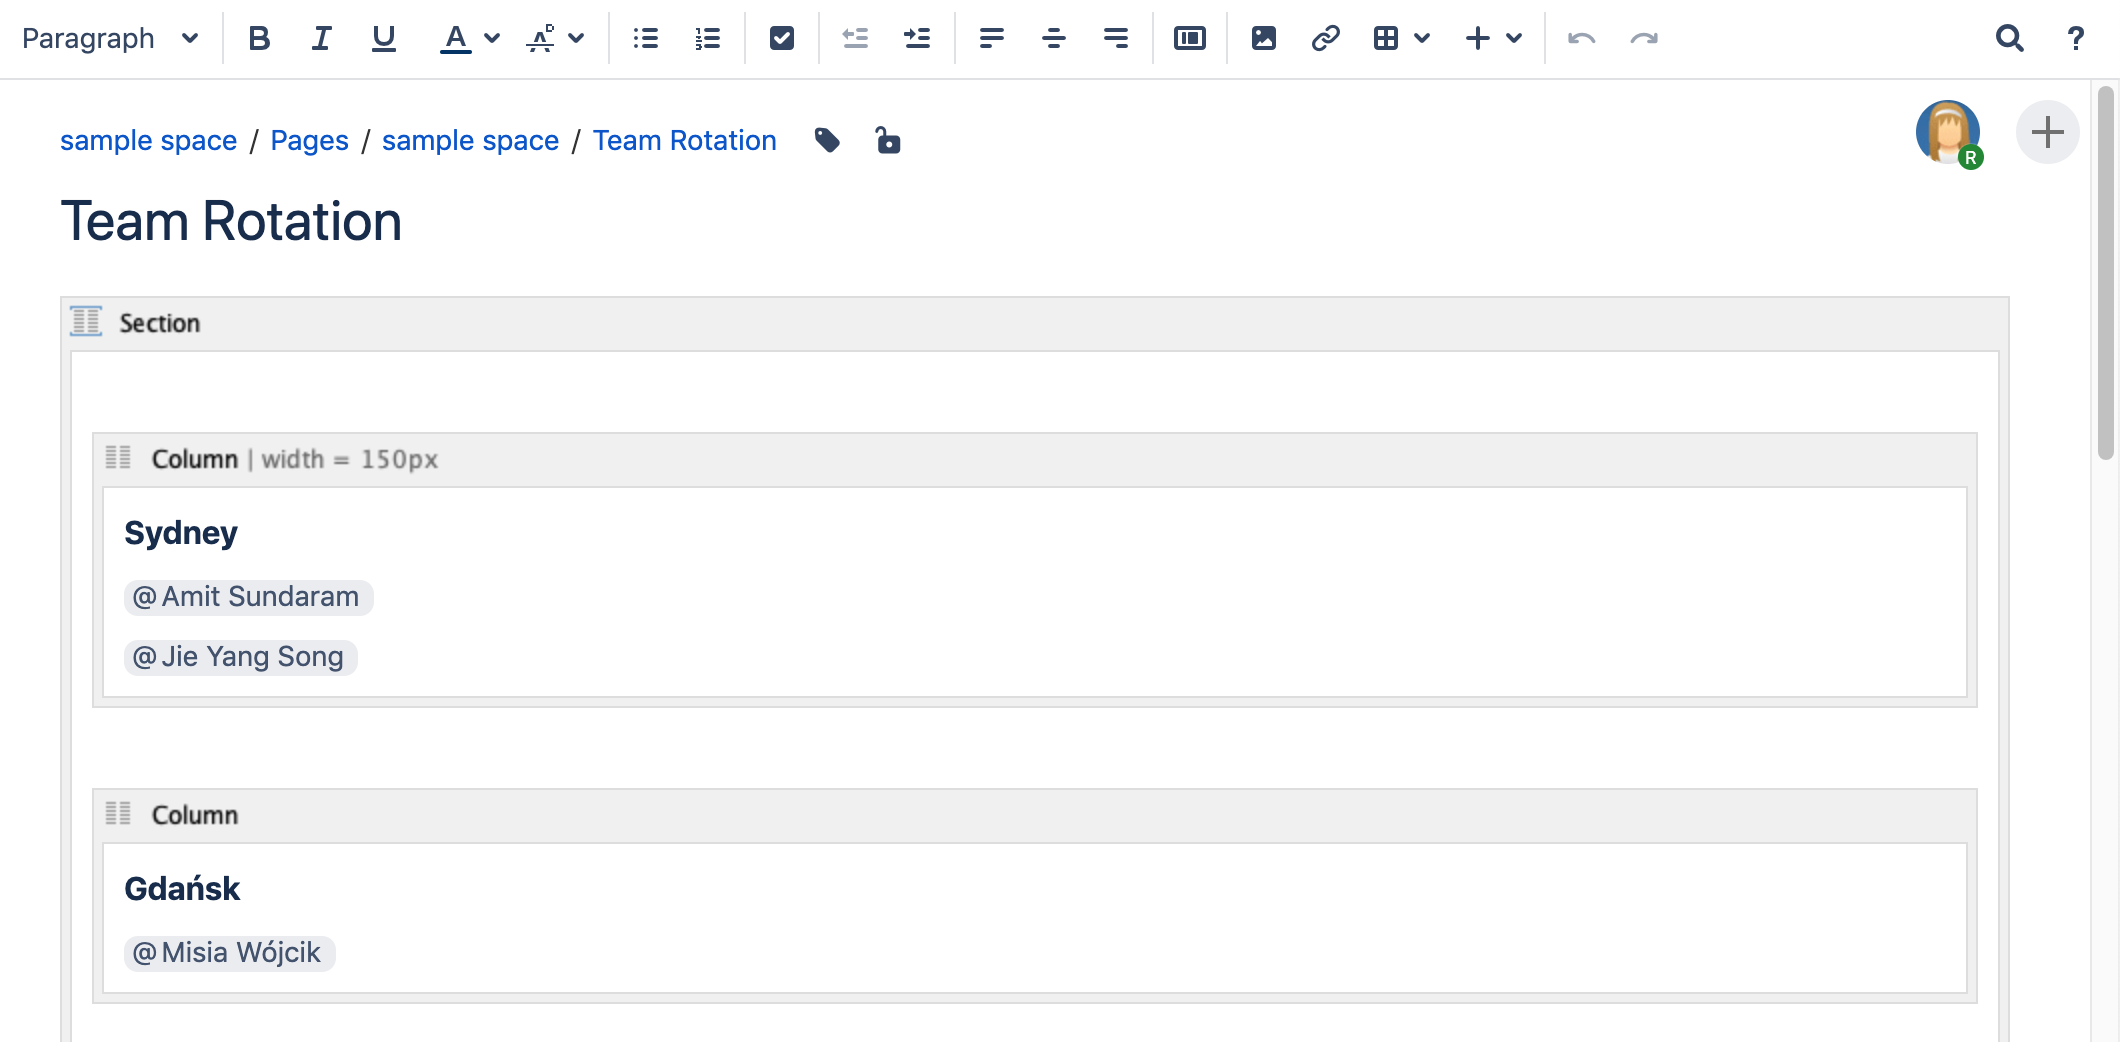
Screenshot: section and column macros in the editor
Change the macro parameters
Macro parameters are used to change the behaviour of a macro.
To change the macro parameters:
- In the editor, click the macro placeholder and choose Edit.
- Update the parameters as required then choose Insert.
Here's a list of the parameters available in this macro.
| Parameter name | Required | Default | Parameter description and accepted values |
|---|---|---|---|
| No | 100% of the page width, divided equally by the number of columns in the section. | The width of the column. Can be specified either in pixels (for example, 400px) or as a percentage of the available page width (for example, 50%). |
Where the parameter name used in Confluence storage format or wikimarkup is different to the label used in the macro browser, it will be listed below in brackets (example).
Other ways to add this macro
Add this macro as you type
Add this macro using wiki markup
This is useful when you want to add a macro outside the editor, for example as custom content in the sidebar, header or footer of a space.
Macro name: column
Macro body: Accepts rich text.
{column:width=100px}
This is the content of *column 1*.
{column}


