Specifying field behavior
When defining field behavior for one or more Jira projects and issue types in these projects, you typically start by adding one or more new field configurations. You then proceed with modifying the behavior of individual fields in these new field configurations.
You should add a new field configuration for each combination of projects and issue types, where you want to use either specific fields or fields that express particular behavior (e.g. be hidden or required).
You can then associate each new field configuration with a different issue type through a field configuration scheme. A field configuration scheme can then be associated with one or more projects. For more information, see the Overview Diagram.
Managing multiple field configurations
For all of the following procedures, you must be logged in as a user with the Jira administrators global permission.
You can create multiple field configurations for use on separate projects and issue types.
- Multiple field configurations are organized into field configuration schemes, which associate field configurations with issue types.
- A scheme can then be associated with one or more projects, allowing you to control fields on a per project, per issue type basis. See Associating field behavior with issue types for more information.
About the default field configuration
When Jira is installed, the Default field configuration is created automatically. All new projects are associated with this configuration. This configuration is also used for projects that are not associated with a field configuration scheme.
Take into account that you can't edit the Default Field Configuration.
Adding a field configuration
- In the upper-right corner of the screen, select Administration
 > Issues.
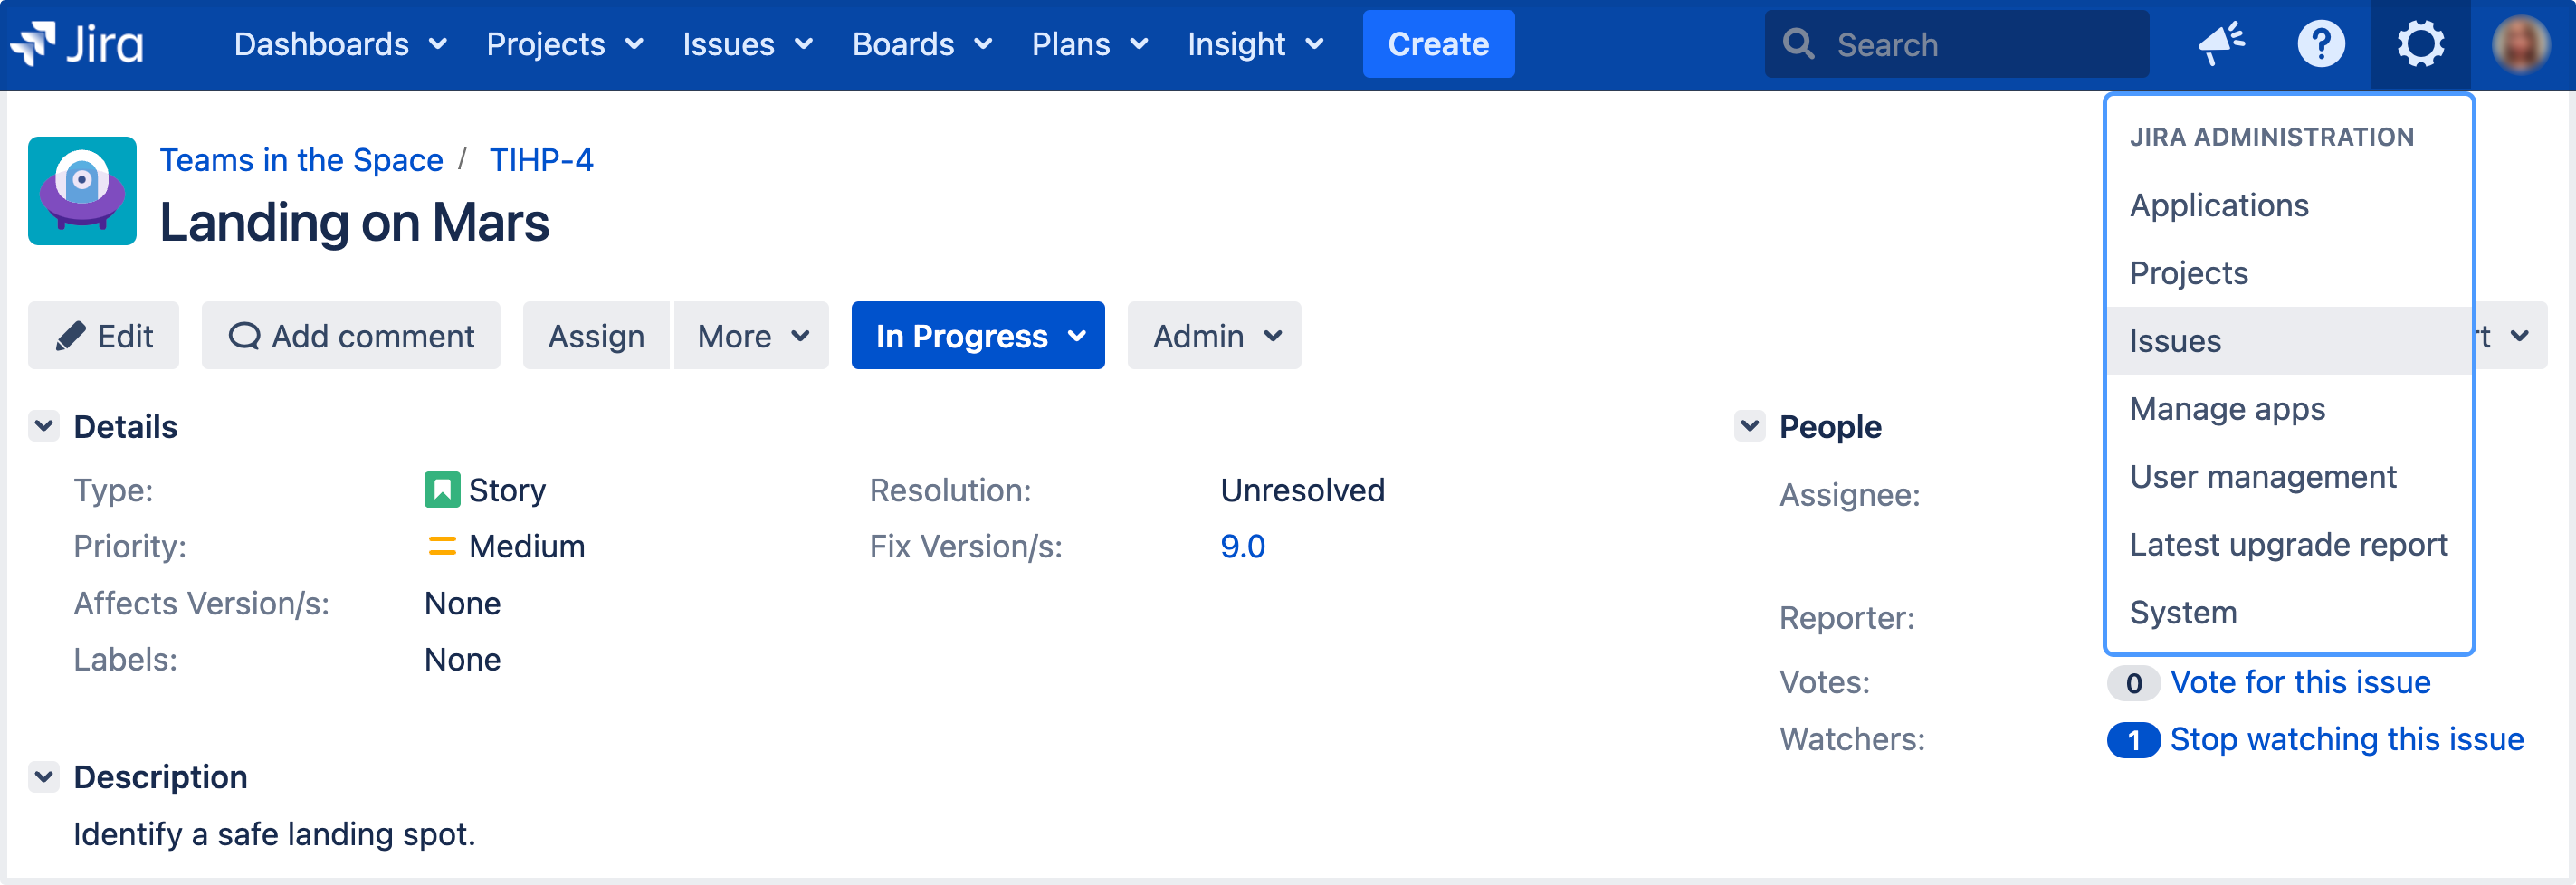
- Under Fields (the left-side panel), select Field configurations to view all your field configurations.
- Select the Add new field configuration button to open the Add field configuration dialog box.
- Complete the Add field configuration dialog box:
- Name — enter a short phrase that best describes your new field configuration.
- Description (optional but recommended) — enter a sentence or two to describe when this field configuration should be used.
- Select the Add button to add your new field configuration to Jira. Once you have added your new field configuration, you can then begin modifying the behavior of its fields (below).
You will be taken directly to the View field configuration page, where you can modify the behavior of fields in your new field configuration. See Modifying field behavior (from step 4) for details.
Editing a field configuration
- In the upper-right corner of the screen, select Administration > Issues.
- Under Fields (the left-side panel), select Field configurations to view all your field configurations.
- Select the Edit link next to the field configuration you wish to edit.
- On the Edit field configuration page, edit the field configuration's Name and Description.
Take into account that you can't edit the Default Field Configuration.
Deleting a field configuration
Things to consider before proceeding
- You can't delete the Default Field Configuration.
- You can only delete a field configuration that's not associated with a field configuration scheme. The Delete link will not be available for field configurations that are associated with one or more field configuration schemes.
Delete a field configuration
- In the upper-right corner of the screen, select Administration > Issues.
- Under Fields (the left-side panel), select Field configurations to view all your field configurations.
- Select the Delete link next to the field configuration you wish to delete. You will be prompted to confirm this operation.
Copying a field configuration
- In the upper-right corner of the screen, select Administration > Issues.
- Under Fields (the left-side panel), select Field configurations to view all your field configurations.
- Select the Copy link next to the field configuration you wish to copy.
- On the Copy field configuration page, specify the Name and Description for the field configuration to be copied.
The (initial) field settings between the original and copied field configurations will be identical.
Consider that a newly created field configuration will not take effect until you:
See Associating field behavior with issue types for more information.
Modifying field behavior
To modify the behavior of fields in Jira, you need to modify the field configurations that those fields have been defined in.
- In the upper-right corner of the screen, select Administration > Issues.
- Under Fields (the left-side panel), select Field configurations to view all your field configurations.
Locate the field configuration of interest and click the Configure link to open the View field configuration page, which lists all system and custom fields in your Jira installation for that field configuration.
Note that:
- The Edit link only allows you to change the Name and Description of the field configuration, not of individual fields.
- Note that the Edit link is not available for the Default field configuration on the View field configuration page (listing all field configurations defined in your Jira installation).
- In the Operations column, you can perform the following actions for any field:
- Edit — change the field's description (i.e. help text).
- Hide/Show — hide the field from view or show it.
- Require/Optional — set a field to be required (so that whenever a field is edited it must be given a value) or optional.
- Renderers — change a field's renderer (see Configuring renderers for more information).
Consider that a newly created field configuration will not take effect until you:
See Associating field behavior with issue types for more information.
Editing a field's description
Fields can be given descriptions to better identify the meaning of the field. These descriptions are typically displayed under the fields they are associated with when creating or editing an issue.
- Follow the first three steps above (in Modifying field behavior) to access the field configuration whose field's description you wish to edit.
- Select the Edit link next to the field you want to change and update the field's description.
- Select the Update button to save your changes.
Hiding or showing a field
If your organization or project has no use for a particular field, you have the option to hide it. Hiding a field will ensure that the the field does not appear on any screens (i.e. issue operation screens, workflow transition screens) where the field configuration applies.
Things to consider before proceeding
- Hiding a field in the field configuration is distinct from not adding a field to a screen. Fields hidden through the field configuration will be hidden in all applicable screens, regardless of whether or not they have been added to the screen.
- For fields that have a default value: If the field is hidden in the field configuration, then it will not receive a value when an issue is created, regardless of whether the field is present on the Create Issue screen(s). (The following fields can have a default value: resolution, status, priority, issue type, security level, and custom fields.)
- The fields Summary and Issue Type cannot be hidden and as such there is no Hide option available for these fields.
- If you hide the Fix Version/s field, the Change Log report will not work.
Hide or show a field in Jira
- Follow the first three steps above (in Modifying field behavior) to access the field configuration whose fields you wish to hide or show.
- Do either of the following:
- If you no longer want to expose a field through Jira's user interface, select the Hide link associated with that field. You can make this field visible again at any time by selecting the Show link.
- If you want to show a field (which is currently hidden) through Jira's user interface, click the Show link associated with that field. You can hide this field again at any time by selecting the Hide link.
Making a field required or optional
Certain fields within your organization may be compulsory for issues. In this case you can set a field to be required, so that Jira validates that the field has been given a value whenever an issue is edited. If a required field has not been given a value, Jira will return an error informing the user that the field should be filled.
Things to consider before proceeding
- Fields that are hidden can't be set to required.
- If you make a field Required, ensure that the field is present on your Create Issue screen(s).
- You can have different field configurations for different projects and issue types (see Associating field behavior with issue types), so you need to ensure that all Required fields are present on the Create Issue screens for all associated projects and issue types (see Associating screen and issue operation mappings with an issue type).
- Be aware that there is a feature request (JRA-5783) to make a field required for only one transition. If you are interested, please watch that issue for status updates.
Make a field required or optional
Follow the first three steps from the Modifying field behavior section to access the field configuration whose fields you wish to hide or show.
When viewing a field configuration, fields which are already required have that indication next to their name.
- Do either of the following:
- To make a field mandatory when used through Jira's user interface, select the Required link associated with that field. The text Required will appear next to the field's name.
- To make a field optional, select the Optional link associated with that field. The Required text next to the field's name will disappear.
Validation of required fields
You can mark all custom fields as required, no matter what type a custom field belongs to. There is a regular validation scenario for custom fields of all types except for the Select list (cascading) type.
Here’s what you should know about the regular validation and the validation specific to the Select list (cascading) type.
Regular validation
A required custom field will be validated if it contains at least one value.
Select list (cascading) validation
The validation of a required field of the Select list (cascading) type depends on the options set for this field. To check and manage the field’s options:
- In the upper-right corner of the screen, select Administration > Issues.
In the left-side panel, under Fields, select Custom fields.
Find the field you want to view. In Actions, select Configure contexts.
Select the Edit options link to view and edit the options, if needed.

In the example, the required Product Category field has:
the parent Mobile phones option that has two child options, iPhone and Android
the Computers option that has no children.
Parent and child options must be enabled so that they’ll appear as available values in a required custom field of the Select list (cascading) type. Disabled options won’t appear for selection in the field.
In this case, field validation has two sub-scenarios.
Scenario #1: The Product category field will be validated when only the Computers option, which has no children and is enabled, is set as the field value.
Scenario #2: The Product category field will be validated when both the parent option Mobile phones and at least one of its child options (iPhone or Android) are enabled and set as the field values.
In other cases, you’ll see the following warning message when creating or editing an issue: "Select list (cascading) is required."
For example, you’ll see the warning when you haven’t selected any option for the required field of the Select list (cascading) type.

You’ll also see the warning when you’ve selected only a parent option but this parent option has at least one child.

Changing a field's renderer
Before you change the renderer for a specific field, read Configuring renderers, paying particular attention to the Implications for Jira operations section.
Follow the first three steps from the Modifying field behavior section to access the field configuration whose field's renderer you wish to change.
When viewing a field configuration, the Name column indicates which renderers are currently enabled for all renderable fields, with the current renderer shown in brackets immediately below its field name.
- Select the Renderers link for the field you want to change. This will take you to a page where you will have the option to select a renderer from all configured and available renderers.
- This page will warn you if there are issues that will be affected by the change. If no issues will be affected then the warning does not show. From this page, choose the renderer you wish to use and click Update.
Changing the renderer only affects how a Jira field's content is displayed or how a user interacts with a multi-select field — it does not affect the issue data that exists in the system. Hence, you can therefore toggle between renderer types safely.