Defining a screen
Hiding or showing fields on screens
When it comes to field visibility, screens functionally overlap slightly with field configurations. Learn more about configuring field visibility through configurations
For example, in the Create issue dialog, users will only see issue fields that:
- Are present on the screen associated with the issue's Create issue issue operation.
- Are not hidden in the field configuration that applies to the issue. This is defined by the project's field configuration scheme.
- The user has permission to edit (e.g. the Due date field can only be edited by users with the Schedule issues project permission). Learn more about project permissions
Hence, a field may be present on a screen used by a project, but if that field is hidden in the field configuration applied to the same project, a user won’t see the field when that screen is displayed.
Any project and issue type where you want to display the field, must be selected in the context of that field. Otherwise, you won’t be able to use the field. Learn more about custom field contexts
If a particular field needs to be hidden at all times, it is easier to hide the field in the relevant field configuration than remove it from all screens.
The following screens are automatically added to every Jira application:
Screen | Description |
|---|---|
Default screen | Used for default issue operations such as creating, editing, and viewing an issue. |
Resolve issue screen | Used for the transition view. It’s displayed for the default Close issue and Resolve issue transitions, which are triggered by the Open, In progress, and Reopened steps in Jira's default workflow. |
Workflow screen | Used for the transition view. It’s displayed for the default:
The Workflow screen defines a smaller set of fields than the Resolve issue screen. |
You can also associate a field with issue screens on the context configuration page. Learn more about custom field contexts
Managing issue screens
To use a newly created a screen in Jira, you need to activate this screen first. Otherwise, it won’t be displayed to users.
Add a screen
To add a new screen to Jira:
- In the upper-right corner of the screen, select Administration
 > Issues.
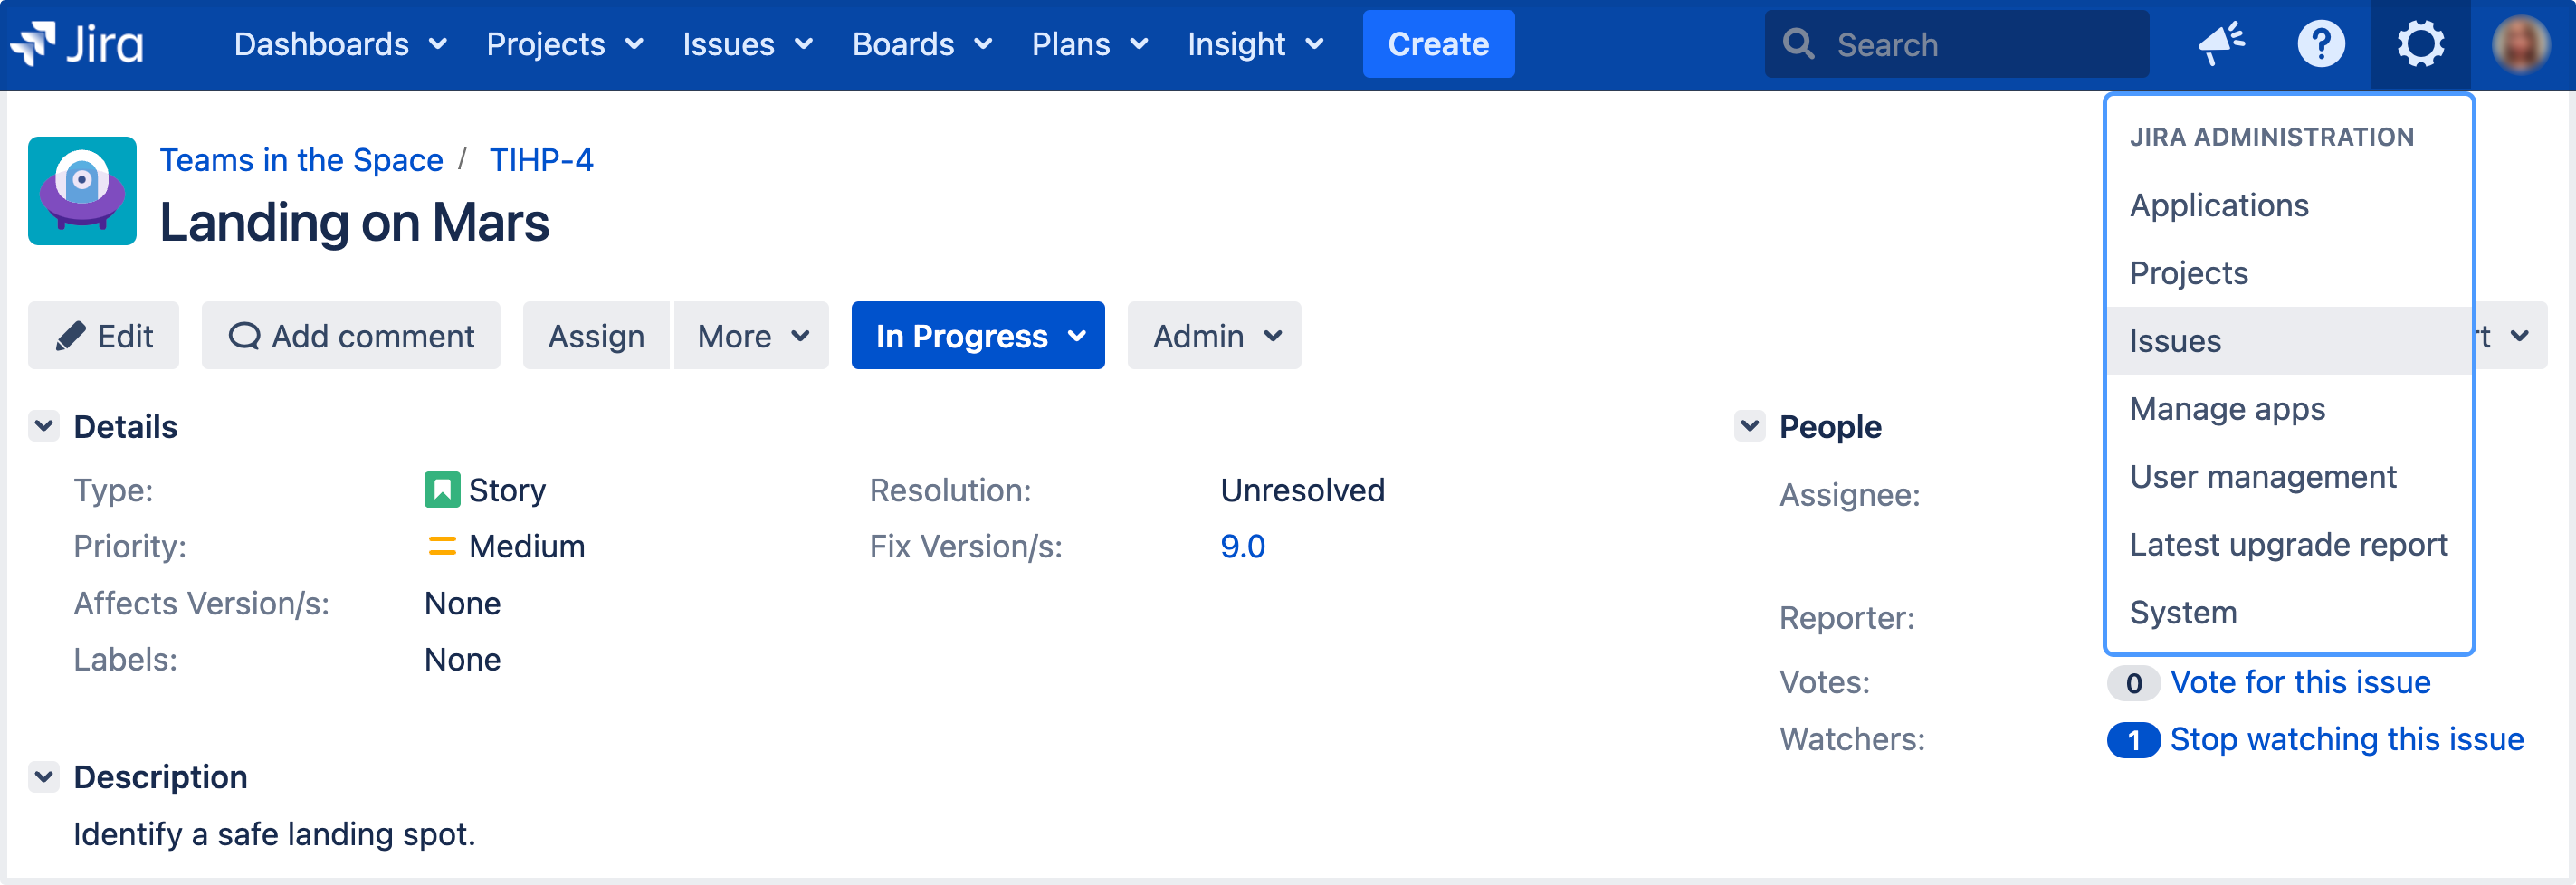
- In the sidebar, select Screens to open the View screens page, which lists all screens that have been defined in Jira.
- Select the Add new screen button to open the Add new screen dialog box.
- Complete the Add new screen dialog box:
- Name — enter a short phrase that best describes your new screen.
- Description — enter a sentence or two to describe the situations screen will be used.
Select the Add button to add your new screen to Jira.
You will be taken directly to the Configure screen page, where you can add fields to your new screen. Check the Configuring a screen's fields section for details
Activate a screen
To make a Screen available to users, you can either:
- Associate it with an issue operation and issue type. Learn how to associate screens with issue operations
or - Associate it with a workflow transition. Learn how to configure workflows
Edit screen's details
To change a screen's name or description:
- In the upper-right corner of the screen, select Administration > Issues.
- In the sidebar, select Screens to open the View screens page, which lists all screens that have been defined in Jira.
- Select the Edit link next to the appropriate screen.
- You will now be directed to the Edit screen page where you can edit the name and/or description of the Screen.
Copy a screen
- In the upper-right corner of the screen, select Administration > Issues.
- In the sidebar, select Screens to open the View screens page, which lists all screens that have been defined in Jira.
- Select the Copy link next to the Screen you wish to copy. You will be directed to the Copy screen page, where you can enter a name and a description for the new Screen.
Delete a screen
- In the upper-right corner of the screen, select Administration > Issues.
- In the sidebar, select Screens to open the View screens page, which lists all screens that have been defined in Jira.
- Select the Delete link next to the screen you wish to delete. You will be prompted to confirm your deletion
You can’t delete screens that are associated with one or more screen schemes or one or more workflow transitions.
Configure screen's tabs and fields
You can configure custom fields that appear on a particular screen by adding and removing these fields, reordering them, and making empty custom fields hidden or visible in the issue view.
You can also use tabs to group related fields together. Tabs are useful for organizing complex screens, as you can place less used fields onto separate tabs. You can also add, remove and reorder tabs, as well as rename them.
To configure a screen's tabs and fields:
- In the upper-right corner of the screen, select Administration > Issues.
- In the sidebar, select Screens to open the View screens page, which lists all screens that have been defined in Jira.
Select the Configure link next to the screen you want to add a field to.

Screens tab — here you can view all screens that have been defined in Jira.
Field tab — this is how you can group related fields together.
Show when empty toggle — when enabled, empty custom fields will be visible in the issue view.
You can perform the following operations on the screen configuration page:
| Operation | Instructions |
|---|---|
| Add a tab | Select the Add tab. nter a new tab’s name in the dialog that appears and then select Add. |
| Move a tab | Hover over the dotted part of the tab (next to the tab name) and drag the tab to the desired position. |
| Rename a tab | 1. Hover over the tab name and click the pencil icon. 2. Enter the new name and select OK. |
| Delete a tab | Hover over the tab name and select the X. |
| Add a field | 1. Select the tab that you want to add the field to. 2. Type the name of the field in the drop-down displayed at the bottom of the current fields. Field suggestions will appear as you type. 3. Select Add field to add it to the current tab. |
| Move a field | Hover over the dotted part of the field (next to the field name) and drag the field to the desired position. Move a field to a different tab by dragging it to the name of the tab and dropping it. |
| Delete a field | Hover over the field and select the Delete button that appears. |
| Display an empty custom field in the issue view | To make a field with no data visible in the issue view, turn on the Show when empty toggle. To hide an empty field from the issue view, turn the toggle off. Similarly to system fields, Jira will automatically set the “None” value for empty custom fields. |
Tips on configuring screens
This section contains tips and recommendations on how to work with screens more efficiently.
Displaying “Date” fields on the View issue screen
Fields of type “Date” are always displayed in the “Dates” area of the default “View issue” screen, regardless of how you reorder them. This applies even if the dates are custom fields.
Dates section in the issue view
Displaying fields on the View issue screen
System fields, such as Summary, Security Level, or Issue Type, are fixed on the “View issue” screen. This means that they will always appear in the same place on this screen, even if you reconfigure the screen and move them to a separate tab.
Custom fields related to Dates and People will also appear in their fixed section of the “View issue” screen.
If none of the custom fields on a tab contain data, then the tab won’t be displayed. To make a tab show up, you can:
ensure that it has a custom field with a type such as Text or Select and that the field has a value
turn on the Show when empty toggle for one or more fields on this tab
This only applies to the screen associated with the “View issue” operation in a screen scheme
Timetracking
You can configure the screen to display information about log work
You can add the ability to log work or specify and modify time estimates to a screen by adding the special Log work and Time tracking fields to the issue.
If these fields cannot be found in the Add Field selection box and they have not already been added to the screen, check whether Jira's Time Tracking feature has been enabled. These fields will not be available to add to any screen if Time Tracking is disabled.
If any screens have the Log Work or Time Tracking fields and Jira's Time Tracking feature is subsequently deactivated, those screens will retain these fields until you specifically remove them. However, the fields will not be visible to the user until Time Tracking is reactivated.
Renaming system fields
You cannot rename system fields, such as “Priority” or “Summary” via the Jira administration console. You can only do this by modifing Jira installation files. Learn more about renaming system fields