Office PowerPoint Macro
Add the Office PowerPoint macro to a page to display the content of a PowerPoint presentation.
This is great for sharing presentations, training sessions, and other visual data.
This macro displays your presentation in a viewer with next and back buttons, rather than showing a simple preview. People viewing the page don't need PowerPoint installed to be able to see the presentation.
Screenshot: Project page with an Office PowerPoint macro.
There are multiple ways to show a file on a page. See Display Files and Images for more.
Add this macro to your page
To add the Office PowerPoint macro to a page:
- Upload a PowerPoint file to your page, then publish the page. See Upload Files to learn how to do this.
- From the editor toolbar, choose Insert > Other Macros.
- Choose Office PowerPoint from the Confluence content category.
- Select the attached PowerPoint file you want to display.
- Choose Insert.
You can then publish your page to see the macro in action.
Screenshot: Configuring the Office PowerPoint macro.
Edit the attached file
If you have PowerPoint installed, hit the Edit icon on the macro to edit the attached file, and automatically re-upload it back to Confluence.
See Edit Files for more information on the ways to do this.
Change the macro parameters
Macro parameters are used to change the behaviour of a macro.
To change the macro parameters:
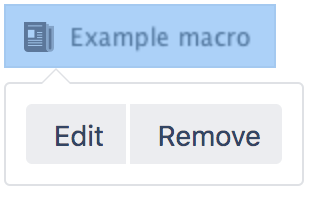
- In the editor, click the macro placeholder and choose Edit.
- Update the parameters as required then choose Insert.
Here's a list of the parameters available in this macro.
Parameter | Default | Description |
|---|---|---|
Page Name | The page which contains the macro | Enter a page name, if you wish to display a document which is attached to another Confluence page. |
File Name | none | The file name of the PowerPoint file to be displayed. The document must be attached to a page on your Confluence site. |
Height | Specify the height of the display, in pixels (default) or as a percentage of the window's height. | |
Slide Number | none | Specify the number of the slide that you want displayed on the Confluence page, where the first slide is numbered zero. Instead of a slide show, the page will display just the single slide, represented as a JPEG image. If not specified, all slides display as a slideshow. |
Width | Specify the width of the display, in pixels (default) or as a percentage of the window's width. |
Where the parameter name used in Confluence storage format or wikimarkup is different to the label used in the macro browser, it will be listed below in brackets (example).
Limitations
If your uploaded file does not appear in the File Name menu in the macro browser, you'll need to publish the page, and then hit Edit to return to the editor.
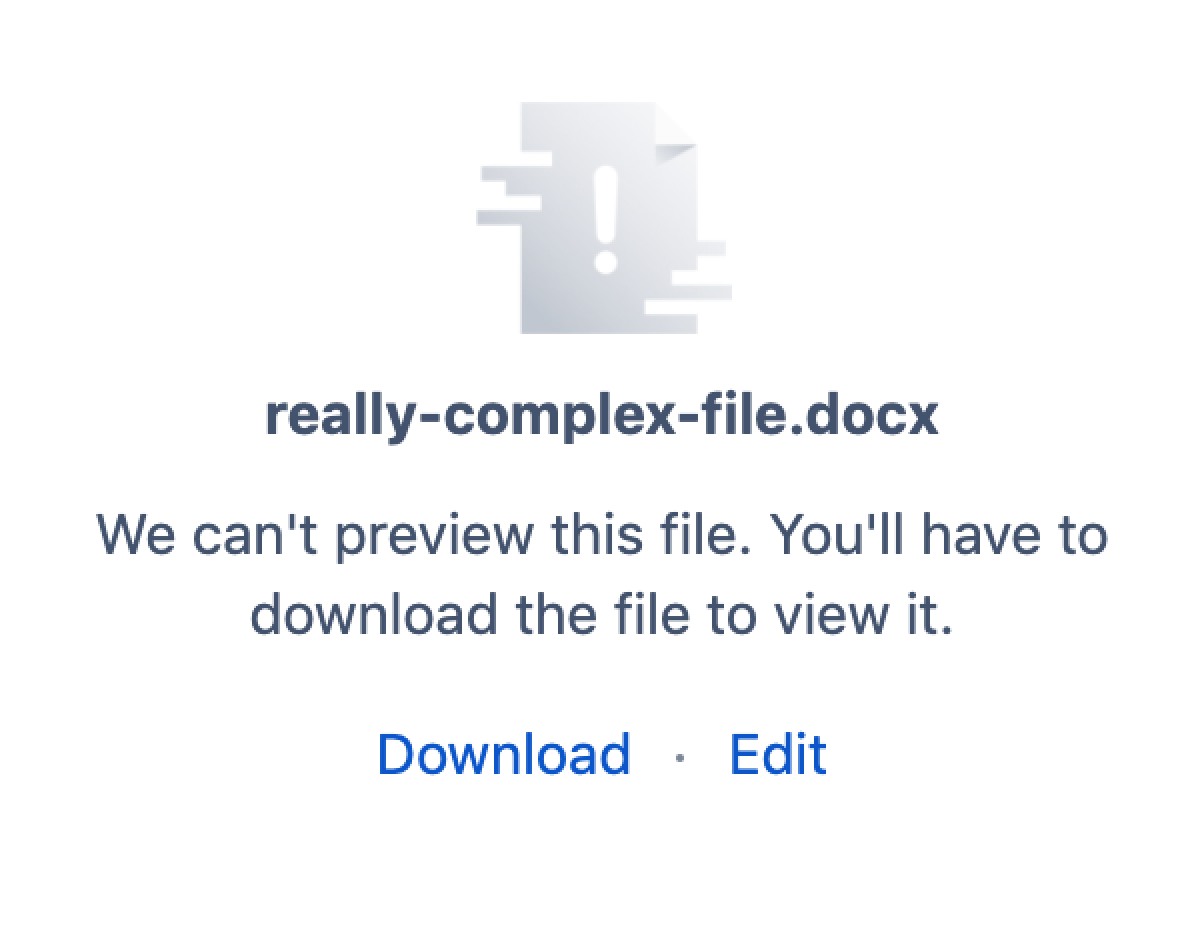
Rendering very large or complex files can put a lot of load on Confluence. For this reason, in Confluence Data Center we'll prompt you to download the file if we can't display with a set time limit. This limit varies depending on system properties set by your administrator, but is generally about 30 seconds. You can continue to view other content on the page while we attempt to display the file contents.
Other ways to add this macro
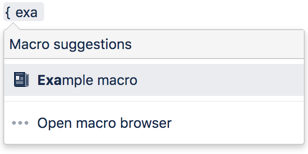
Add this macro as you type
Add this macro using wiki markup
This is useful when you want to add a macro outside the editor, for example as custom content in the sidebar, header or footer of a space.
Macro name: viewppt
Macro body: None.
{viewppt:height=20%|page=Docs|width=20%|name=My document.ppt|slide=4}


