Troubleshooting Article Blueprint
The Troubleshooting Article blueprint helps you to provide solutions for commonly-encountered problems.
To create a Troubleshooting Article page:
- Choose Unable to render {include} The included page could not be found.in the Confluence header
- Select Troubleshooting Article and hit Next
- Enter the article name and some labels and hit Create
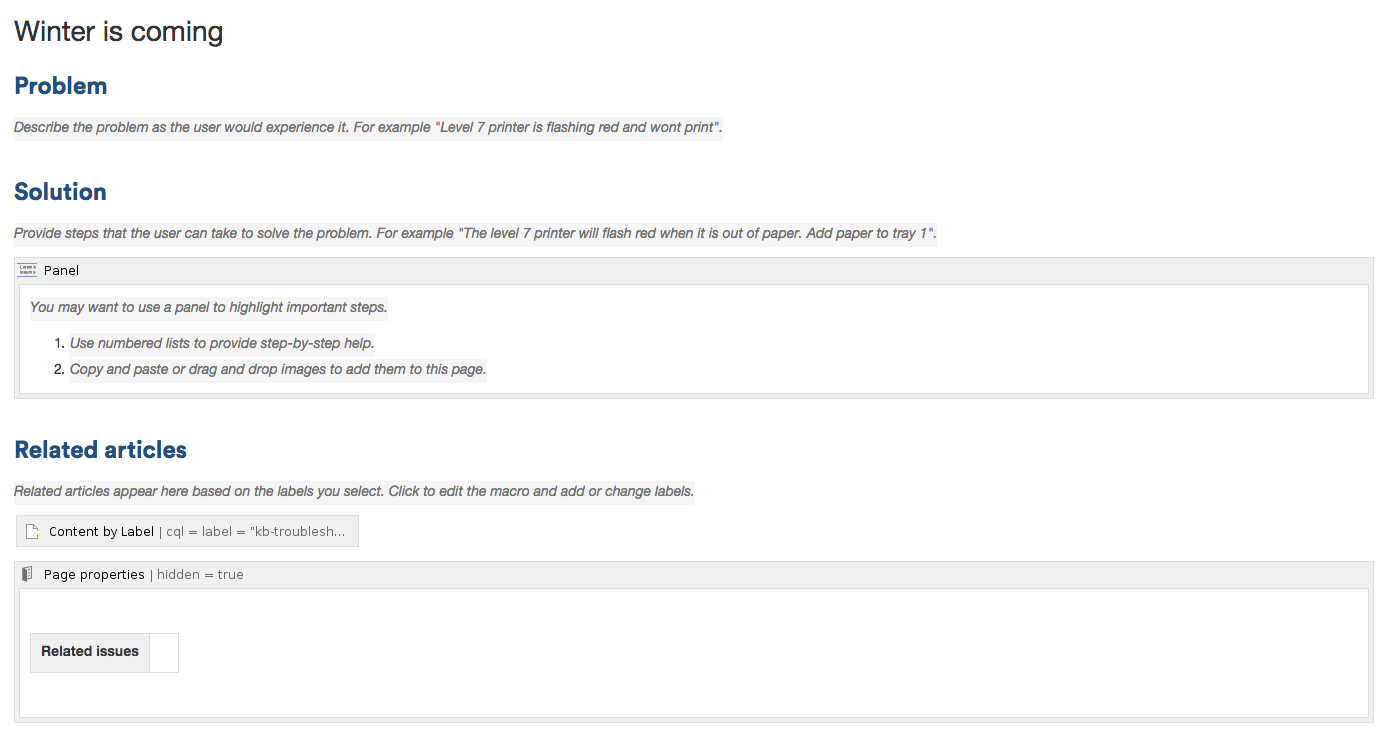
Screenshot: A blank Troubleshooting Article page showing instructional text
Once you save your page, Confluence will create an index page and add a shortcut on your space sidebar. The index lists all the Troubleshooting Article pages in the space, and displays a summary of the information on each page (such as creator and modified).
The Troubleshooting Article blueprint uses some cool Confluence features:
- Instructional text - Prompts you to enter information and disappears when you start typing or view the page.
- Content by Label Macro - Displays lists of pages that have particular labels, to let you collect related pages together.
- Page Properties Macro - This works together with the Page Properties Report Macro to automatically create a list of 'related issues' on each article.
Customizing this blueprint
You can customize the templates used by the Troubleshooting Article blueprint - see Customizing the blueprint templates. For example, you might choose to edit the decisions index page in a space to change the columns displayed by the Page Properties Report macro.
You can also edit the page template to add headings or instructional text to the background section, or even add rows to the Page Properties macro. For example, a row for the date the Troubleshooting Article was created.
See Instructional text to find out more about using instructional text in templates.
You can also edit the Content Report Table macro used on the Index page to specify the number of pages you want to display.


