Configuring the customer portal
Every service project comes with a portal that your customers and employees use to interact with your service team. By connecting your project to Confluence and using it as a knowledge base, your service desk users can self-serve their requests by finding answers to common questions.
This page shows you how you can customize your portal.
Who can do this?
![]() Project admins
Project admins
View your project’s portal
To see what your portal looks like before you start customizing it:
- Navigate to your service project.
- From the sidebar, select Customer channels.
- In the Customer portal section, select Visit the portal.

1: The link to visit your portal
Brand your customer portal
You can change the following areas of the customer portal.
- Name
- Welcome message
- Logo
- Announcement
Other things like banner, links, and button colors are inherited from the help center settings.
To brand the customer portal:
- From the sidebar of your project, select Project settings then Portal settings.
- In the Customize portal section, you can change the portal name, welcome message, and the logo.
Your logo will appear in notifications sent by your service project. - Select Add Announcement to notify users about important information. For example, working hours, service outage.

1: Portal name
2: Logo
3: Welcome message
4: Manage announcement
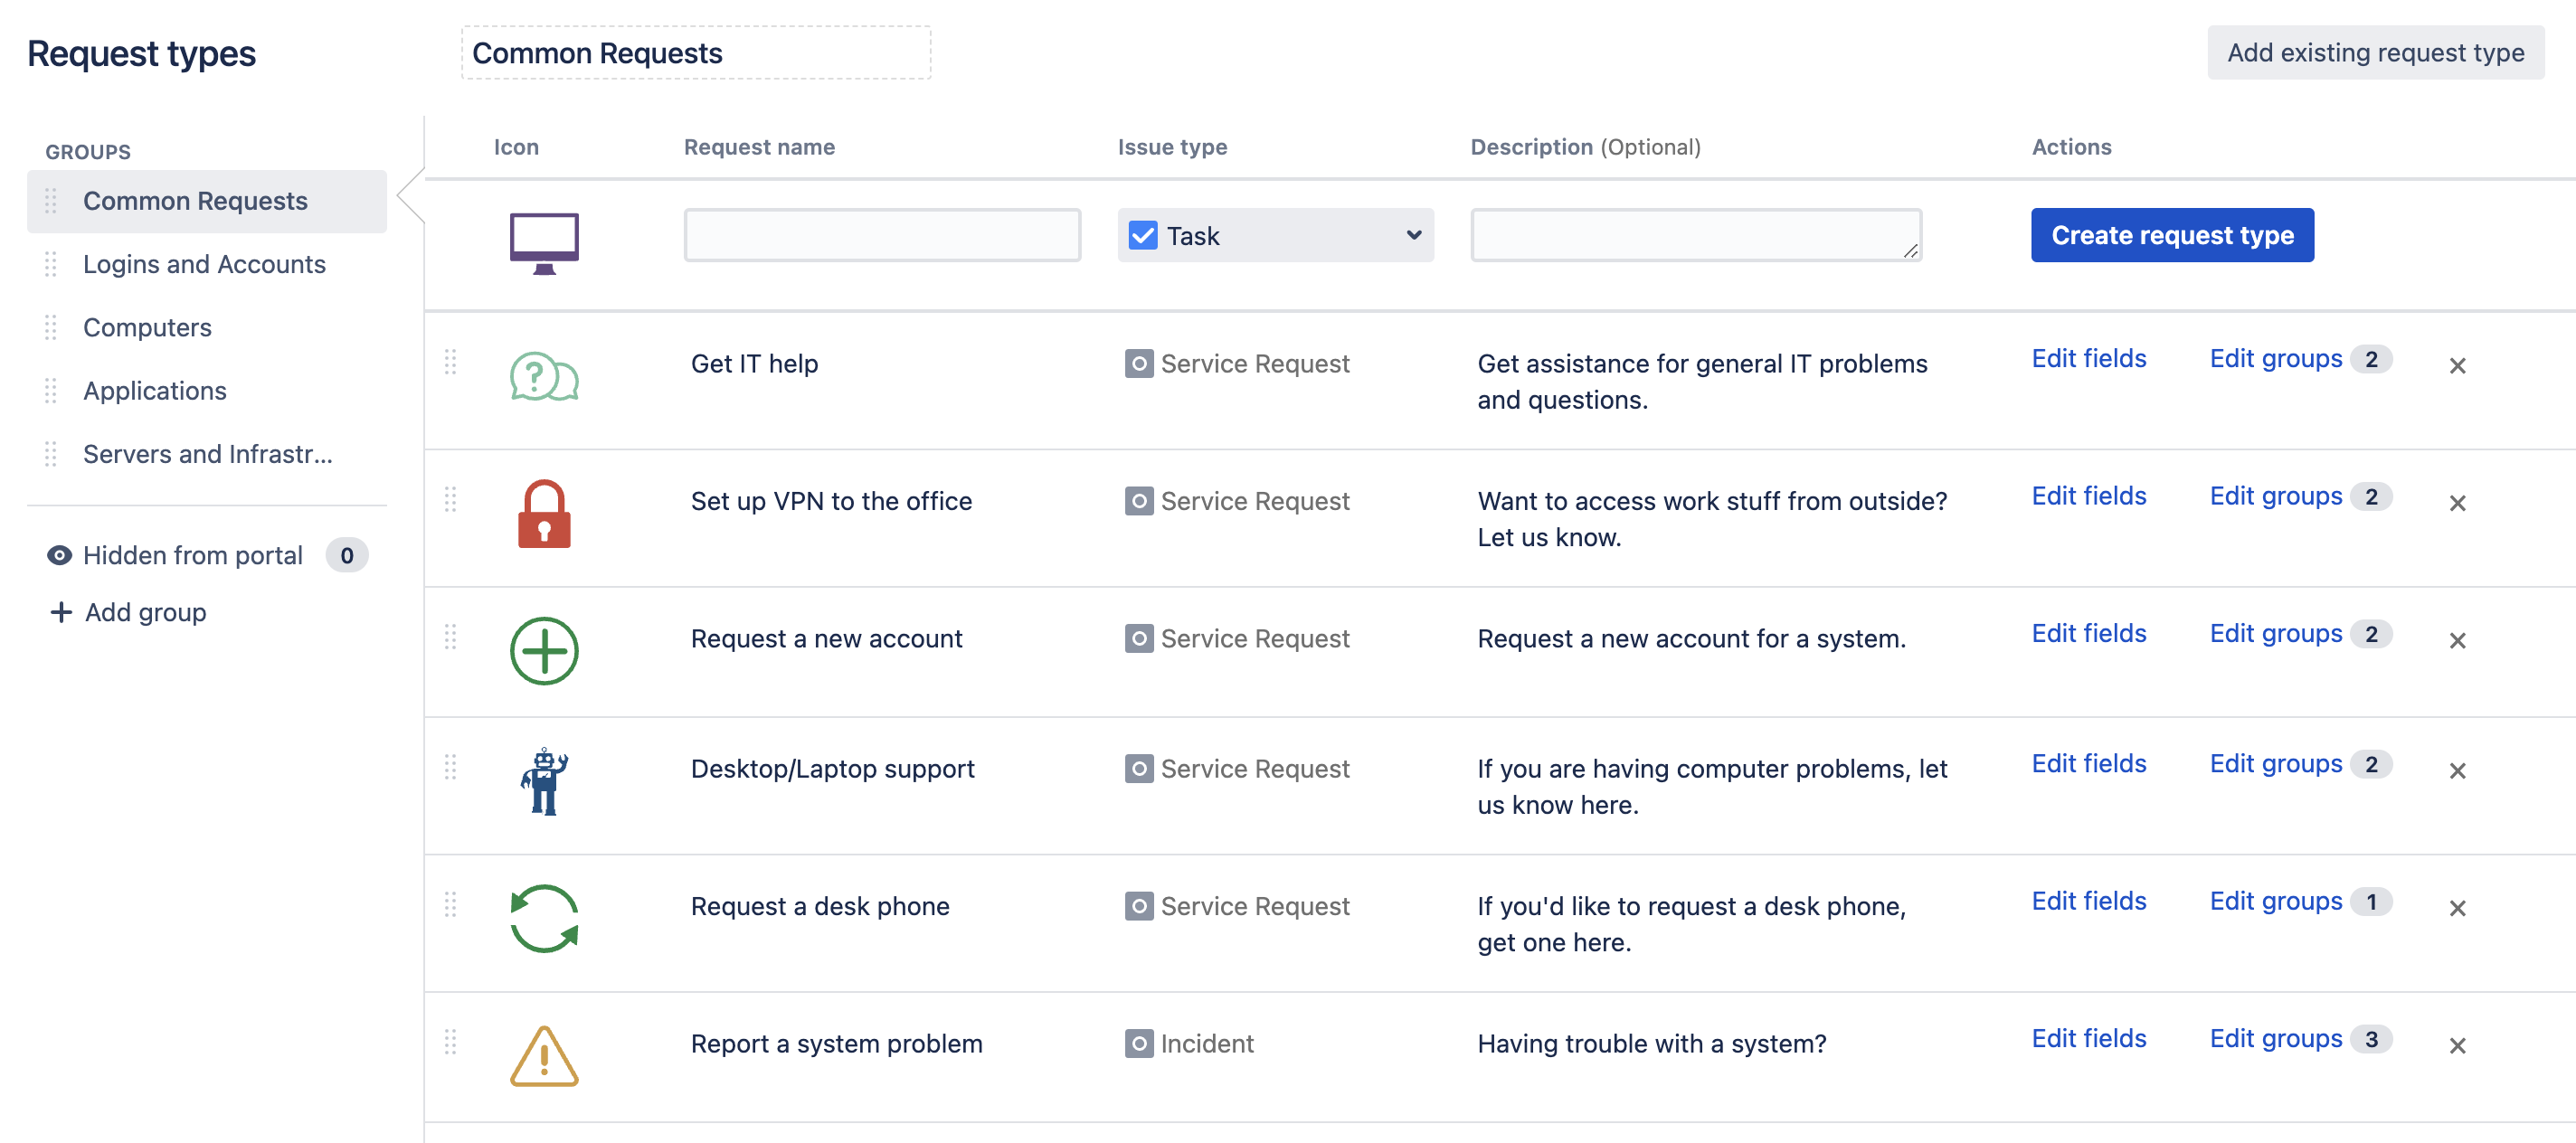
Set up request types
Jira Service Management includes several request types that address common IT help scenarios. The request types are organized into groups by default to help customers quickly find what they need.
You can customize the types of requests that customers raise from the portal and also the groups associated with request types. For example, you can add a 'Common requests' group to help customers address issues like IT support.
To create and manage request types, from the sidebar of your project, select Project settings then Request types. More about setting up request types
Add transitions
If you want help-seekers to update the status of their request, you can allow transitions on the customer portal. For example, when an agent shares a knowledge base article that solves the help-seeker’s problem, the help-seeker can mark their request as resolved directly from the portal.
To add a transition to the portal:
- From the sidebar of your project, select Project settings then Workflows.
- Select the Edit (pencil) icon against the workflow that has the transition you want to add to the portal. For example, Service Request Fulfilment workflow for Jira Service Management.
- In your service project, go to Project settings then Workflows.
- Select the pencil icon next to the workflow that has the transition you want to add to the portal.
- Select Diagram to open the diagram view.
- Select the transition in the workflow, and then select the Show transition on the customer portal check the box.

Customer transitions behave slightly differently than other workflow transitions:
- Screens don't display on the customer portal. When you add a transition to the portal, you can set a resolution for requests that customers transition.
- When an issue is transitioned from the portal, it bypasses any validators that are defined for the transition.
For more information on workflows and transitions, refer to Advanced workflow configuration.
If the portal transition doesn’t seem to work, check if there's an automation rule in conflict with the transition. For more information on automation rules, refer to Automating your service project.
Manage access to your portal
You can configure your portal access in different ways:
- Allow anyone to sign up for an account to your portal.
- Allow only customers you’ve added to the service project.
If a Jira admin has configured the login-free portal setting across your Jira Service Management instance, anyone can access your portal and raise requests without logging in.
More about managing access to your service project
The customer portal integrates with Atlassian Crowd, Atlassian's single sign-on (SSO) framework. For information about integrating with third-party SSO providers, refer to Single sign-on integration with Jira and Confluence.
Choose whether you need search
If you haven’t linked to a Confluence knowledge base and don’t anticipate that help-seekers will search through different request types, you can keep your portal simple and neat by disabling the search bar.
- From the sidebar of your project, select Project settings then Portal settings.
- In the Search section, clear the check box.
This setting doesn’t affect the search bar in your help center, which will be always be enabled.
Enable comment reactions
Your can allow help-seekers to react to comments with emojis. By default, comment reactions are disabled on the portal.
To enable comment reactions:
- From the sidebar of your project, select Project settings then Portal settings.
- In the Comment reactions section, select the Allow comment reactions on the customer portal for this project check box.
View all customer portals in your help center
The help center shows all of the customer portals in your Jira Service Management instance. From here, customers can raise requests in any of the portals they have access to.
Using the Requests button in the top-right corner of the screen they can view all requests they’ve raised. The filters and the sort options in the columns helps customers quickly locate requests.
How to view requests in the help center

Share the help center or portal
To share the help center with your customers, send them the following link:
http://<your_computer_name_or_IP_address>:<your_http_port_number>/jira/servicedesk/customer/portals
If you add a customer to a service project, they'll have an account in the help center.
To share the direct link to a specific portal, send them the Visit the portal link from Customer channels of that service project.