Configuring request view
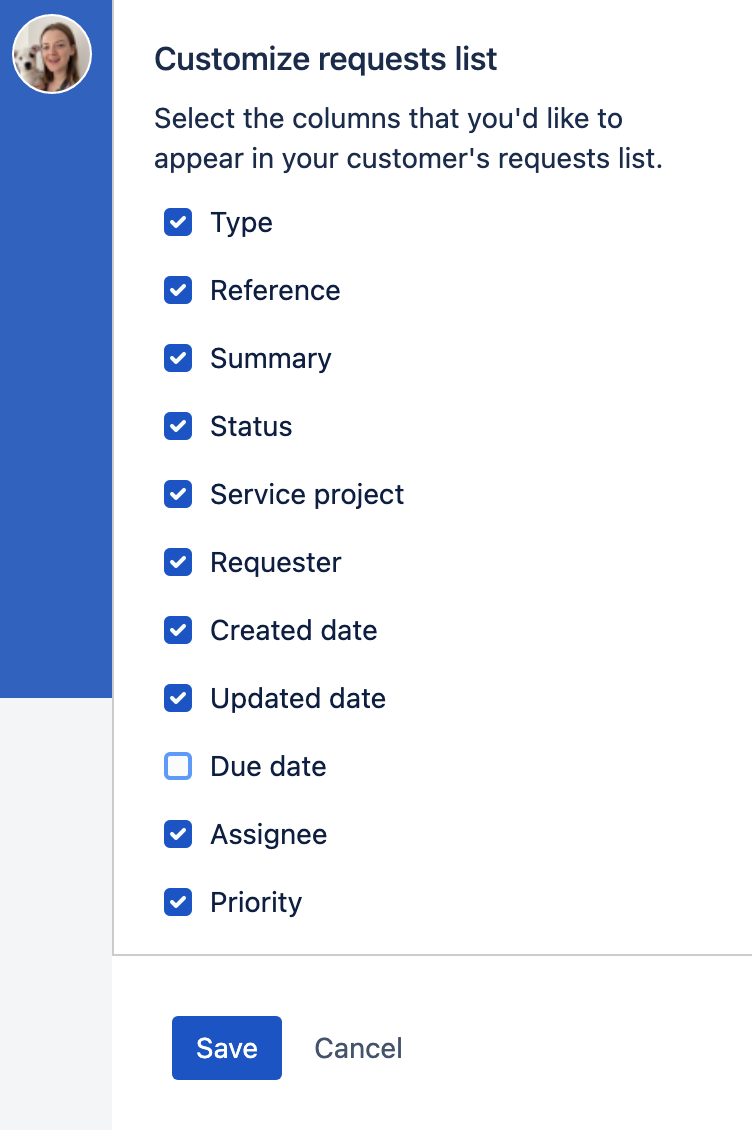
Your customers with accounts can view all their requests in the help center. It’s up to you which columns are available to them, though. Selecting specific columns will allow your customers to see and configure those columns in their requests list.
Customize available columns as an admin
You need to be a Jira admin to customize the request view.
Once you save this configuration, it applies globally to all requests.
To select columns available to your customers:
Go to the help center.
Select Requests > All requests.
From the top navigation bar select Customize.
- Select the checkboxes next to the columns you want to add or remove.
Select Save.
Configure the requests list view as a customer
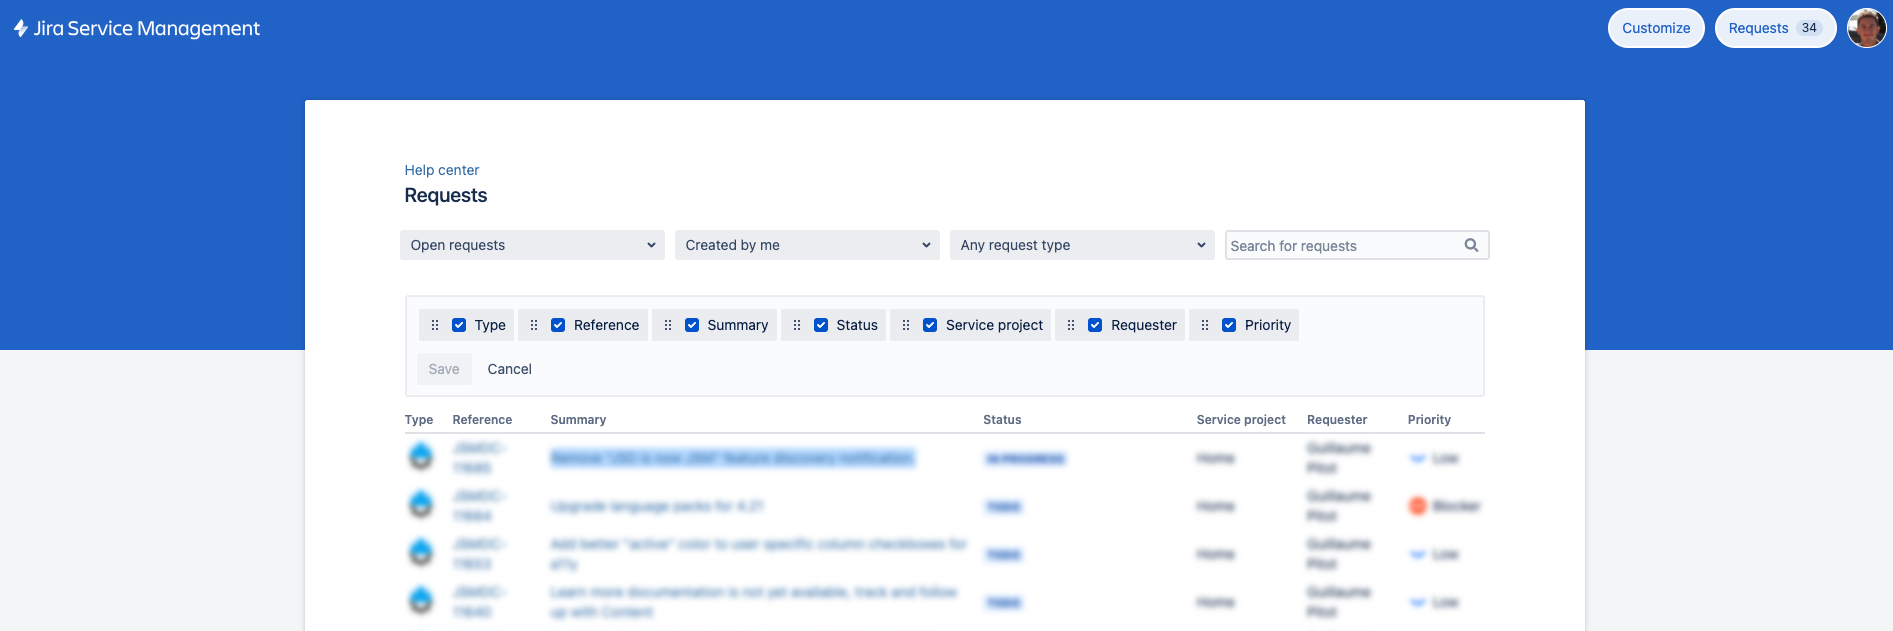
After you specify which columns are available to your customers, they can configure their requests list view according to their needs. Customers can change:
Which columns they want to see in their requests list
The order of columns
How columns are sorted
To configure the requests list view, a customer needs to go to the help center, then select Requests > My requests. Selecting the more actions menu (•••) will enable them to configure the columns in their requests list and their order.
To sort a column, the costumer needs to select the column title.
You can sort the following columns:
Column name | Sorting type |
|---|---|
Reference
Also known as “Issue key”.
|
|
Requester |
|
Created date |
|
Updated date |
|
Due date |
|
Assignee |
|
Priority |
Descending order = highest priority > lowest priority. |


