1. Update the change management workflow
Jira Service Management has a default change management workflow, but we’ve updated it with additional statuses and transitions. You can download the ready workflow from Atlassian Marketplace, and have all the missing statuses created automatically.
Your new workflow at a glance
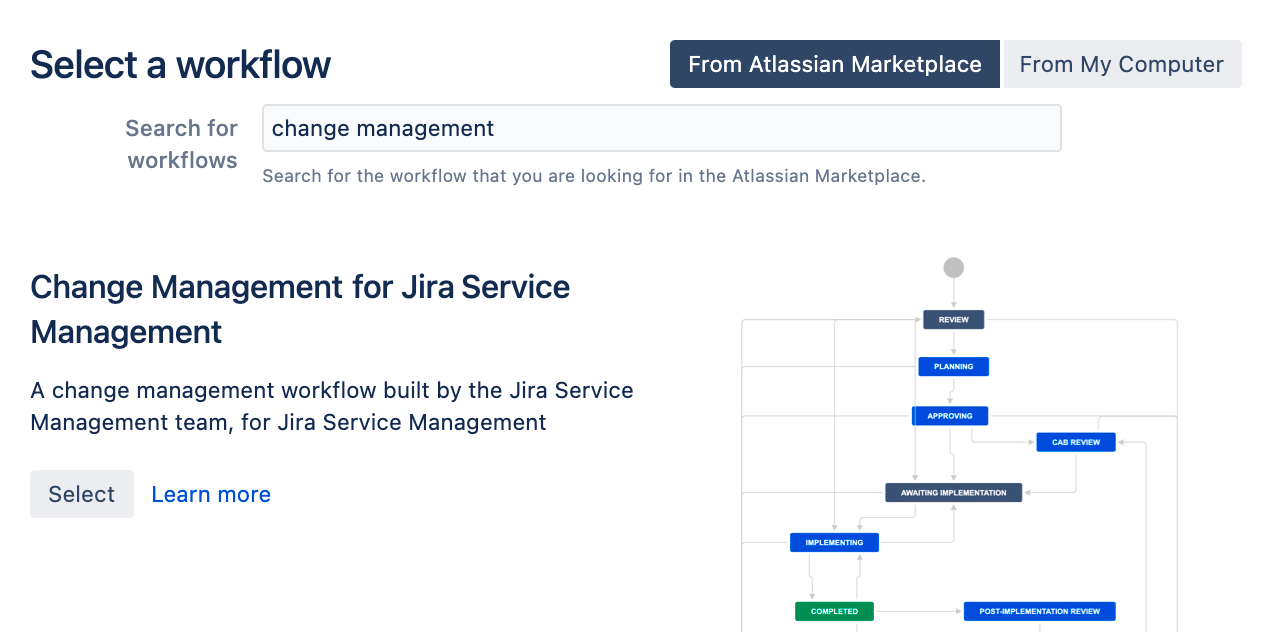
Here’s what the new workflow looks like. The statuses closely follow the ITIL best practices and terminology:
Download the workflow
To download the change management workflow:
Go to Administration > Issues > Workflows.
Select Import > Import Workflow.
Select From Atlassian Marketplace, and search for Change management for Jira Service Management.
Click Select and enter the workflow name.
Review statuses
After importing the workflow, Jira will automatically match the statuses to the ones that already exist in your instance and suggest creating new ones. We recommend that you do it as presented on the screen.
The following statuses would be created in a default Jira instance:
Approving
CAB Review
Post-implementation review
Review
If you’re happy with them, just click Next and then Import. Alternatively, you could try mapping these missing statuses to some similar ones that you already have.
Associate the workflow with your project
To associate the workflow with your project:
Open your project, and go to Project settings > Workflows.
Select Add Workflow > Add existing.
Select the new Change management for Jira Service Management workflow.
Assign the Change issue type to this workflow.
When you publish the workflow, your issues will be migrated and your project will start using it.
Next steps
When you’re ready, go to 2. Create resolutions, post-functions, and priorities.


