3. Create and update custom fields
Most of the custom fields used for change management already exist in Jira so you can reuse them, but we’ll still need to create a few – they’re needed so your team has the right fields to share their plan and approach for tackling the changes.
Review existing custom fields
Here are existing custom fields that you’ll reuse. We’re listing them for reference:
Change type
Change start date
Change completion date
Impact
Urgency
Change risk
Change reason
Change managers
CAB
Approvers (optional)
Update existing custom fields
Here are some recommendations on what to do with existing custom fields:
| Custom field | Description |
|---|---|
| Change managers | They will be used to get your change requests approved, we’ll do it in the next step. At this point, you can decide whether you want to include a list of approvers or let agents or customers add them manually. Here are your options: For more info, see Configuring Jira Service Management approvals. |
| CAB | |
| Approvers | This a default field and works just like the fields mentioned above. You can keep it, but we’ve removed it and used the Insight object/s field instead. The Insight field lets you add approvers that are related to the assets you’re changing, and they are the best approvers of your requests. Regardless of what you’ll do with this field, you’ll also create the Insight field in the next step. |
Create new custom fields
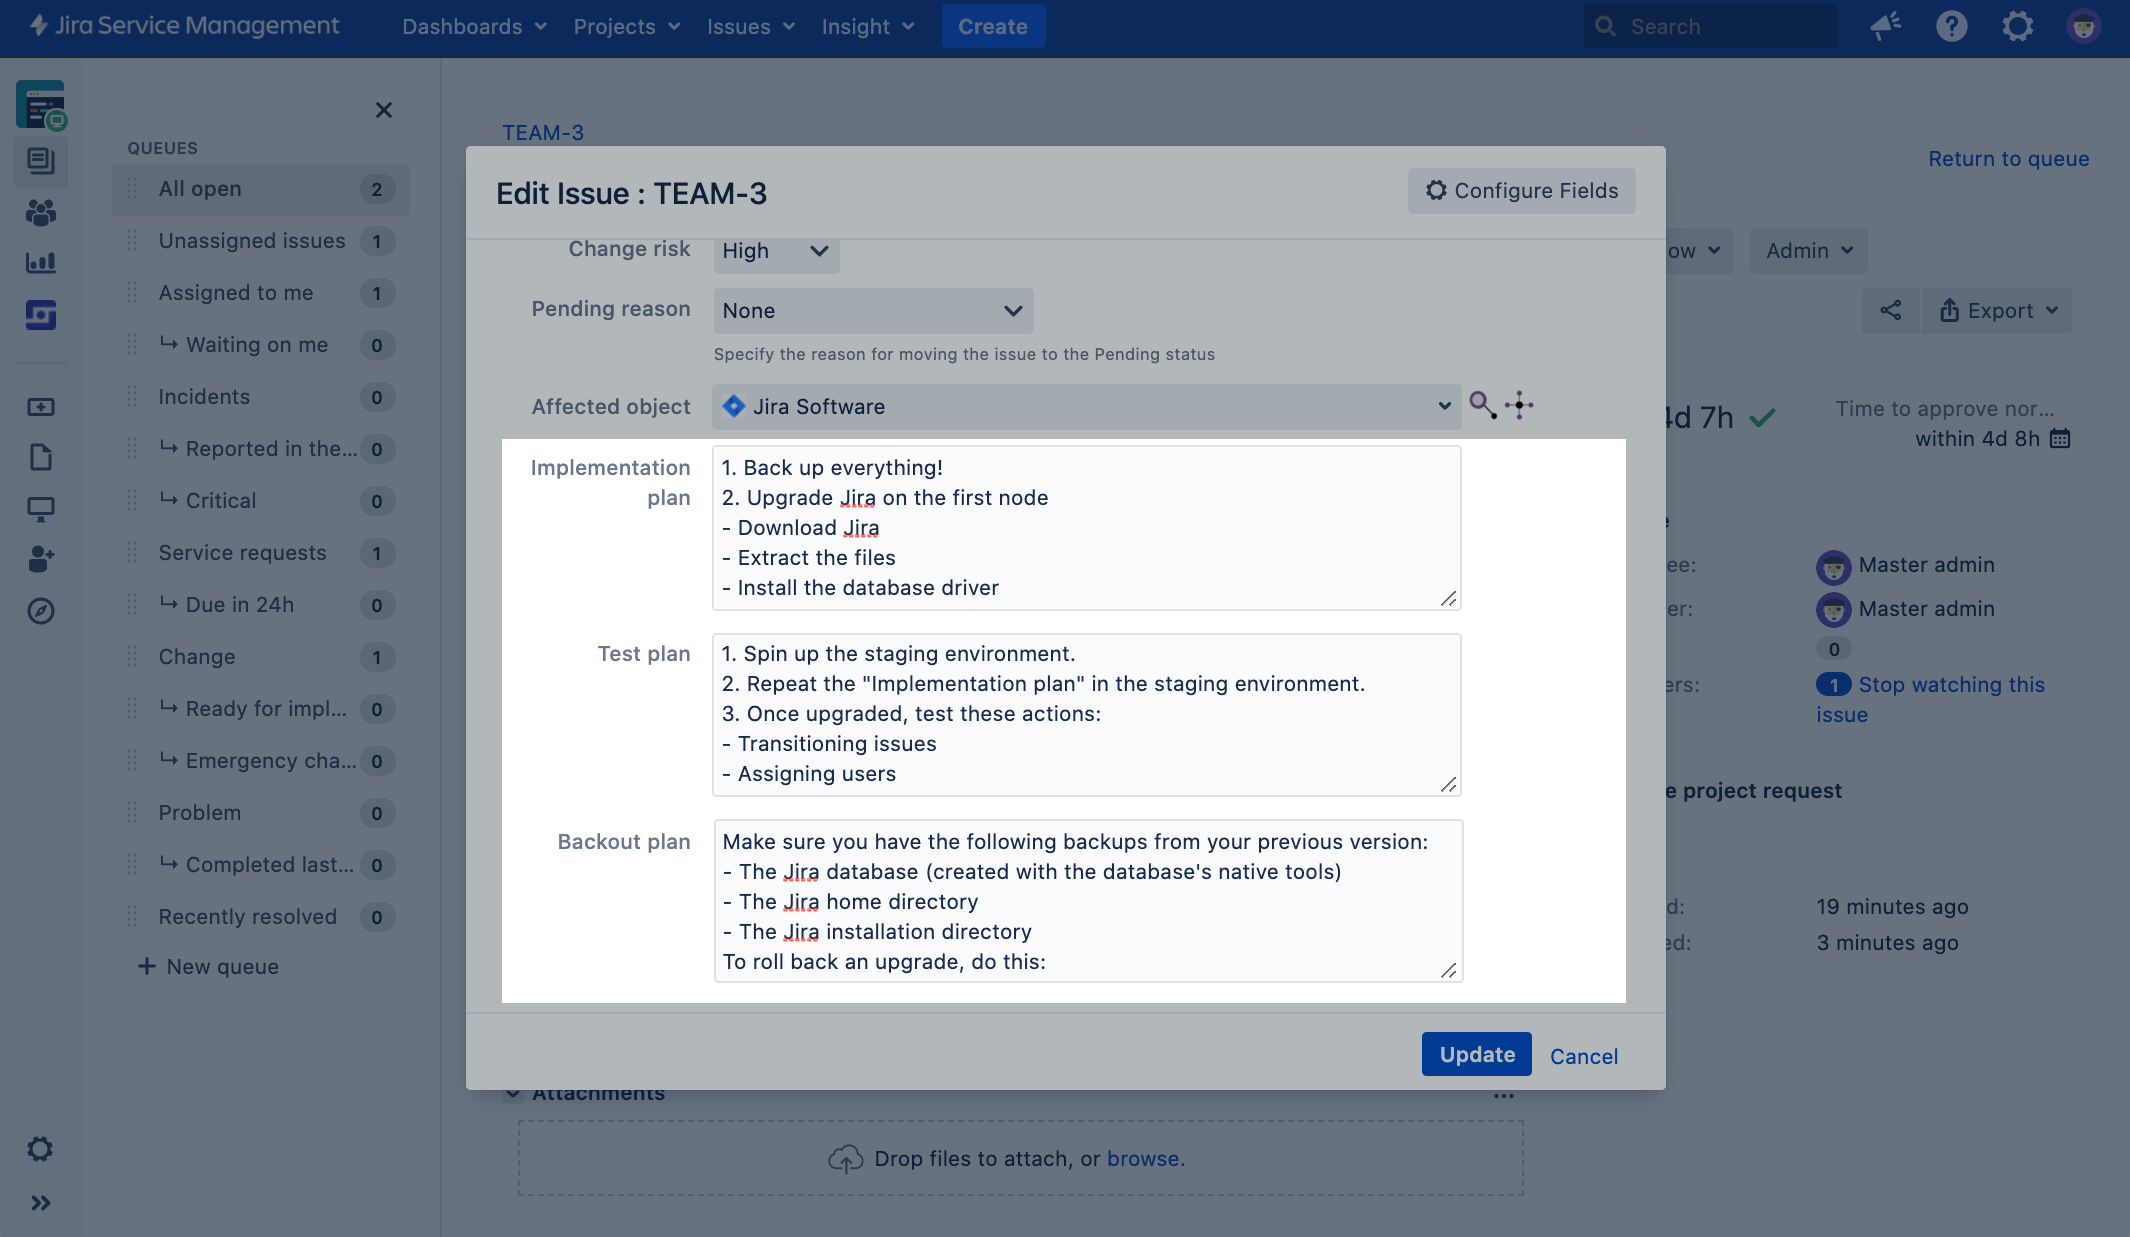
The best practice of ITIL is to have the implementation, test, and backout plans for your changes. These fields are text fields and will let you enter and store these plans when creating or editing a change.
Create the custom fields
To create the planning custom fields:
Go to Administration > Custom fields.
Select Add custom field.
Create the fields as described in the table below.
Associate each field with the Change issue type and your project.
Associate each field with the Create and Edit/View screens for your Change issue type.
Just to give you some tips – in a default Jira instance, these screens would be called:
Project key: Jira Service Management: Change Create Issue Screen
Project key: Jira Service Management: Change View/Edit Screen
| Custom field | Type |
|---|---|
| Implementation plan | Text field (multi line) |
| Test plan | Text field (multi line) |
| Backout plan | Text field (multi line) |
View the new fields
Here’s how these fields should look on your changes:
Enable the fields on the customer portal
By default, all these custom fields are available only in the agent view. If you’d like customers to create change requests through customer portal, you need to enable and show them on the portal.
To enable fields on the customer portal:
Open your project and go to Project settings > Request types.
Create or select a request that will work as a change request for your customers.
Select Edit fields.
Select + Add a field, and add your fields. After saving, they should appear in the Visible fields section.
Next steps
When you’re ready, go to 4. Link your project to Insight asset management.

