Setting up approvals
How it works:
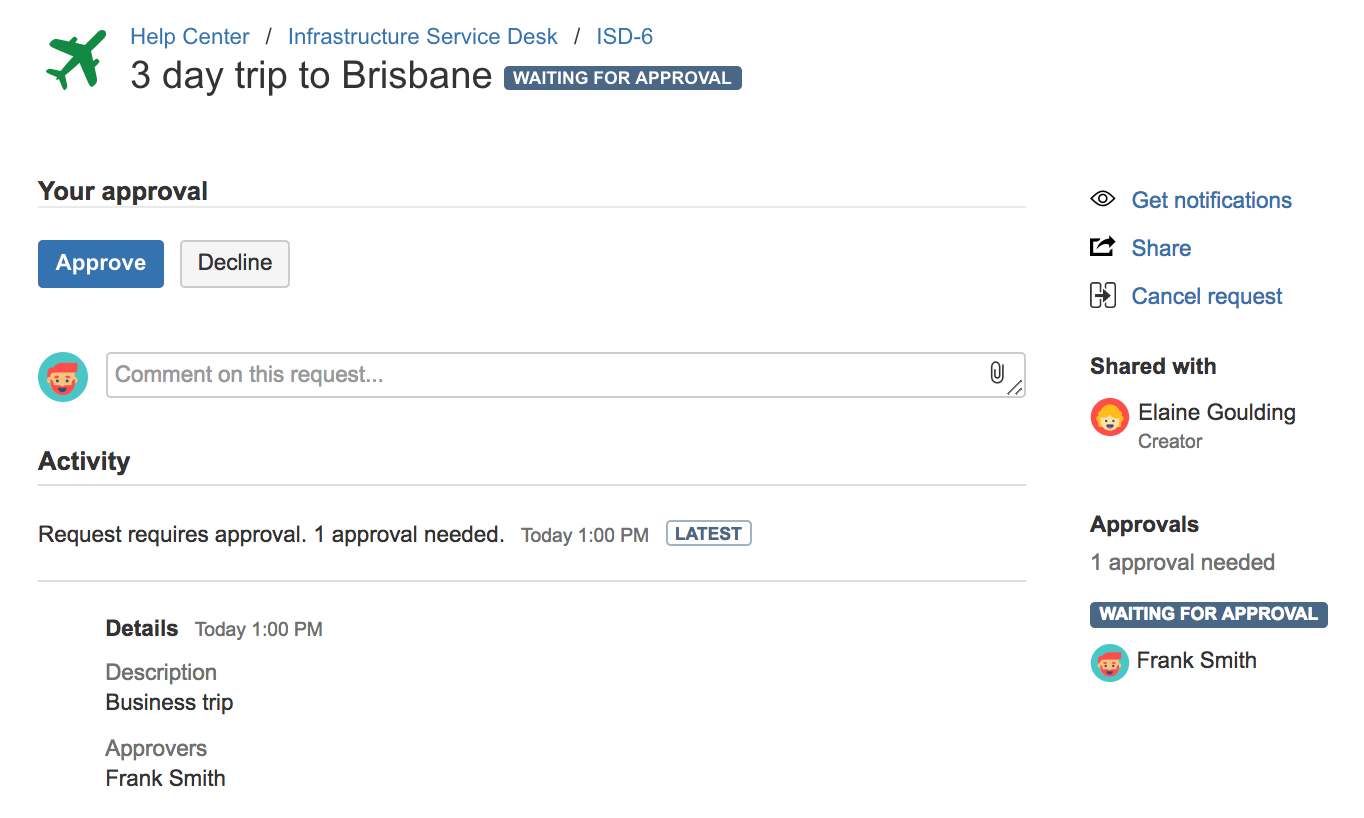
- A customer creates a request on the customer portal, and selects the approver required by entering the user name or email address. Alternatively, you can hide the approver field from the customer, and set up a defined list of approvers who are required for that request type.
- When the request enters the approval status the approver will receive an email.
- If the Request details and Approval buttons variables have been added to the approval notifications template, they can view the full details of the request and take action from within the email.
- If the Request details and Approval buttons variables have not been added to the approval notifications template, they can view and action the request through the service desk customer portal.
- The approver can Approve or Decline the request and add an optional comment. The customer receives a standard notification when the request is transitioned out of an approval step, and when the approver leaves a comment.
- If declined, the request moves to the next status in the workflow.
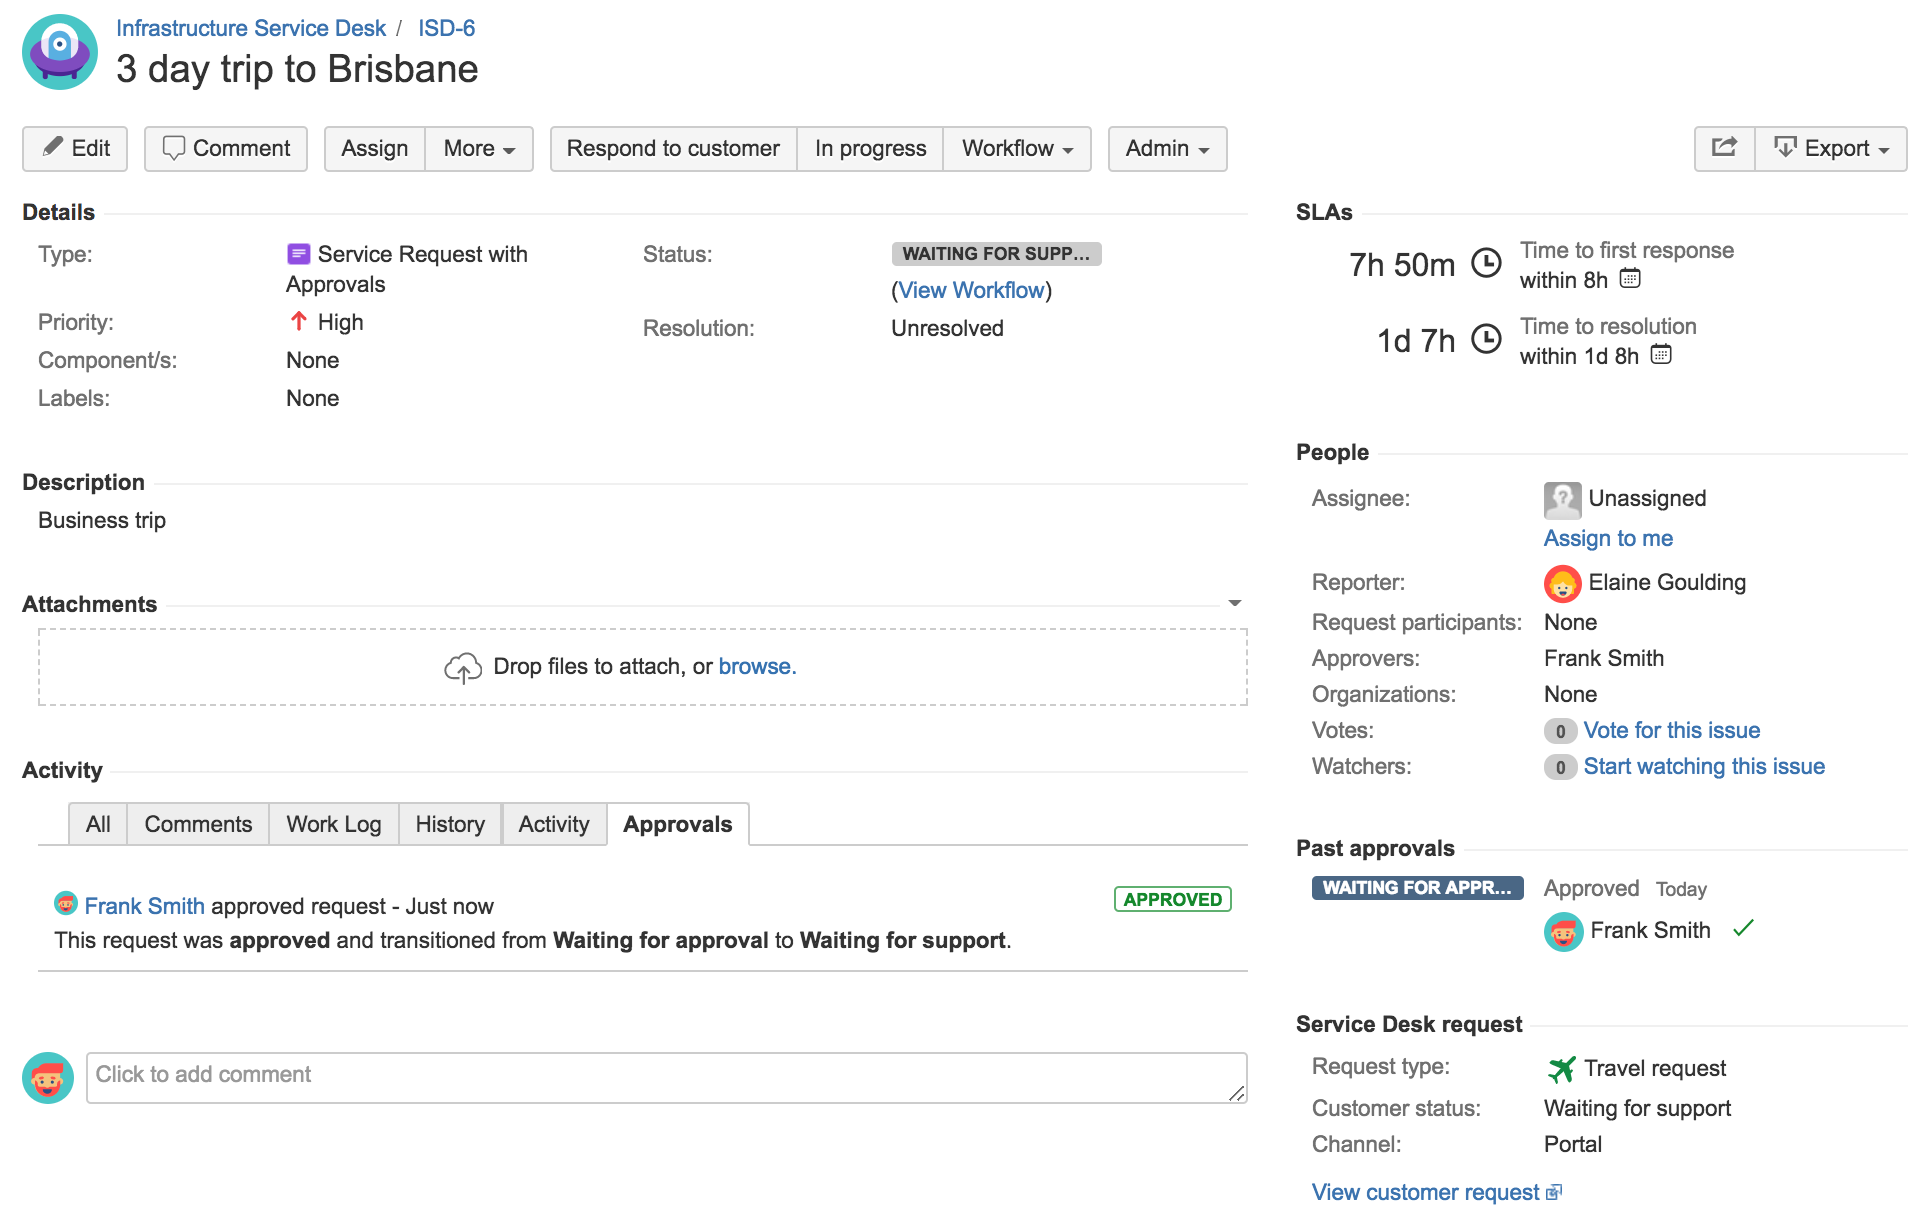
- If approved, the request moves to the next status in the workflow, and an agent is able to work on it.
Setting up an approval step
To set up an approval step on a workflow for your project, you need to have the Jira administrator global permission.
Here are the steps to get approvals working for your project:
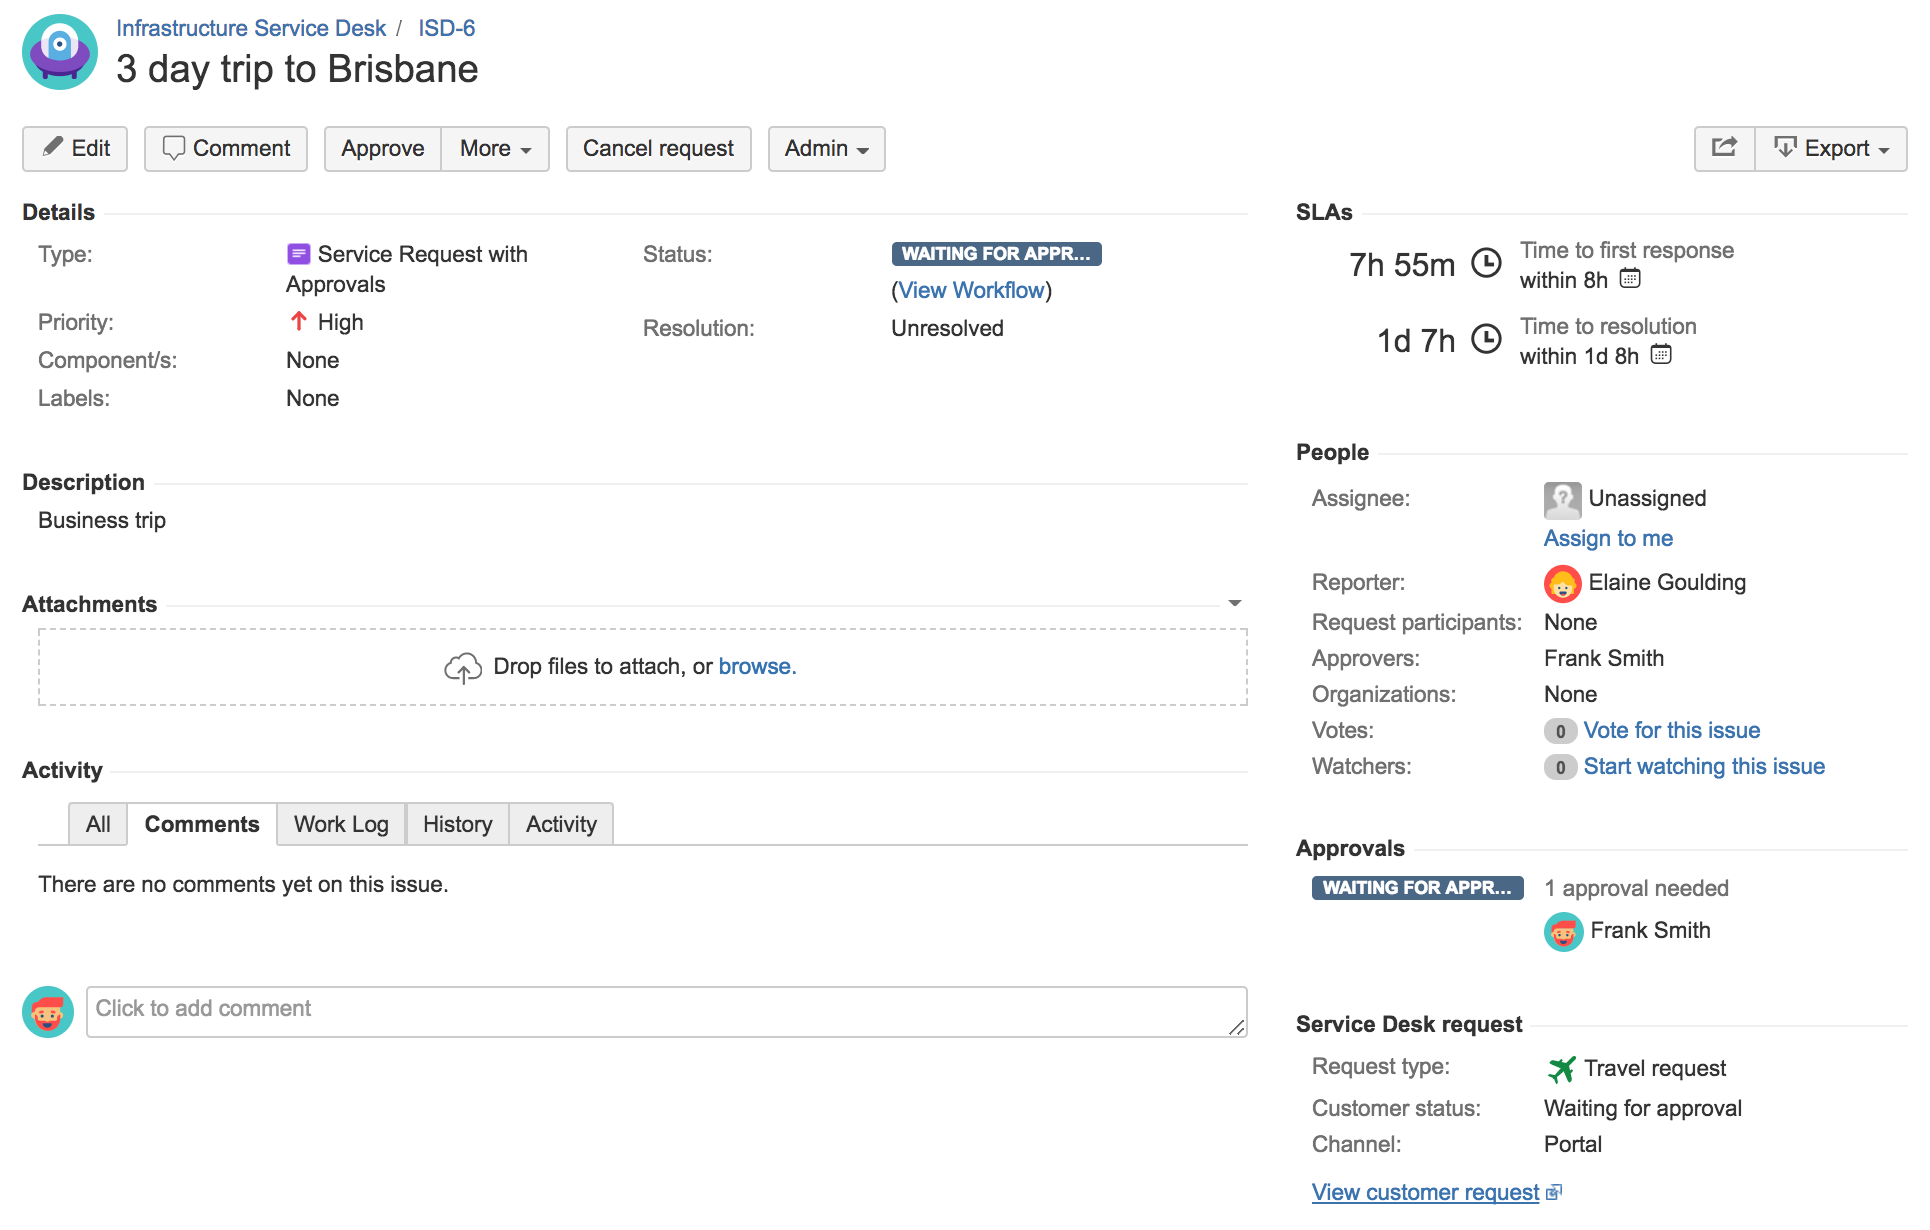
- Jira Service Management creates the Approvers custom field automatically. If you want to use another field, make sure you have a user picker custom field available in your Jira instance and on the screens used by your project - this is used on the approval step.
- Add the same user picker custom field to your request type if you want your customers to choose the approver - this will provide the field for your request that allows an approver to be selected.
- Configure the approvals step on the workflow - this allows you to decide if you require one or multiple approvers, and what happens when the approval is declined or approved.
Detailed steps on setting up an approval are available in the Jira administration documentation.
If you set up your approval step on a status with only two outgoing transitions, they will be used for Approve and Decline. In this case, agents can view requests that require approval, and can modify the approver if required, but they can't change the status until the approver has actioned the request.
If you set up the approval step on a status that has more than two transitions, an agent will be able to transition the request using any of the other transitions that aren't defined as the Approve or Decline transitions. This means the approval step is not enforced.
In certain situations, you may even want to add additional approval steps. For example, if a request needs to be approved by your manager first, and then approved by your finance department. Below are some examples of how you might use approvals:
| Request type | Approval field | Approver | Notes |
|---|---|---|---|
| Office equipment | Visible on customer portal | Customer selects approver | The customer should select their manager for approval, as each customer could have a different manager. |
| Computer software | Hidden from customer portal | Set list of approvers | You set the list of approvers, this could be several members of your finance team. |
| Flights | Two approval steps, one visible, one hidden | First approver is selected by customer. Second approver is a set list | The customer can select the first approver, which could be their manager who approves the business case for their trip. The second approver is from a set list (maybe a finance team) that approves the payment of the flights. |
Best practice customizations
You can make the approval process more awesome by making some simple customizations to your service project, and that means both you and your customers have a better experience.
- Make sure you make the name of your multi-user picker custom field, customer friendly on your request. And add a useful help tip, like how many approvers may be required. This will help ensure your customers provide all the correct information first time. Read up on customizing the fields of your requests for more information on how to do this.
- When the approval of a request is declined, consider closing the request straight away. This means that if you're setting up a custom approval step, you should ensure that the transition you select for decline leads to a status in the Done category, and the transition has a post function to set the resolution status.
Workflow showing Declined transition leading to Declined status in the Done category
- It's good practice for your approvers to add a comment telling the customer why their request has been declined, and what their next steps should be; for example, the customer should open a new request and provide more information regarding their requirements.
Auto-approve requests
You can use automation rules to auto-approve requests that meet certain conditions. For example, you might auto-approve hardware requests that are under a certain amount.
To set up an auto-approval, create an automation rule with the THEN action auto-approve. For example, any hardware requests created for an item that costs less than $20 are automatically approved, or any software requests over $10,000 are automatically declined.
In the example below, we've set up a rule for our customer reimbursement requests, and if the Customer value is under $50, the request is automatically approved.
For more information, see Automating your service project.


