Install Team Calendars

Team Calendars offers great tools for planning and managing your events, whether they're travel, conferences, birthdays, or JIRA issues and sprints. Follow the installation instructions below to start organizing with Team Calendars.

Install Team Calendars

Get your license

Visit https://my.atlassian.com, generate a license key for Team Calendars and save it. 
Next, install the plugin and insert your license.

Install the Team Calendars plugin

  1. In Confluence, go to  > General Configuration > Find new add-ons
  2. Search the Marketplace for Team Calendars
  3. Choose Buy Now to download and install the Team Calendars add-on for Confluence
  4. Paste your license key into the field provided and click Update, or follow the prompts to get a license if you don't have one. 

This step is optional and only required if you want to use JIRA integration with Team Calendars.

See Linking to Another Application in the Confluence documentation to find out how to connect Confluence to your Jira application using an application link. This only needs to be done once. 

If, after connecting Confluence to Jira you're still not able to add Jira events to a Team Calendar, make sure the Jira iCalendar Plugin is enabled in your JIRA site.  This is bundled with Jira, but may have been disabled by an administrator.

Update your license key

When you renew your Team Calendars license you'll be provided a new license key.  You'll need to manually apply this key in Confluence. 

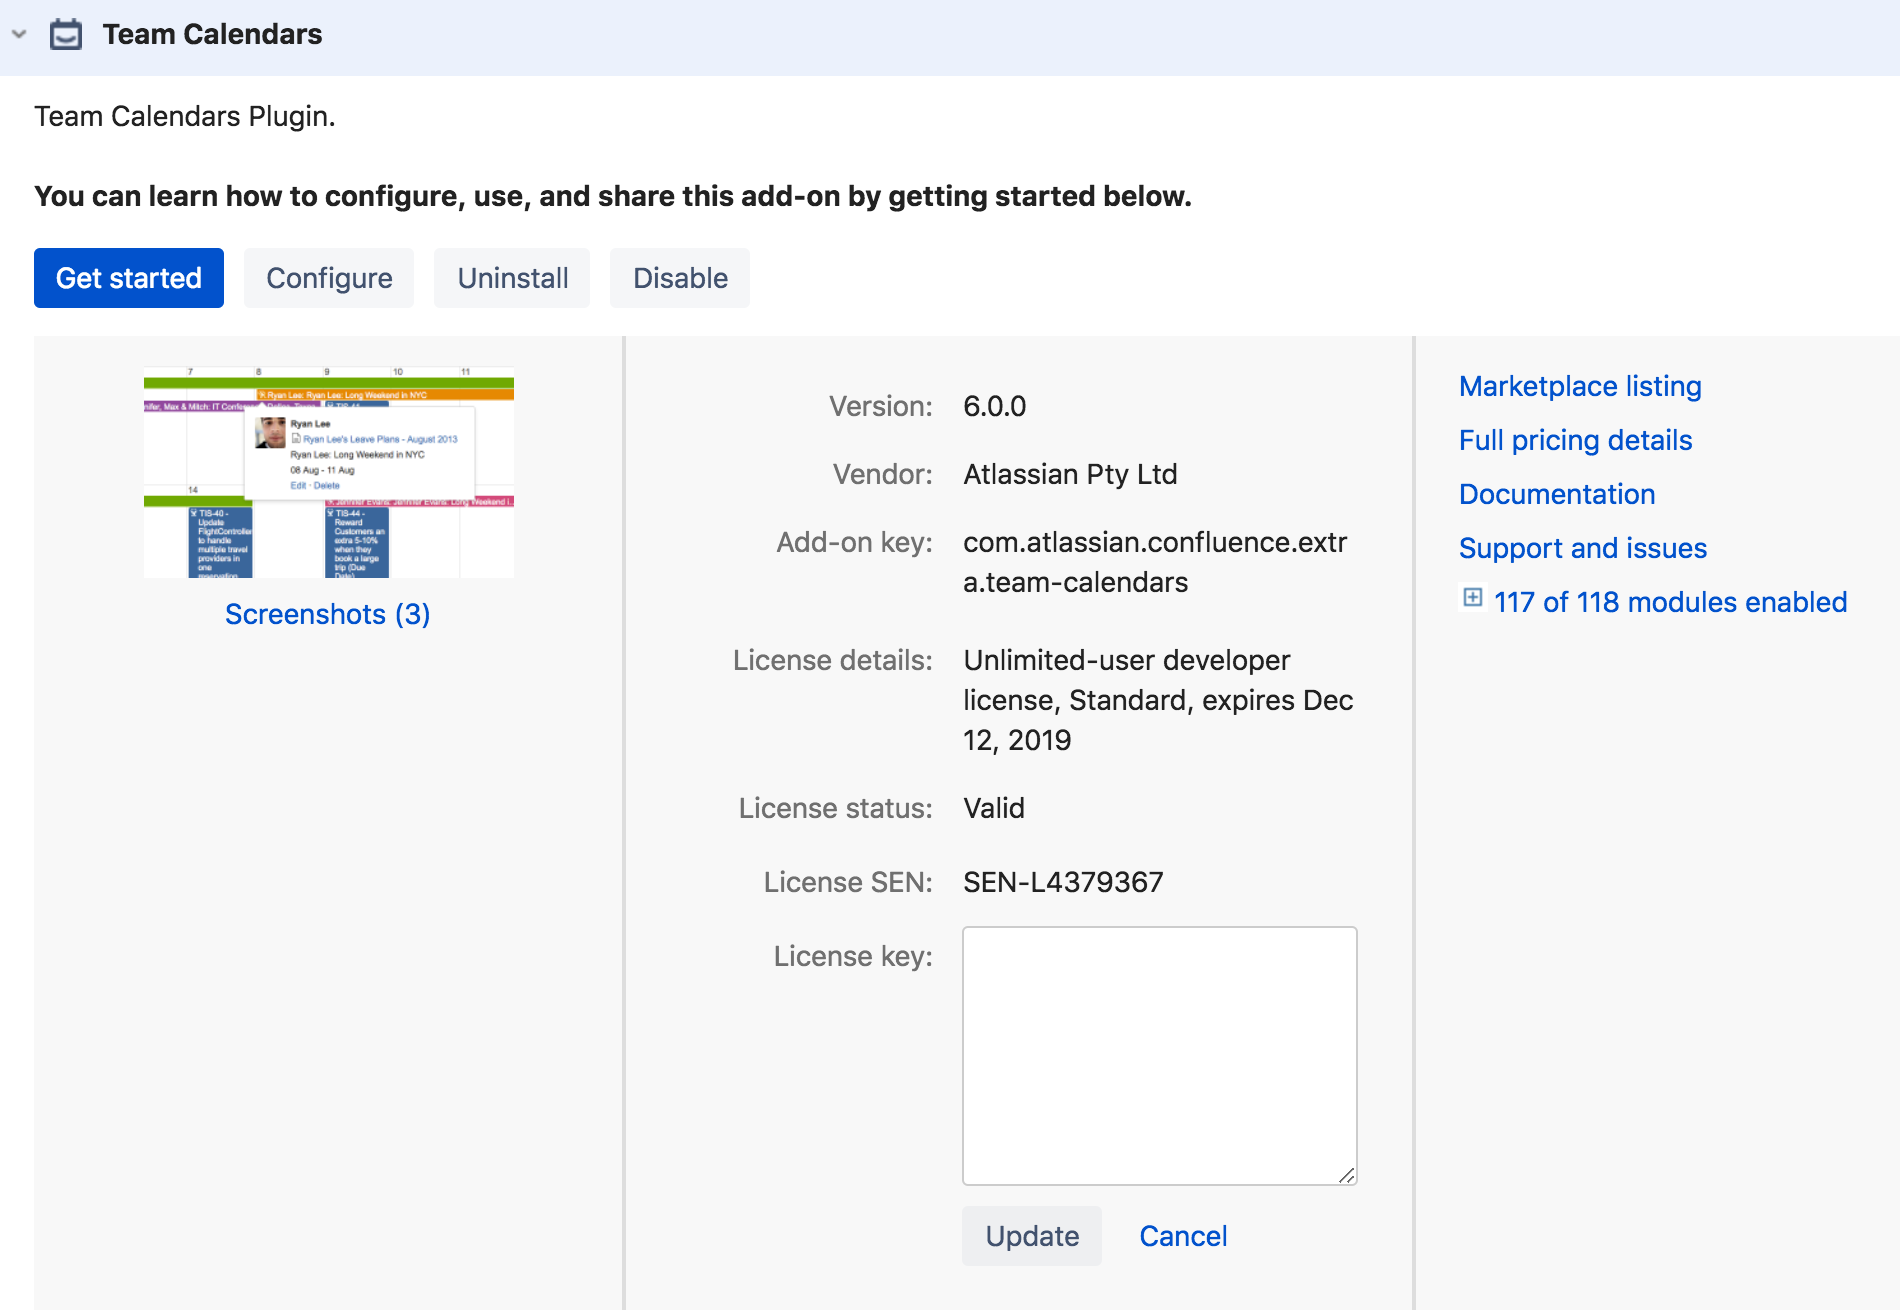
To view your license key, or apply a new license key:

  1. Choose  > Add-ons
  2. Locate the Team Calendars add-on and expand to see more details
  3. Choose the Edit (pencil) icon beside your license key
  4. Paste in your new license key and choose Update

  1. License key: edit to add your new license key


Migrate from the old Confluence Calendar plugin

If you have the old Calendar Plugin installed, which was only available for Confluence 3.4.x or earlier, you'll need to go through the following process to migrate to Team Calendars.

To migrate from the old version of Team Calendars...
  1. Back up your Confluence instance
  2. Choose Download to export data from each calendar using the old Confluence  Calendar Plugin to back it up

    You'll have a .ics file for each calendar after you complete this step.
     

    To help you identify all the places where Calendars exist in your system, you can run this SQL:

    SELECT 	CONTENT.SPACEID, SPACES.spacekey, SPACES.spacename, CONTENT.CONTENTID, CONTENT.title, CONTENT.LASTMODDATE
    FROM 	CONTENT, BODYCONTENT, SPACES
    WHERE	PREVVER IS NULL AND
    	(CONTENTTYPE = 'PAGE' OR CONTENTTYPE = 'BLOGPOST')
    	AND CONTENT.CONTENTID = BODYCONTENT.CONTENTID
    	AND SPACES.spaceid=CONTENT.spaceid
    	AND BODYCONTENT.BODY like '%{calendar%'
    	ORDER BY CONTENT.LASTMODDATE DESC
  3. To Remove the old Confluence Calendar Plugin, choose Browse > Confluence Admin > Manage Add-ons and enter 'Calendar' in the Filter Visible Plugins field
  4. Expand the 'Calendar' add-on entry and choose Uninstall to remove it from Confluence
    Note: Any existing pages set up to use the old calendar plugin will no longer work, as the Team Calendars plugin replaces it and has a different syntax
  5. Follow the steps at the beginning of this page to install and activate Team Calendars
  6. To re-import your old calendar data from your backed-up .ics files:
    1. From your dashboard, choose Calendars
    2. Choose Add Calendar at the top-right of the page, then choose Import Calendar
  7. Choose the .ics file that you saved when backing up your old calendars.
    Repeat this step to add each calendar back into Confluence. 

Your old Calendar data will now display in the Confluence Calendars page.

Last modified on Apr 23, 2018

Was this helpful?

Yes
No
Provide feedback about this article
Powered by Confluence and Scroll Viewport.