Translate service project notifications
When you create a project, its help center and customer portal display in the default language from your Jira instance.
To support your customers who speak different languages, you can translate the notifications they receive like the confirmation email that lands in their inbox after they submit a request.
Check out Managing service project notifications to learn:
- how different roles receive notifications
- how to customize notifications
Add or remove a language
When you add a language, your service project introduces translated notification messages and templates from our default style.
To add or remove a language to your service project:
- Go to Project settings > Customer notifications.
- Under Language support, select Manage languages.
- Select Add languages, the languages your service project supports appear in the table.
- Choose the language(s) you'd like to translate.
- Under the Action column, you can Enable or Disable languages. We disable newly added languages by default, so you can quality check your translation before enabling it.
If a language isn't supported in your service project, your customers receive notifications in the project's default language. You'll see a project default badge beside the default language, and you can change this via the Set project default language link.
Review and translate customer notifications
To translate a customer notification:
- Go to Project settings > Customer notifications.
- Under Default rules, choose the notification to translate, then select Edit.
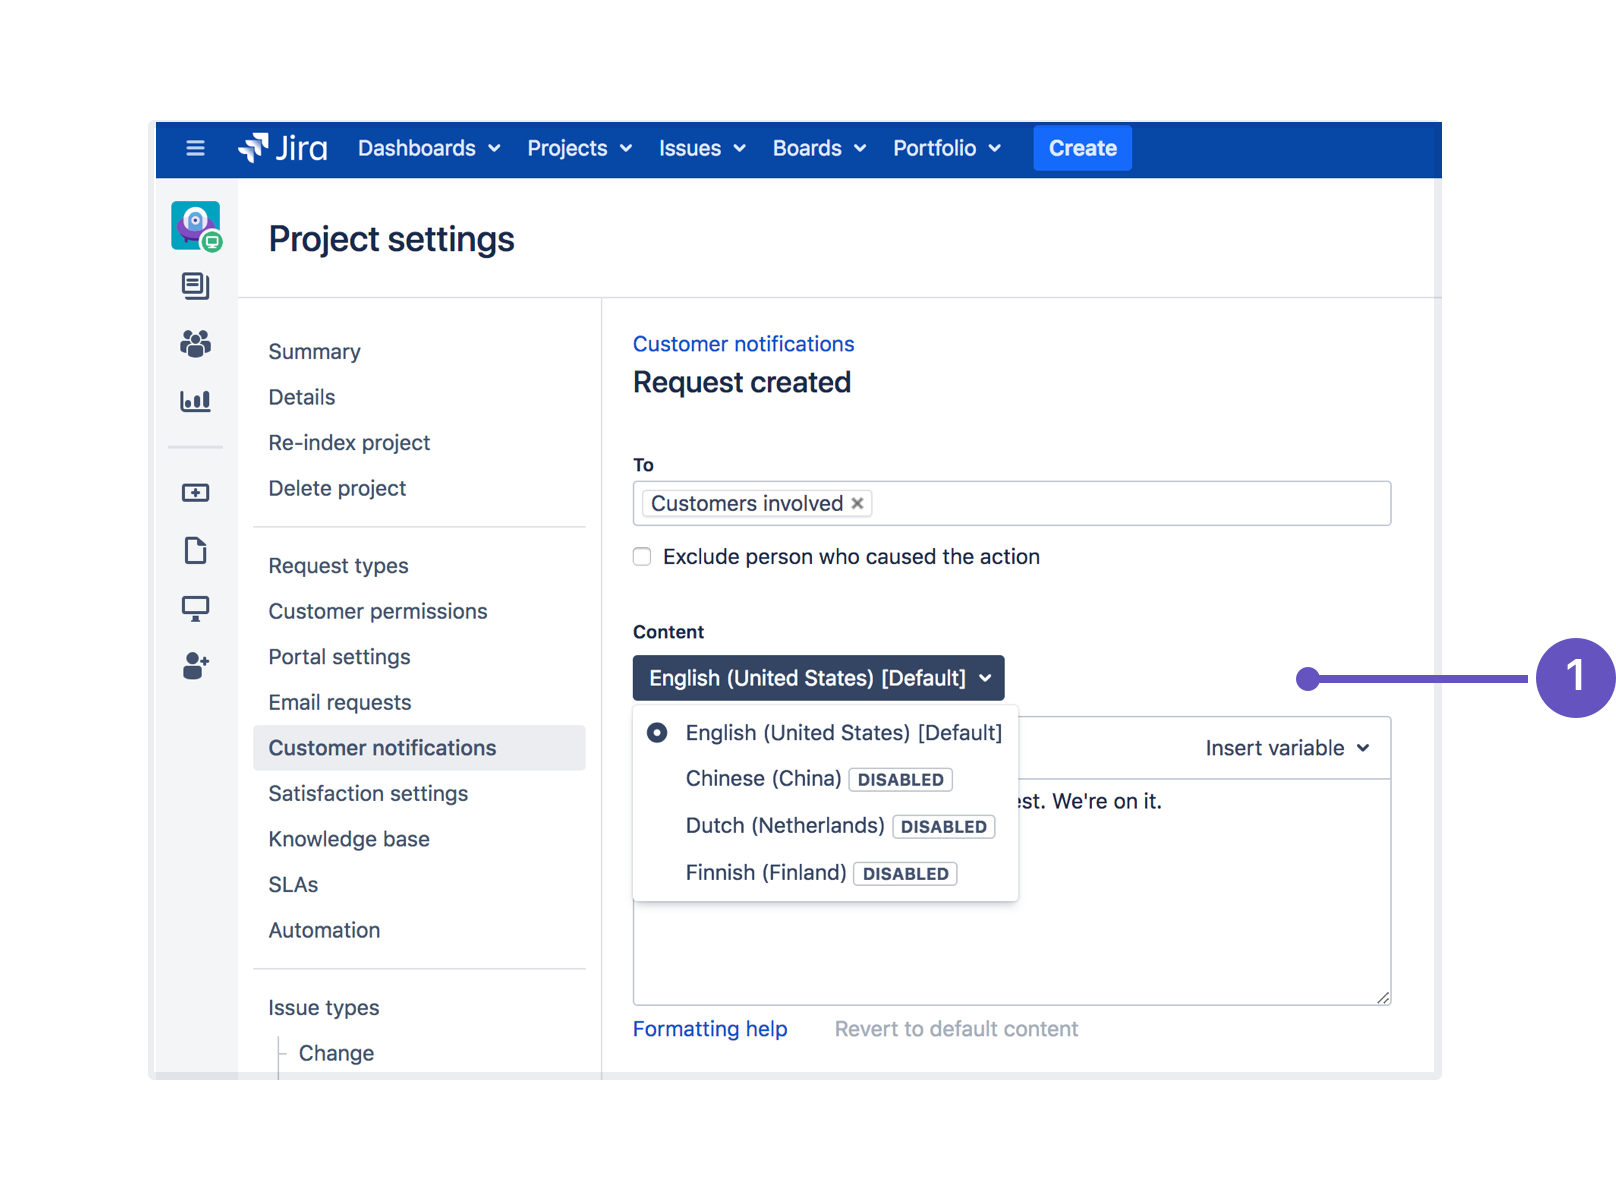
- On the notification screen, under Content, select a language from the drop down.
- Insert any additional variables or custom content. You'll need to add translations for your custom content, otherwise, customers will see that content in the project default language.
- Preview the content, then hit Save.

