Coloring issues on your timeline
In the Roadmap view of your plan, issues are displayed on the timeline as schedule bars, where the size of each bar corresponds to the issue’s start and end dates. By default, schedule bars are gray, but you can apply different colors to them for visual differentiation.
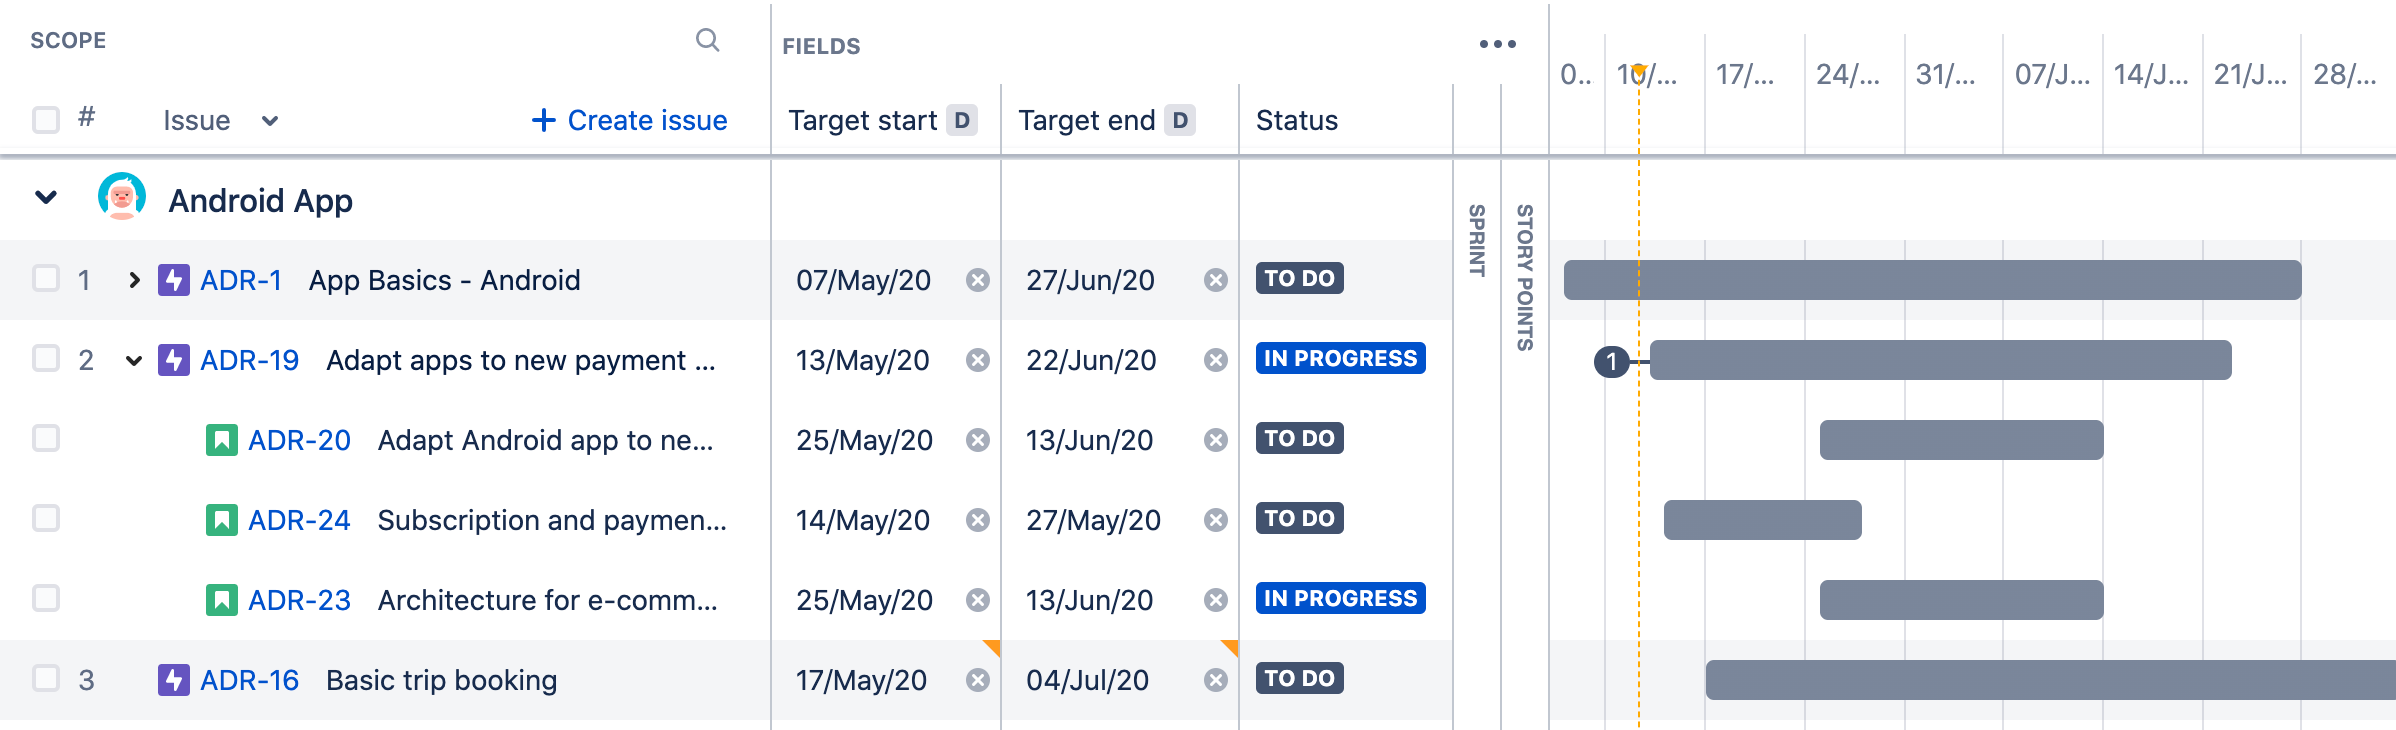
Roadmap view with gray schedule bars as default
Options for coloring
Depending on what you want to draw attention to, you can color schedule bars in different ways. Coloring helps you visualize any trends or themes that could be surfacing in your plan. This is helpful when sharing your plans with stakeholders — they can quickly pick up any relevant, visual insights.
Schedule bars can be colored by:
Project
Status
Team
For the three options above, colors are automatically assigned to the schedule bars.
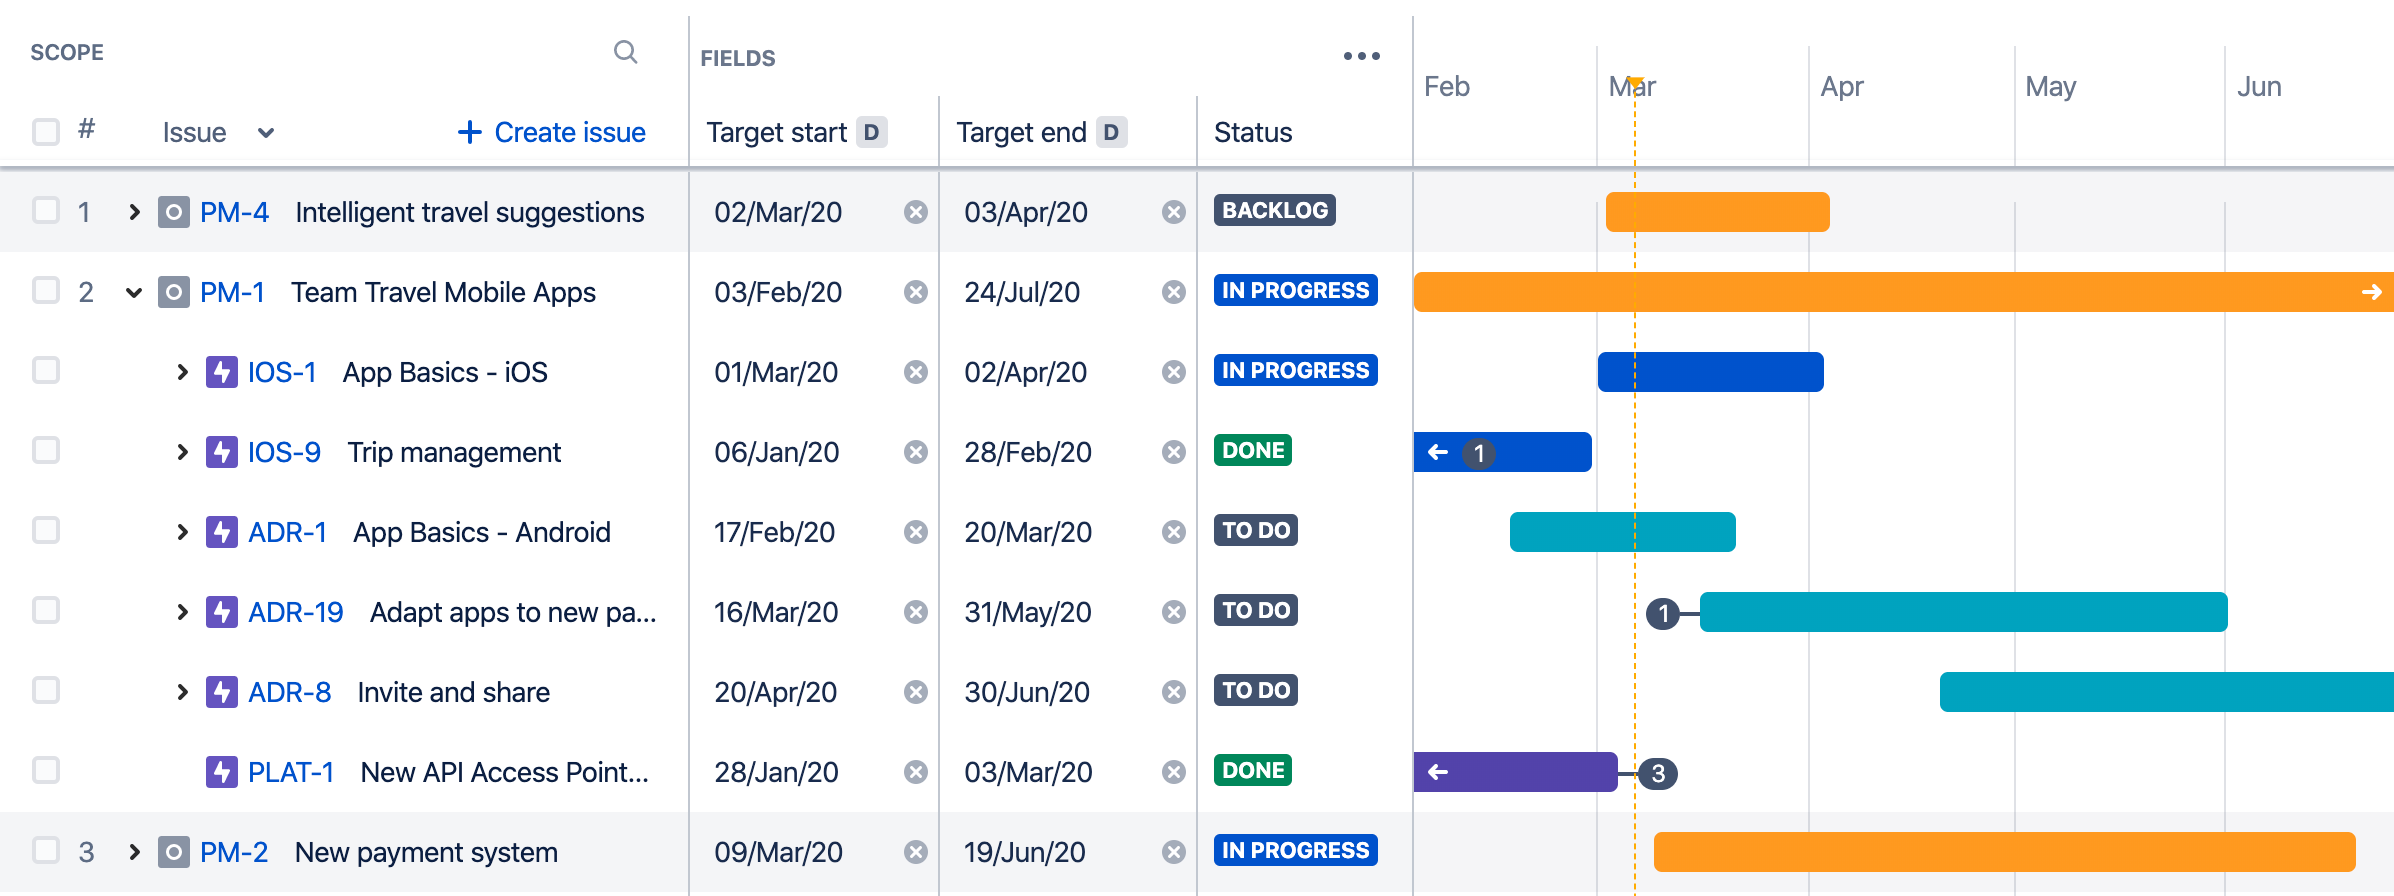
Roadmap view with schedule bars colored by project
Schedule bars can also be colored by:
Components — Only available as an option if the components already exist in Jira Software. Learn more
Labels — Only available as an option if the labels already exist in Jira Software.
Custom fields — Only available if custom fields are enabled in your Jira instance, and your plan is also set up with custom fields.
Issue type — The issue types available for you to color by are based on the issue type schemes configured for the projects being used as issue sources for your plan.
With these last four options, you can choose the colors, and it’s also possible to assign one color to multiple options, as explained in the following instructions.
Adding color to your timeline
To color schedule bars by one of the options listed above:
In the Roadmap view of the plan, click View settings.
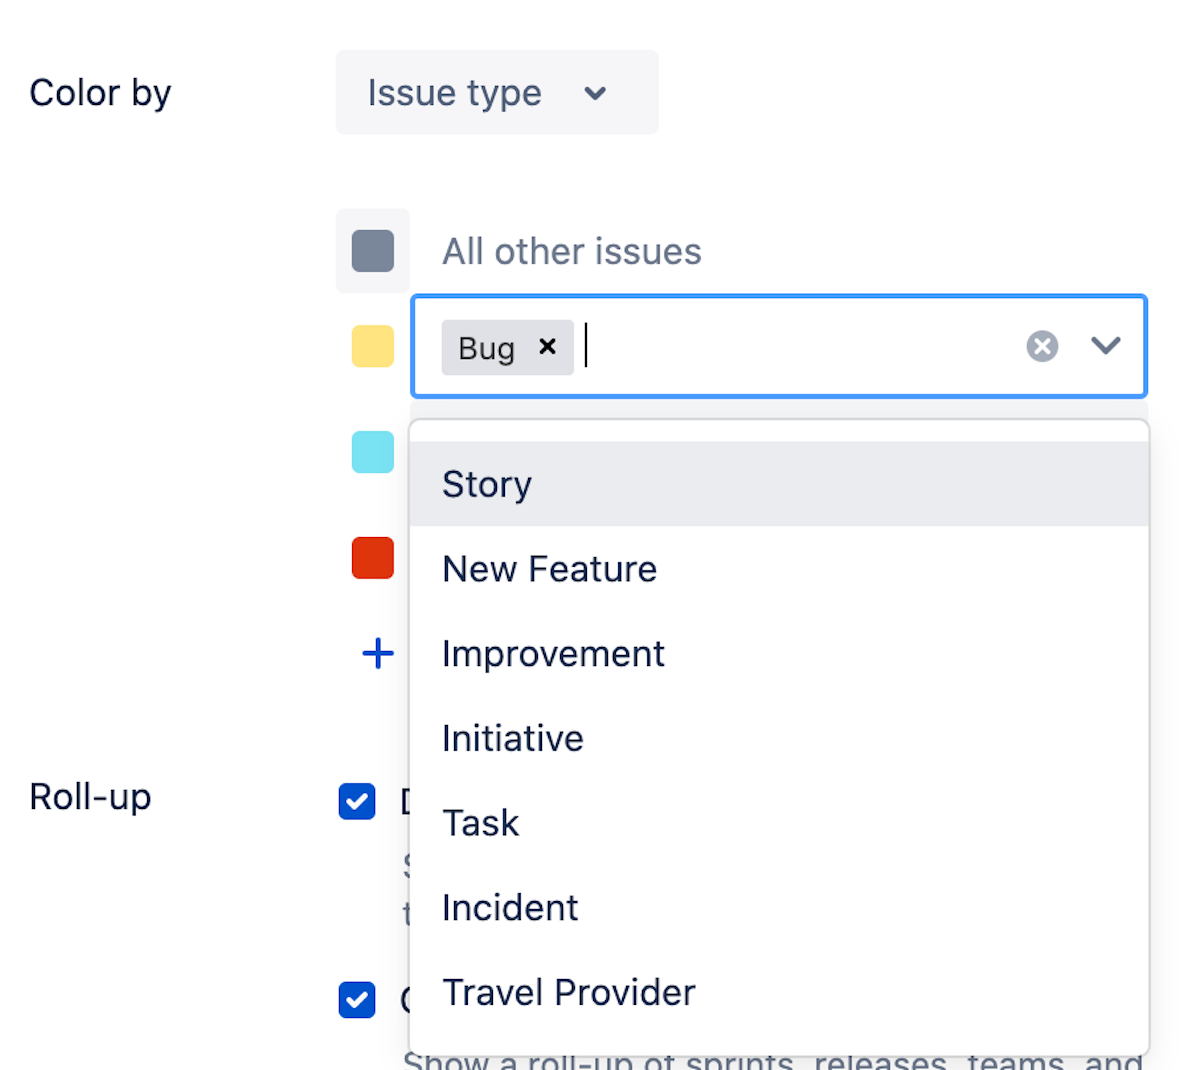
Use the Color by menu to choose an option.
For options that allow you to pick a color, click + Add color to choose one.
Use the dropdown menu to choose one or more options for that color:
- When you’re done, click View settings again to close the menu.
Return to this menu when you want to update or change the color-by settings applied to your plan. There’s also an option to Clear all colors.
To switch back to the default gray, click the Color by menu and select None.