Migrating Jira applications to another server
This document describes how to migrate and then upgrade to Jira applications on different server hardware or in a different server environment that entails one or more of the following:
new operating system
new locations for storing your index and/or attachments jira-config.properties
new database or database system
To migrate Jira to a new server or location, you'll need to install a new Jira instance. Once you've completed the installation, you'll migrate your existing data between the databases, and then move your home directory and all existing customizations.
This guide describes how to migrate Jira by copying your existing Jira home directory and configuration to a new server. If you're installing a fresh Jira instance and plan to use it as a new environment, without migrating your previous data or customizations, follow the standard Jira installation guide.
Perform pre-migration checks
Check your license. Verify that your license support period is still valid.
Check for known issues. Use the JIRA Knowledge Base to search for any issues in the new version that will affect you.
Check for compatibility:
Confirm that your operating system, database, other applicable platforms, and hardware still comply with the requirements for Jira applications.
Make sure the source and target instances are initially set with the same timezones to avoid any issues with date and time fields.
If you have installed apps that aren’t included with Jira applications, verify that these apps will be compatible. You can find an app's compatibility information from the app's home page on the Atlassian Marketplace. You can also follow the procedure outlined here: Checking app compatibility with application updates to have the Universal app manager help you with this.
We strongly recommend performing your migration in a test environment first. Do not migrate your production Jira server application until you are satisfied that your test environment migration has been successful.
If you have any problems with your test environment that you can't resolve, create an issue at our support site so that we can assist you.
If you have any problems during the migration of your production Jira server application, do not allow your users to start using this server. Instead:
Continue to use your old Jira server application — this will help ensure that you do not lose production data.
Create an issue at our support site so that we can help you resolve the problems with your migration.
Back up your data
Before you proceed, keep in mind that if you're changing your operating system from Windows to Linux, or vice versa, remember that you will need to reverse the “slashes” when required in your file paths ('/' to '\', or '\' to '/').
Back up your database
Create a backup of your database by following instructions from these guides:
Back up your Jira home directory
Shut down Jira.
Locate the Jira home directory. You can find information about the location of the directory by navigating to the
<jira-application-dir>/WEB-INF/classes/jira-application.propertiesfile in your Jira application installation directory. Alternatively, you can open the Jira configuration tool to see the directory that is set as your Jira Home.Navigate to the directory specified in the configuration file and create a backup of it in another directory. After the migration, this new directory will be used as your Jira home directory.
After the backup is complete, delete the
<home-directory>/dbconfig.xmlfile from your existing home directory. This will remove the existing connection between Jira and your database, and allow you to connect to a new database.
Back up your Jira installation directory
Installation directory contains the Jira application files and libraries that were extracted when Jira was installed.
Back up your attachments and index directories if located outside your Jira home directory
If the attachments and index directories are located outside of your Jira home directory, you must back them up separately. These pages describe how to find out where these directories are located in your implementation:
Your attachments directory. See Configuring file attachments page in the documentation for your version of Jira.
Your index directory. See Search indexing for your version of Jira.
For more information about backing up attachments in Jira, see Backing up data.
Migrate Jira to a new server
If you also want to upgrade your Jira Service Management during the migration process, first upgrade your Jira Core or Software only. After this, you'll later upgrade your Jira Service Management directly in Jira, without a separate installer.
See Upgrading Jira applications for information on the pre-requisite tasks you need to complete before upgrading.
Download Jira
Download one of the Jira applications from our website. Choose the zip or tar.gz archive.
Start the migration
Stop your existing Jira instance.
Copy the backup of your existing Jira Home Directory from the old server to the new server.
Extract (unzip) the archive you’ve downloaded to a newly created directory on the new server that you’re migrating to. This is the new installation directory, and it must be different from your existing installation directory.
After you’ve located a new Jira installation on the new server, edit the following file:
<installation-directory>\atlassian-Jira\WEB-INF\classes\jira-application.propertiesIt must point to your Jira home directory on the new server. If you are moving to a new database server, make sure to modify the
dbconfig.xmlfile on the new server by by changing the connection parameters. Otherwise, Jira will try to connect to your existing database.(Optional) If you use Crowd for user management, complete these extra steps.
Install the database driver
If you're using an Oracle or MySQL database, download a new JDBC driver. For other databases, you can omit this step. For instructions on how to connect Jira to a new database, see Connecting Jira applications to a database.
If the driver is up to date, you can also copy it from your previous version.
- Download one of the following drivers:
- Oracle: JDBC driver 12.2.0.1.
- MySQL: the latest JDBC driver.
- Place it in
<installation-directory>/lib.
Re-apply any modifications to Jira files
While using Jira, you’ve probably added some custom modifications to Jira files. These may include connection details, settings related to memory allocation, or other JVM arguments. In this step, you need to re-apply the same modifications to the new files by copying them from your backups.
If you made any custom modifications to Jira files, make sure to apply those changes to the files on the new server.
Some of the files we usually modify:
server.xmldbconfig.xmljira-config.propertiessetenv.sh/setenv.bat(memory allocation and other JVM arguments)- for more, see Important files in Jira
See Important files in Jira for a complete list of commonly modified files and their locations within your Jira Installation Directory.
Start Jira for the first time
Verify that your old Jira installation is shut down before proceeding. If this Jira server is still operating, shut it down.
Start your new Jira version, and connect it to the database.
- Go to
<installation-directory>/bin, and run one of the following files:- Windows:
start-Jira.bat - Linux:
start-Jira.sh
- Windows:
- Open Jira in your browser.
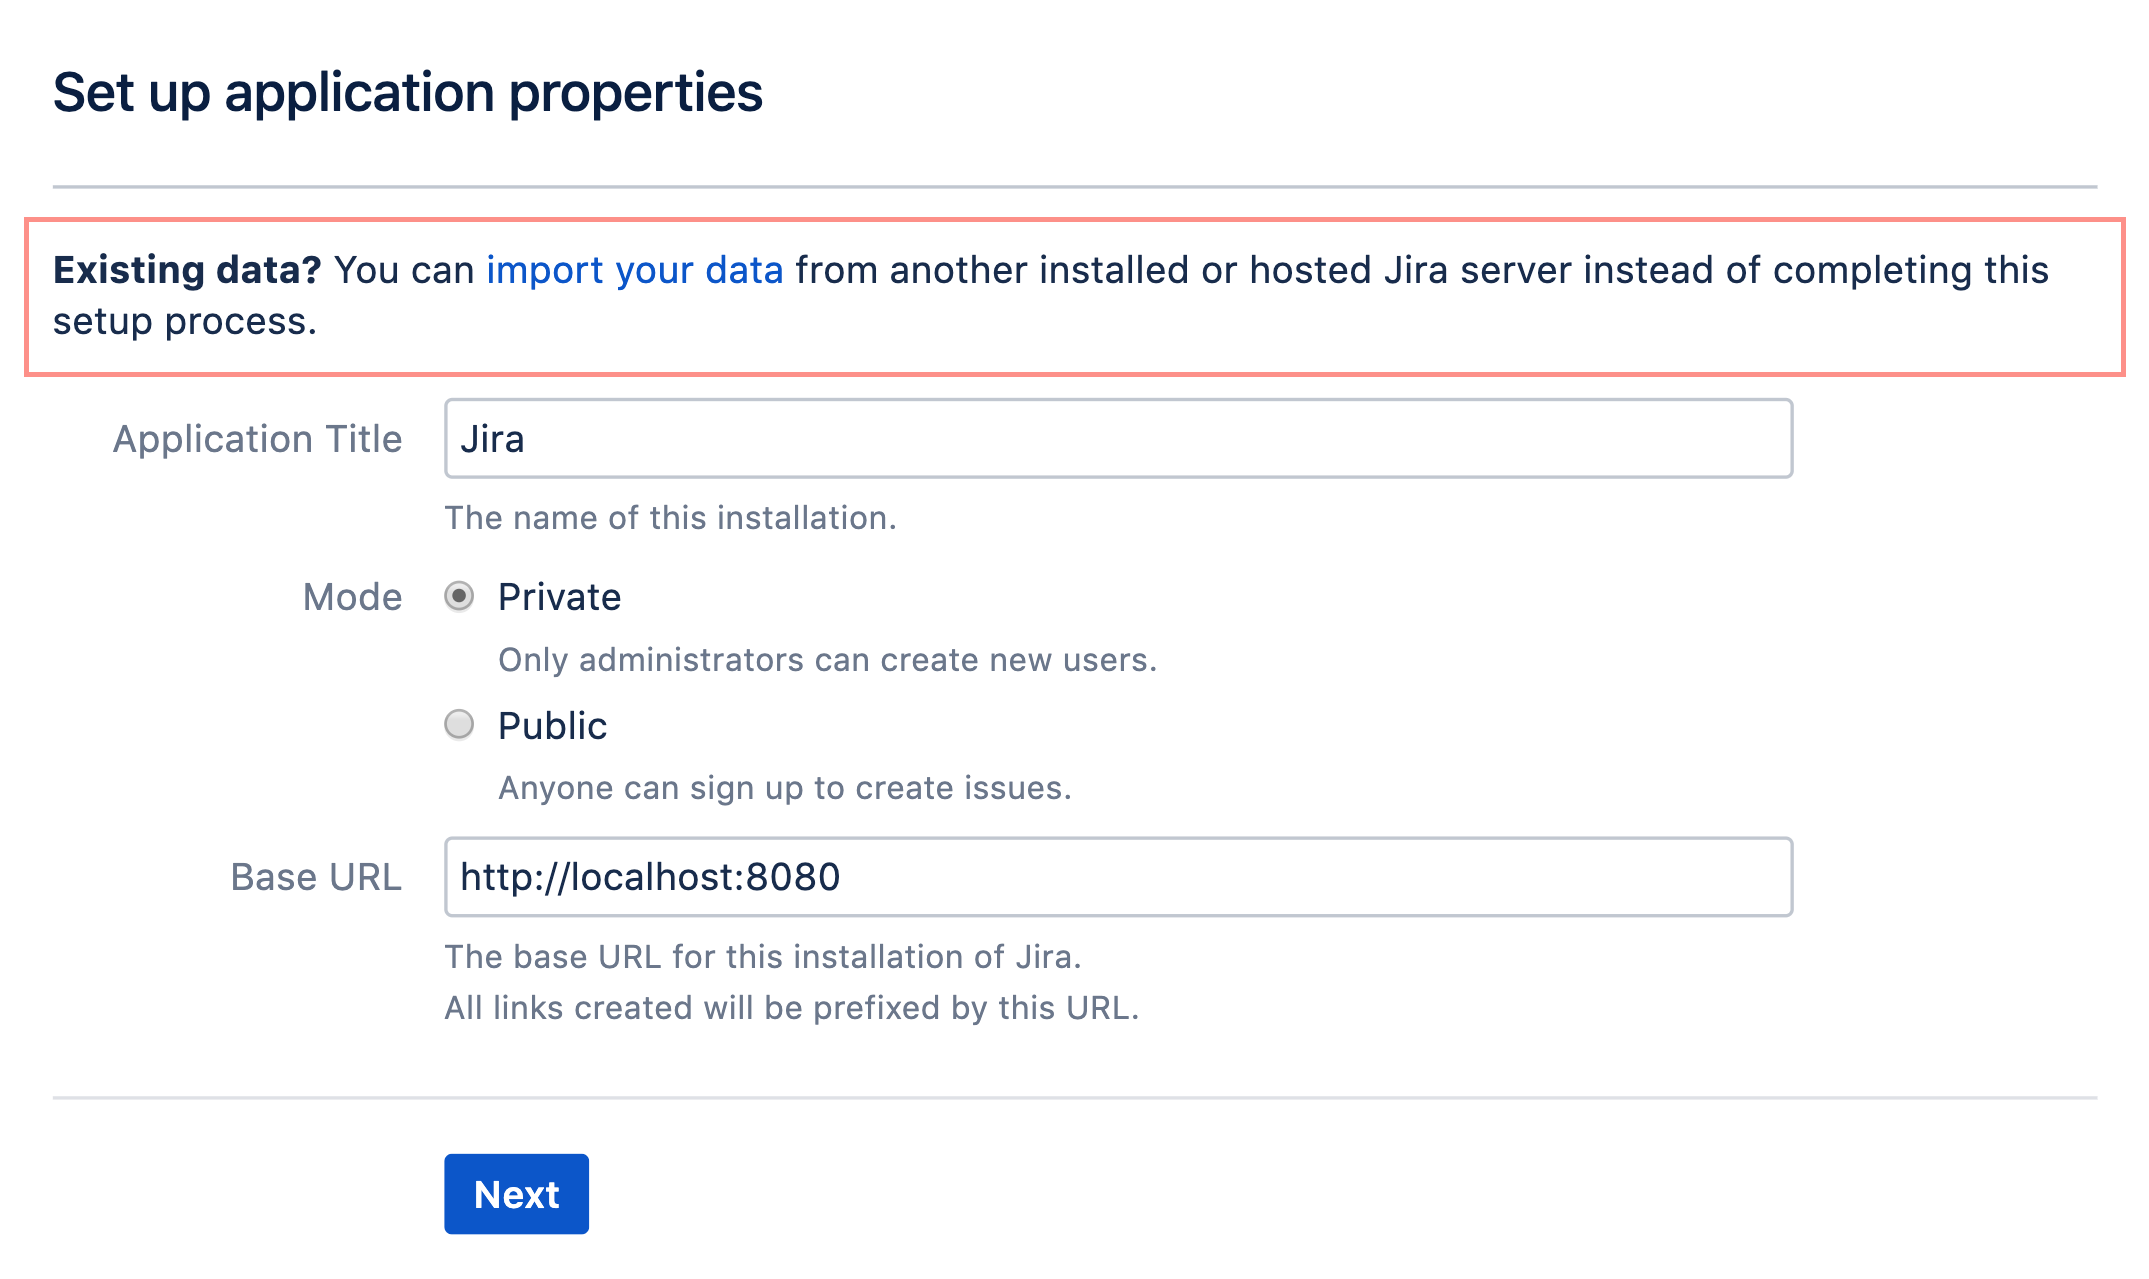
- When prompted, select I'll set it up myself to get access to more setup options, which are outlined in the following sections.
Restore backed-up data and attachments
If you aren’t reusing your old database, connect the Jira to the new one. In the Set up application properties dialog, select My own database, and provide details of a new, empty database.
On the next screen, select Import your data, and select the file with your data backup. Avoid passing through a proxy when importing your data, especially if your Jira instance is large. Using a proxy may cause timeout errors.
Follow instructions on the screen to complete the setup.
- It’s time to unpack your backed up attachments. Check the following guides for instructions:
Perform post-migration checks and tasks
It is strongly recommended that you perform the following checks and tasks after you have started your new Jira application instance:
Check your server logs for error messages, even if Jira applications appear to be running correctly. If there are any errors there that you cannot resolve, create a support case, attach your log file, and we will advise you on the errors.
If you were previously using External User Management, enable it in the new Jira application instance.
If you changed machines when upgrading, change the paths to the indexes, attachments, and backup directories, from within your application's Jira Administration section.
Enable email, if you disabled it during testing.
If you migrated any customizations from your old to new Jira applications, ensure that they are tested thoroughly.
If you had downloaded plugins for the new Jira application versions, install the downloaded JAR file(s) in your new version and carry out any other required installation for the plugin.
If the plugin has a properties file, apply the same changes to it as you had in the old properties file (don't just copy over the old properties file).
Almost there!
Your Jira instance has been migrated. Below you can learn how to upgrade Service Desk, if you have it, and how to upgrade your apps.
(Optional) Update Jira Service Management
If you're using Jira Service Management, you can update it directly in the , without downloading a separate installer.
- In the upper-right corner of the screen, select Administration
 > Applications.
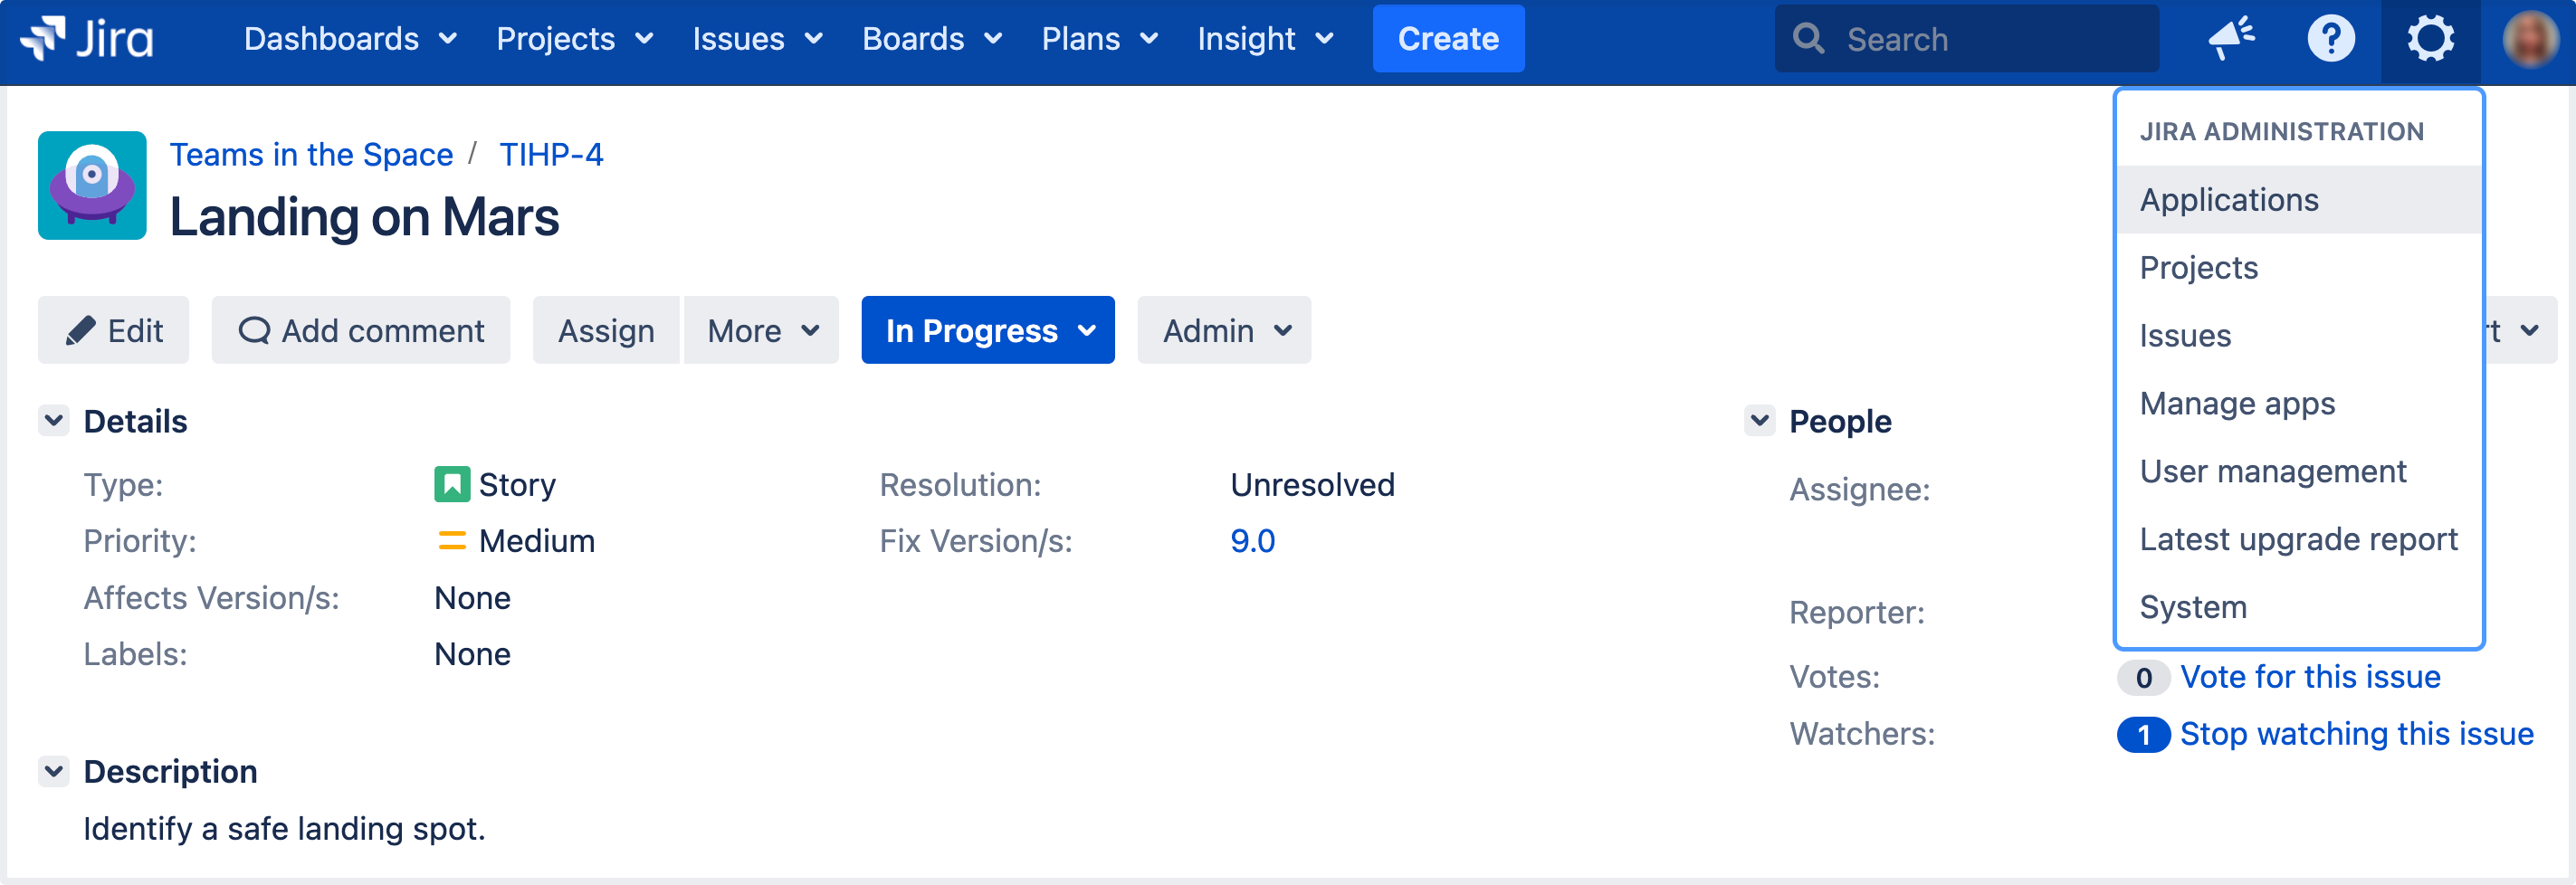
- On the Versions and licenses page, select update Jira Service Management. This will automatically update Service Management to a compatible version.
Upgrade apps (add-ons)
Upgrade your apps, so they're compatible with the new version.
- In the upper-right corner of the screen, select Administration > Applications.
- Go to Manage apps and under Atlassian Marketplace (left-side panel) select Manage apps.
- Upgrade your apps to the supported versions.
Rebuild index
Your old index is incompatible with the new version, and will be deleted by Jira. Run the reindex to rebuild it from scratch. This step might take some time, depending on how many issues and apps you have.
- In the upper-right corner of the screen, select Administration, then System.
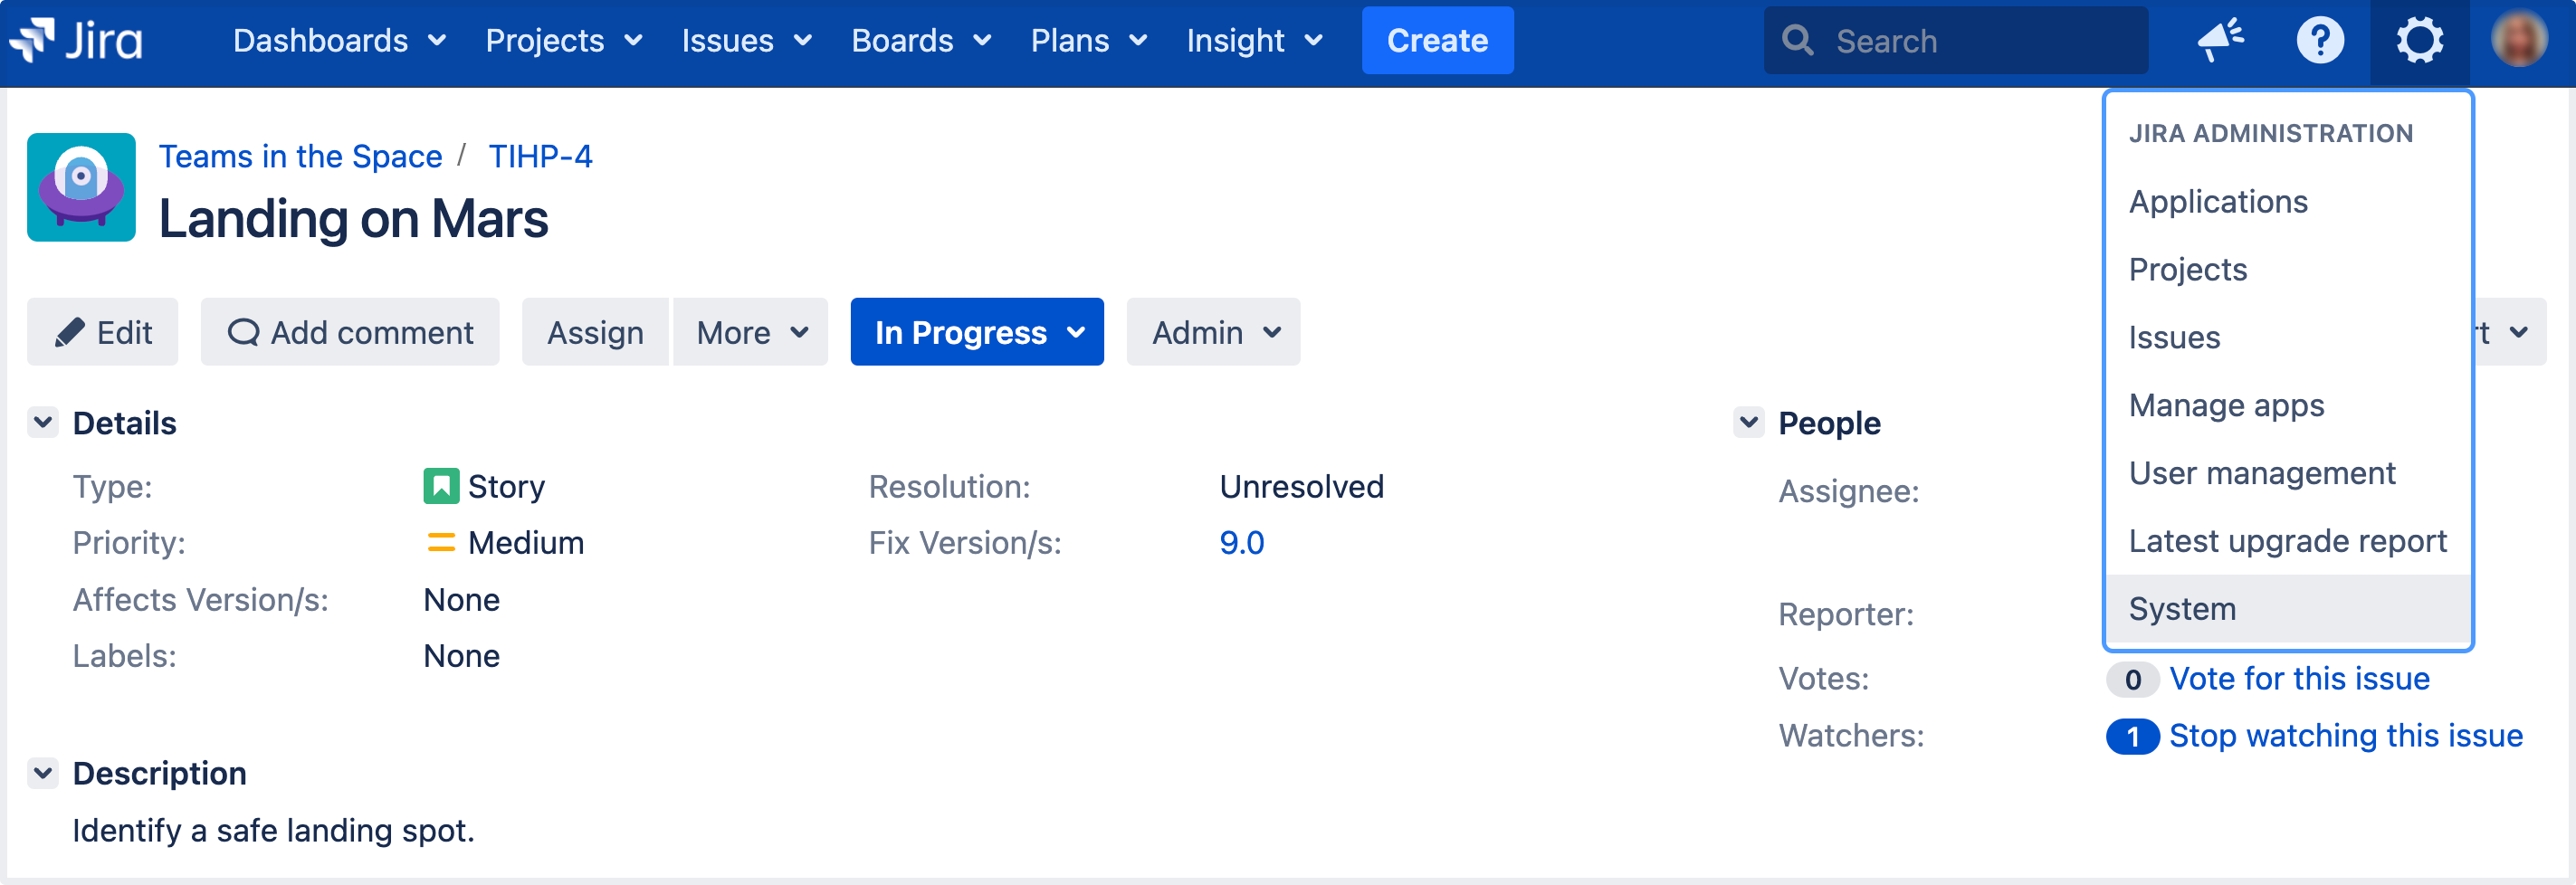
- Under Advanced (left-side panel), select Indexing.
- Run Full re-index.