Customizing the issues in a project
Issues are the packets of work that need to be completed in a project. They are made up of issue fields, and these fields contain important data about the issue such as a summary, description, due dates, and when and where the work is required. This information is presented on a screen.
A screen groups together all available fields (or a subset of fields) and organizes them for presentation to a user. Learn more about Jira screens
Options for customizing issues
Jira Service Management allows you to customize the configuration and behavior of issues to better suit the needs of your customers and agents.
You may choose to:
- Change a field's behavior (such as change a field's description, make a field hidden or visible, or make a field required or optional)
- Add your own values for fields that have default values assigned (e.g. Resolution and Status)
- Create custom fields. Learn how to add new fields to Jira
- Configure different renderers for some fields. Learn more about field renderers
- Change the position fields on a screen
- Choose which screen should be displayed for each issue operation (e.g. create or edit issue) or workflow transition (e.g. resolve or close an issue)
A simple example of how customizing an issue could benefit your team could be marking fields as "Required" when an issue is created. Learn how to configure fields behavior
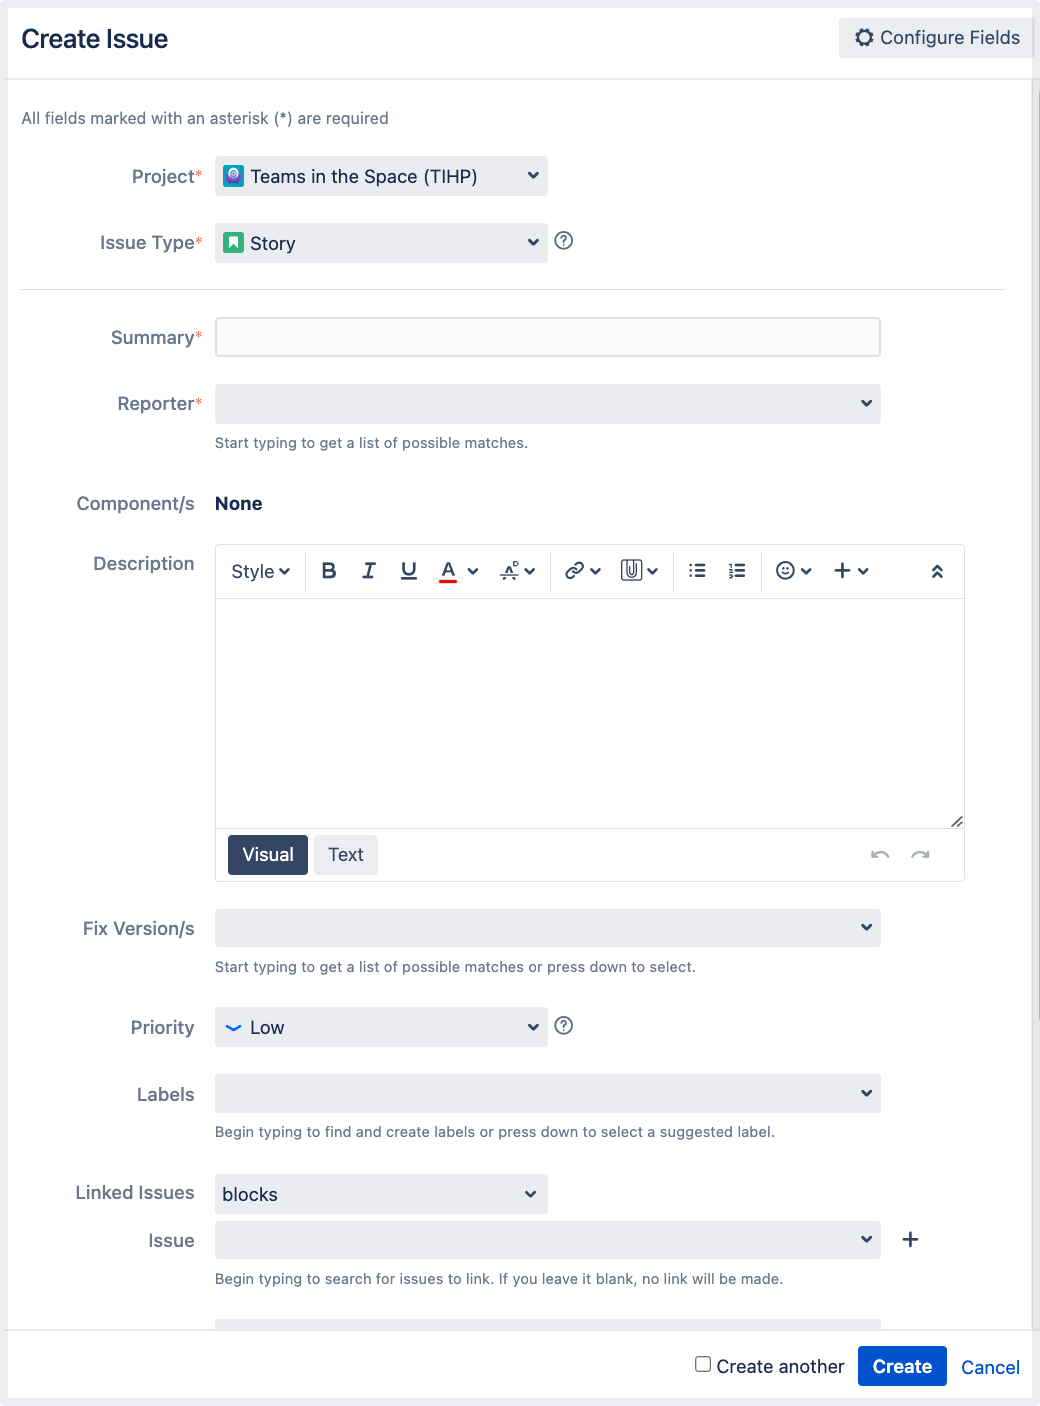
By using required fields, you always capture the necessary information you need to get the work done and resolve the issue. If you couple this functionality with positioning the required fields at the top of the screen, and even hiding fields you know the issue creator won't use, you'll make sure that your users can see and complete the required fields as quickly as possible.
You can turn this...
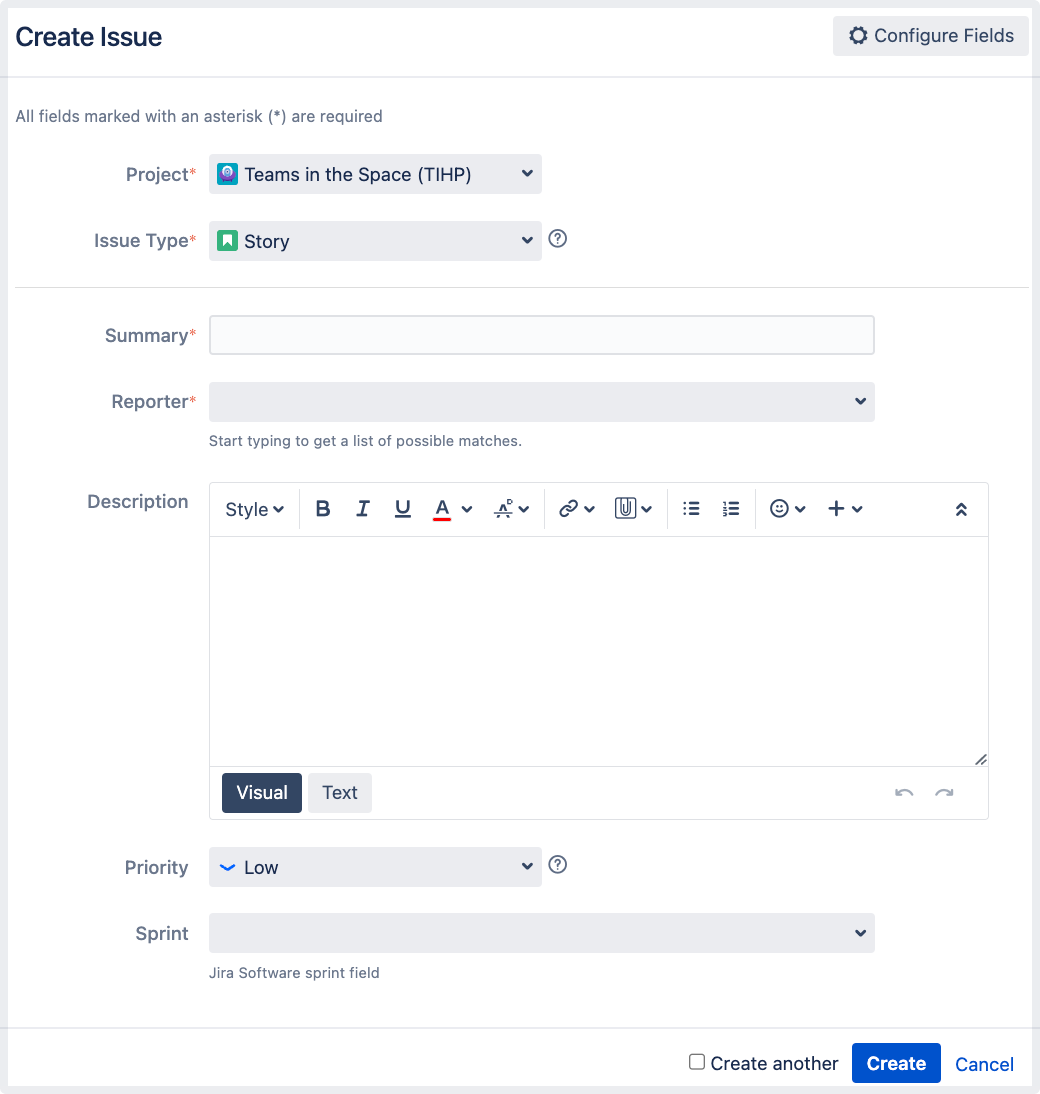
into this...
Jira administrators and project administrators have different permissions when it comes to customizing issues. Learn more about permissions in Jira
How project administrators can configure issues
As a project administrator, you can customize some aspects of the issues in your project if:
- you have the Extended project administration permission, which is enabled by default (you can check that in Project settings > Permissions)
- the screens that you modify aren’t used by other projects or as a transition screen in a workflow
- the screen isn't the default Jira screen (no one can edit these screens)
If a screen is shared with another project, you'll see this information when you view the screen.

If your screen suits the preceding criteria, you can:
- add and remove tabs that will appear on a screen, as well as edit the name of the tab
- add, remove, and rearrange system fields
- add, remove, and rearrange existing custom fields, but not create custom fields
Editing screens for issue operations
Open the Projects dropdown and choose the project whose screens you want to manage
- In the project sidebar, select Project settings
- In the Project settings sidebar, select Screens
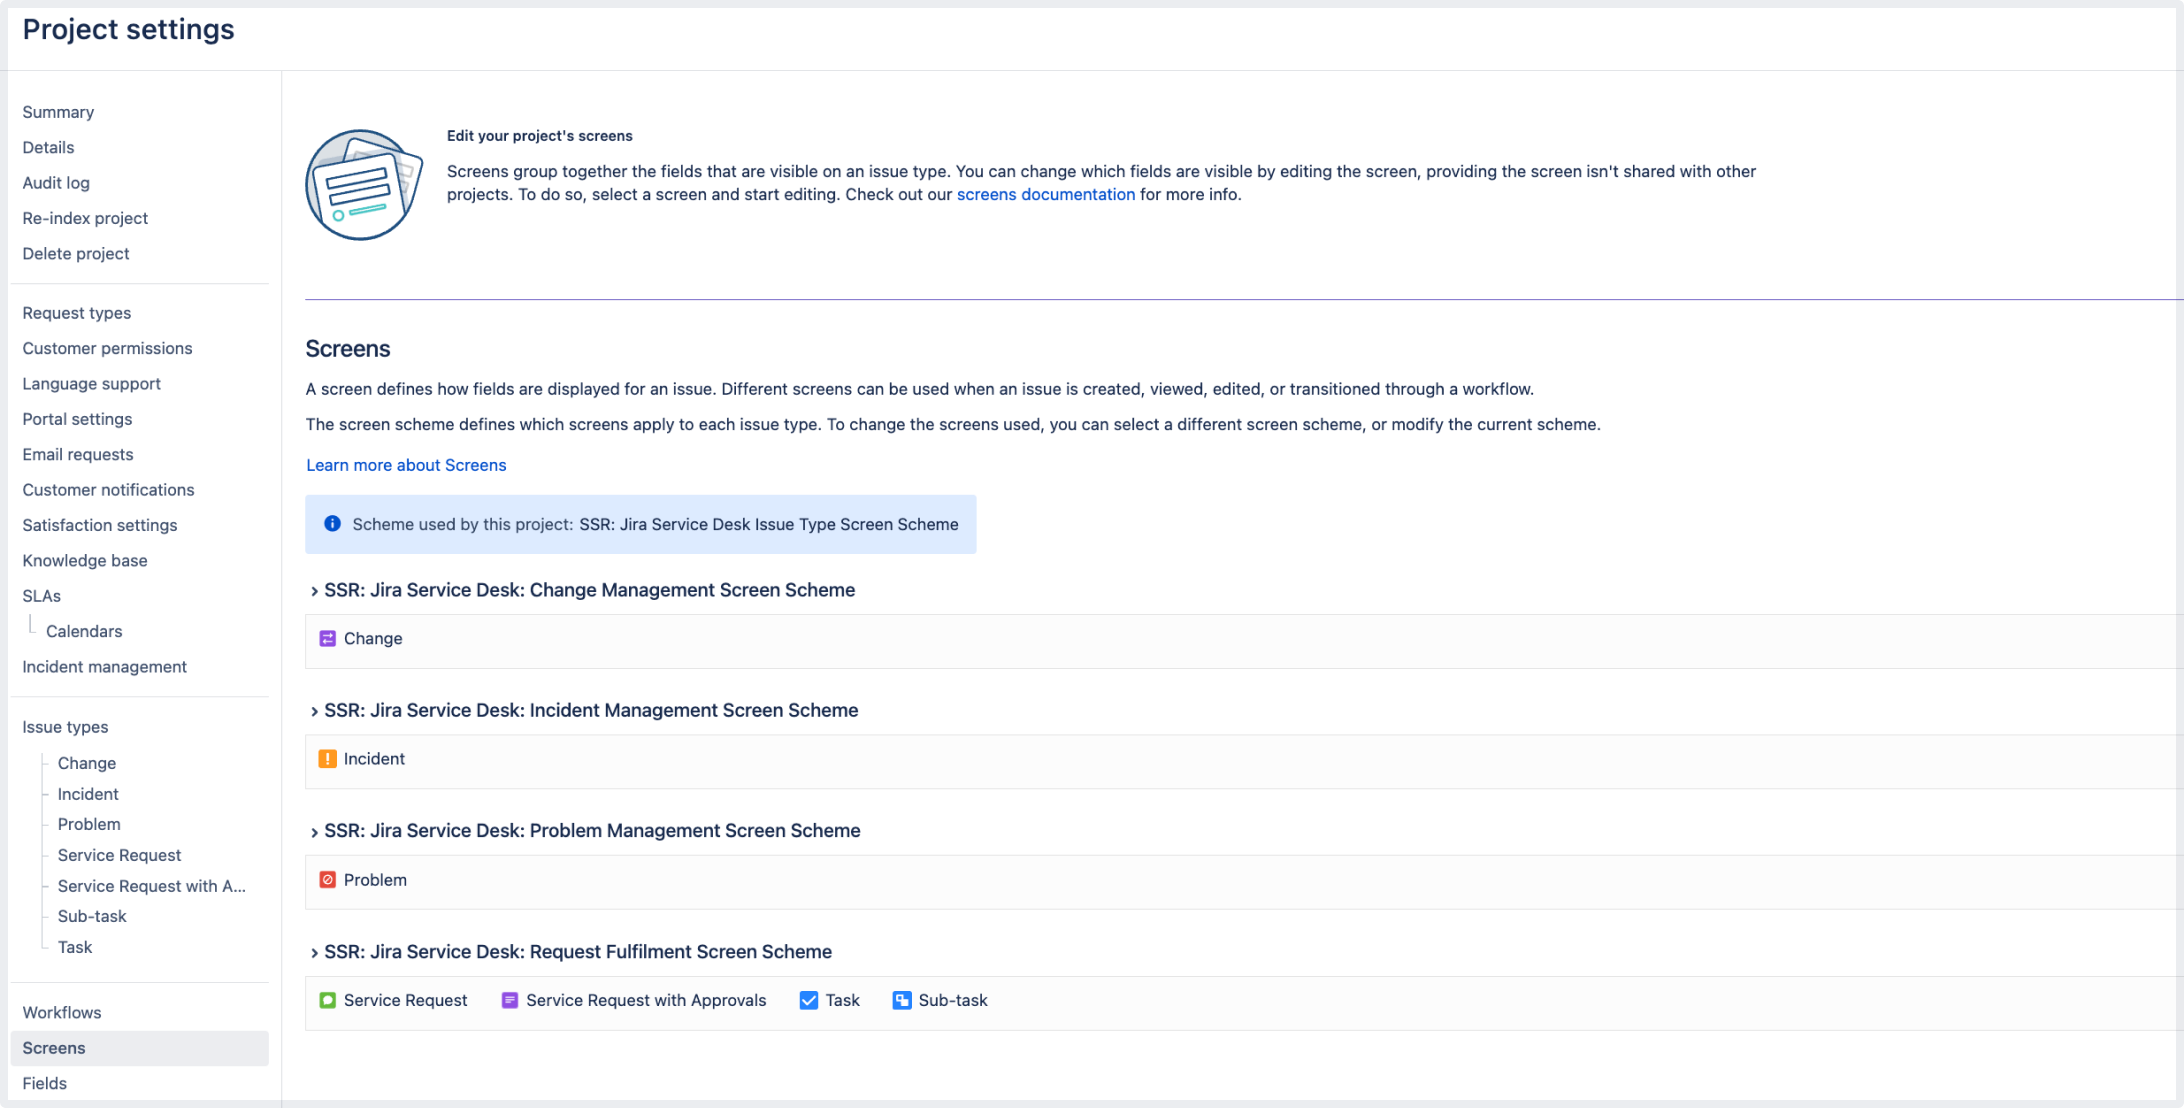
You'll see the screen schemes used by your project, and the issue types that use that scheme.
To view the screens associated with that scheme and issue types, expand the screen scheme section. Select the screen name to open the screen configuration.

Field tab — this is how you can group related fields together.
Show when empty toggle — when enabled, empty custom fields will be visible in the issue view.
Alternatively, you can configure project screens from the Issue types tab in the project settings. After you select the issue type you want to configure screens for, you’ll see the same screen configuration page.
You can perform the following operations on the screen configuration page:
Action | Instructions |
|---|---|
| Add a tab | Select Add tab |
| Move a tab | Hover over the dotted part of the tab (next to the tab name) and drag the tab to the desired position. |
| Rename a tab | 1. Hover over the tab name and click the pencil icon. 2. Enter the new name and click OK. |
| Delete a tab | Hover over the tab name and click the X. |
| Add a field |
|
| Move a field | Hover over the dotted part of the field (next to the field name) and drag the field to the desired position. Move a field to a different tab by dragging it to the name of the tab and dropping it. |
| Remove a field | Hover over the field and click the X that appears. |
| Display an empty field in the issue view | To make a custom field with no data visible in the issue view, turn on the Show when empty toggle. To hide an empty field from the issue view, turn the toggle off. Similarly to system fields, Jira will automatically set the “None” value for emty fields. |
How Jira administrators can configure issues
As a Jira administrator, you can view more conceptual information on customizing issues in the Jira administrator's documentation: