Info, Tip, Note, and Warning Macros
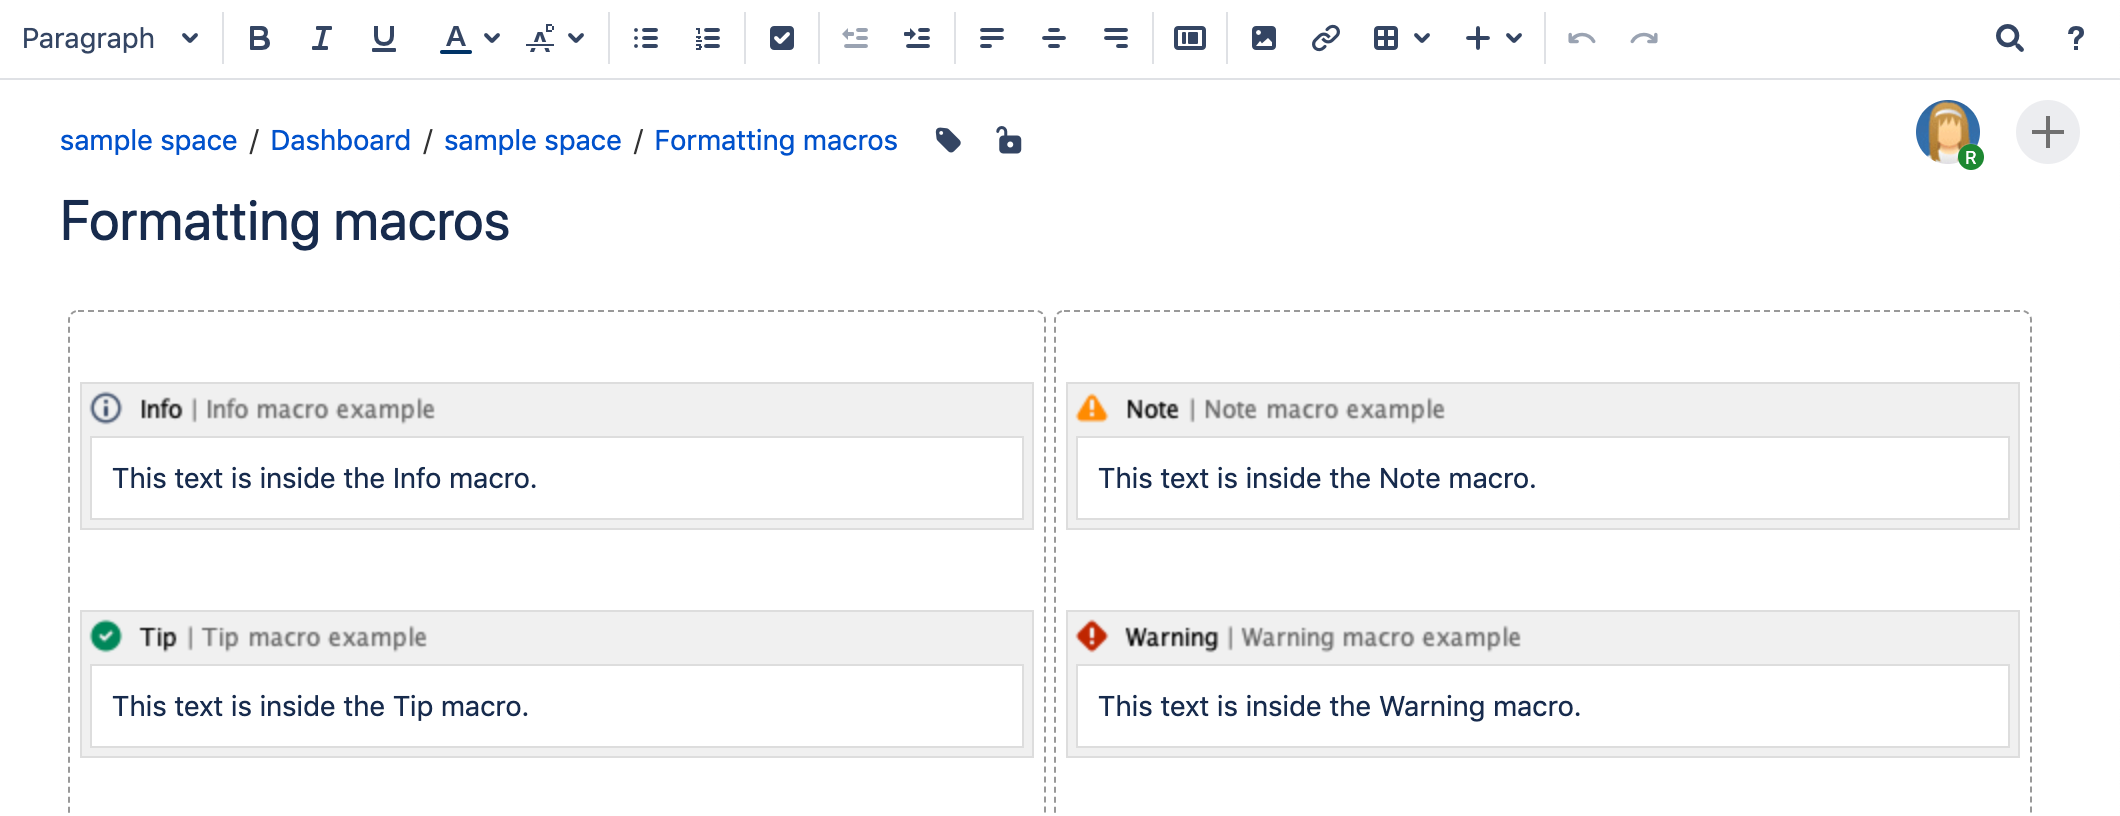
Screenshot: examples of the Info, Note, Tip, and Warning macros on a page
Want more control over the color of the boxes? Try the Panel Macro.
Add this macro to your page
To add the Info, Tip, Note, or Warning macro to a page:
- From the editor toolbar, select Insert , then Other Macros.
- Choose either Info, Tip, Note, or Warning from the Formatting categories.
- Enter a title for the panel.
- Choose Insert.
You can then publish your page to see the macro in action.
Screenshot: The Info, Tip, Note, and Warning macros in the editor.
Change the macro parameters
Macro parameters are used to change the behavior of a macro.
To change the macro parameters:
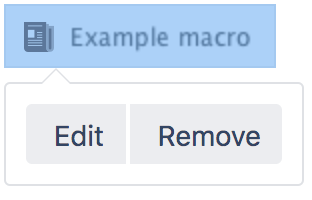
- In the editor, click the macro placeholder and select Edit.
- Update the parameters as required then select Insert.
Here's a list of the parameters available in this macro.
Parameter | Default | Description |
|---|---|---|
Optional Title | none | The title of the box. If specified, the title text will be displayed in bold next to the icon. |
Show information/tip/Exclamation Mark/Warning Icon | true | If "false", the icon will not be displayed. |
Other ways to add this macro
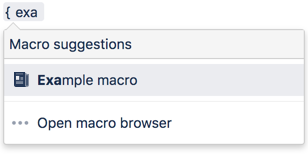
Add this macro as you type
Add this macro using wiki markup
This is useful when you want to add a macro outside the editor, for example as custom content in the sidebar, header or footer of a space.
Macro name: info/tip/note/warning
Macro body: Accepts rich text.
{info:title=This is my title|icon=false}
This is _important_ information.
{info}
Using Confluence Cloud? Head to Add formatting to your page if your info panel looks more like the one below.


