Roadmap Planner Macro
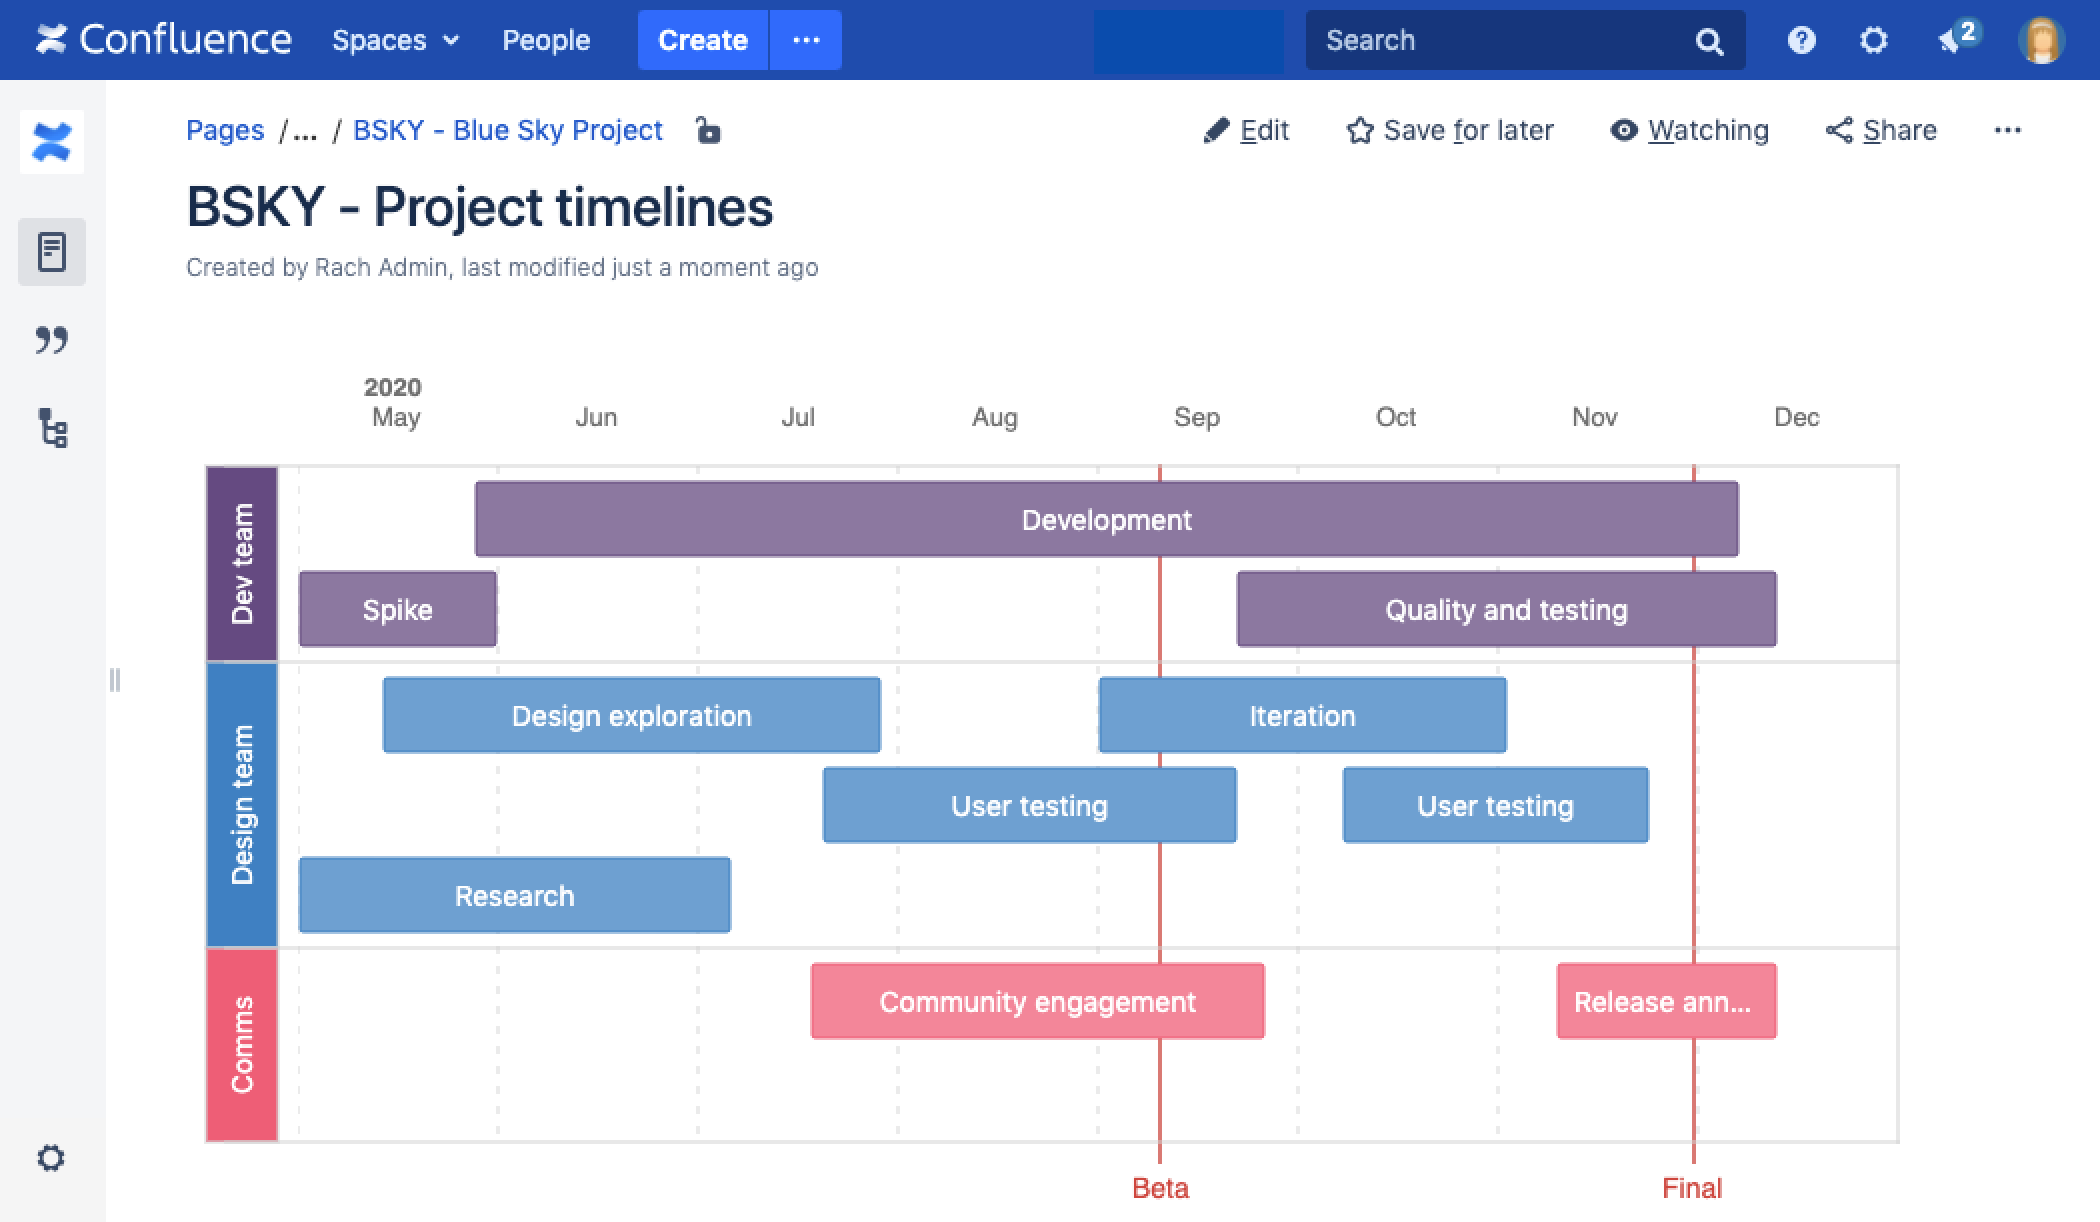
Screenshot: Page with a Roadmap Planner macro showing the various stages of a project.
Add this macro to your page
To add the Roadmap Planner macro to a page:
- From the editor toolbar, select Insert , then Other Macros.
- From the Visuals and images category, select Roadmap Planner.
- To add elements to the macro, select Add lane, Add bar, or Add marker.
- To specify the date range displayed in the planner, select an option from View by and provide the relevant dates.
- Select Insert.
To see the macro in action, publish your page.
Screenshot: Adding bars and markers to the Roadmap Planner macro in the editor.
- Add lanes to the roadmap
- Date range displays the plan by days, weeks, or months.
- Click on a bar to display to provide more info about a bar or link it to a page.
Editing your roadmap
To edit your roadmap:
Select the roadmap, then Edit.
- To add new elements to the roadmap, select Add lane, Add bar, or Add marker.
- Drag lanes, bars, or markers to the desired location on the roadmap.
- Select lanes, bars, or markers to add text, change colors, or remove them from the roadmap.
- Select bars to add links to existing pages, create new pages, or add descriptions.
- Set the start and end dates for the roadmap and choose to display it by days, weeks or months.
Change the macro parameters
This macro does not use the macro browser to set parameters. You also cannot add this macro via wiki markup or by editing the storage format directly.
Other ways to add this macro
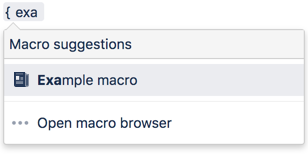
Add this macro as you type
Add this macro using wiki markup
You can't use wiki markup to add this macro.
Notes
The Roadmap macro was previously available from the Marketplace. The macro has changed significantly. If you have an older version of the macro, you can still view your existing roadmaps, but not edit them.
Do more with Confluence
To extend Confluence's roadmap capability, check out these apps on the Atlassian Marketplace:
- Live Roadmap: Build your Roadmap and keep it up-to-date by connecting it to your Jira
- ProductPlan for Confluence Server: Embed your roadmap in Confluence to keep your team aligned around high-level goals


