Office Excel Macro
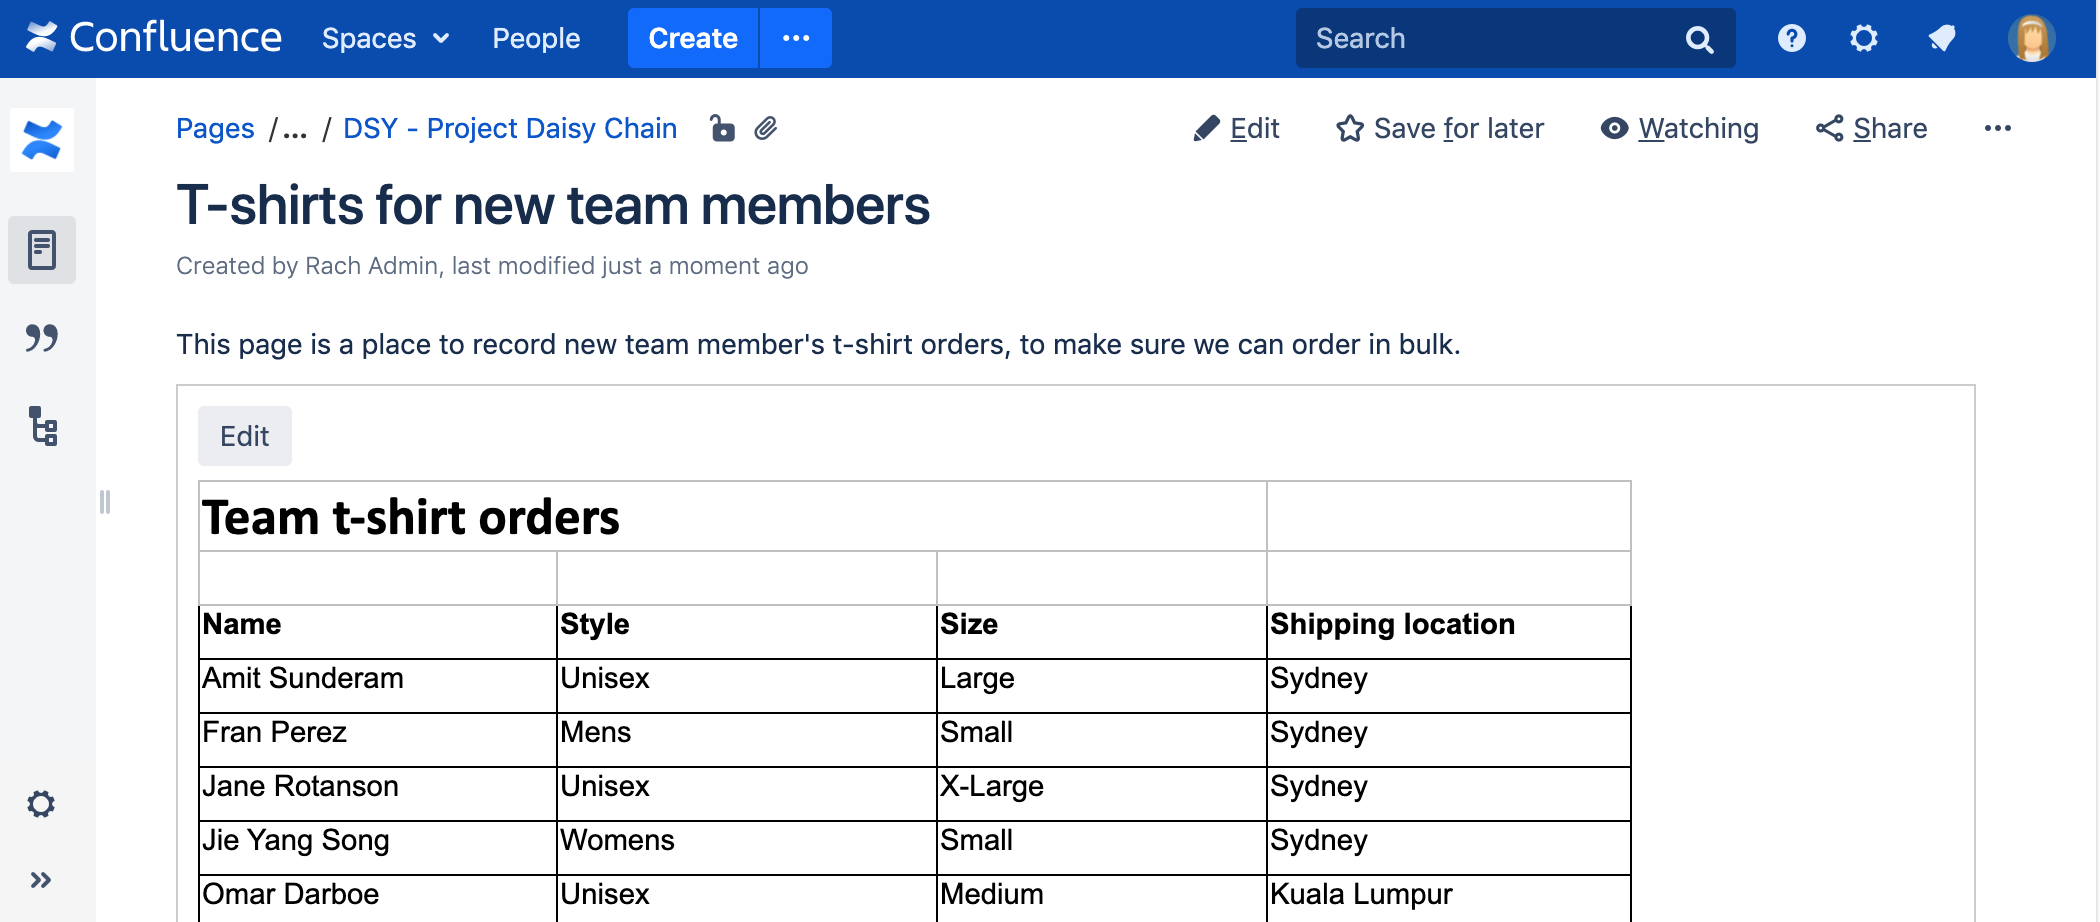
Screenshot: a page with an Office Excel macro displaying an Excel spreadsheet.
There are other ways to add a spreadsheet to your page:
- Insert the file directly into the page. We'll display a PDF thumbnail of the sheet. This is okay for simple spreadsheets but may not be suitable for complex or multi-sheet files.
- Use the Widget Connector Macro to embed a Google Sheet.
Add this macro to your page
The Office Excel macro supports files with the .xlsx extension. For the .xlsm files to be properly displayed, convert them to .xlsx.
To add the Office Excel macro to a page:
- Upload the Excel file to your page, then publish the page. See Upload Files to learn how to do this.
- From the editor toolbar, select Insert
 , then Other Macros.
 - Choose Office Excel from the Confluence content category.
- Select the attached file you want to display.
- Choose Insert.
You can then publish your page to see the macro in action.
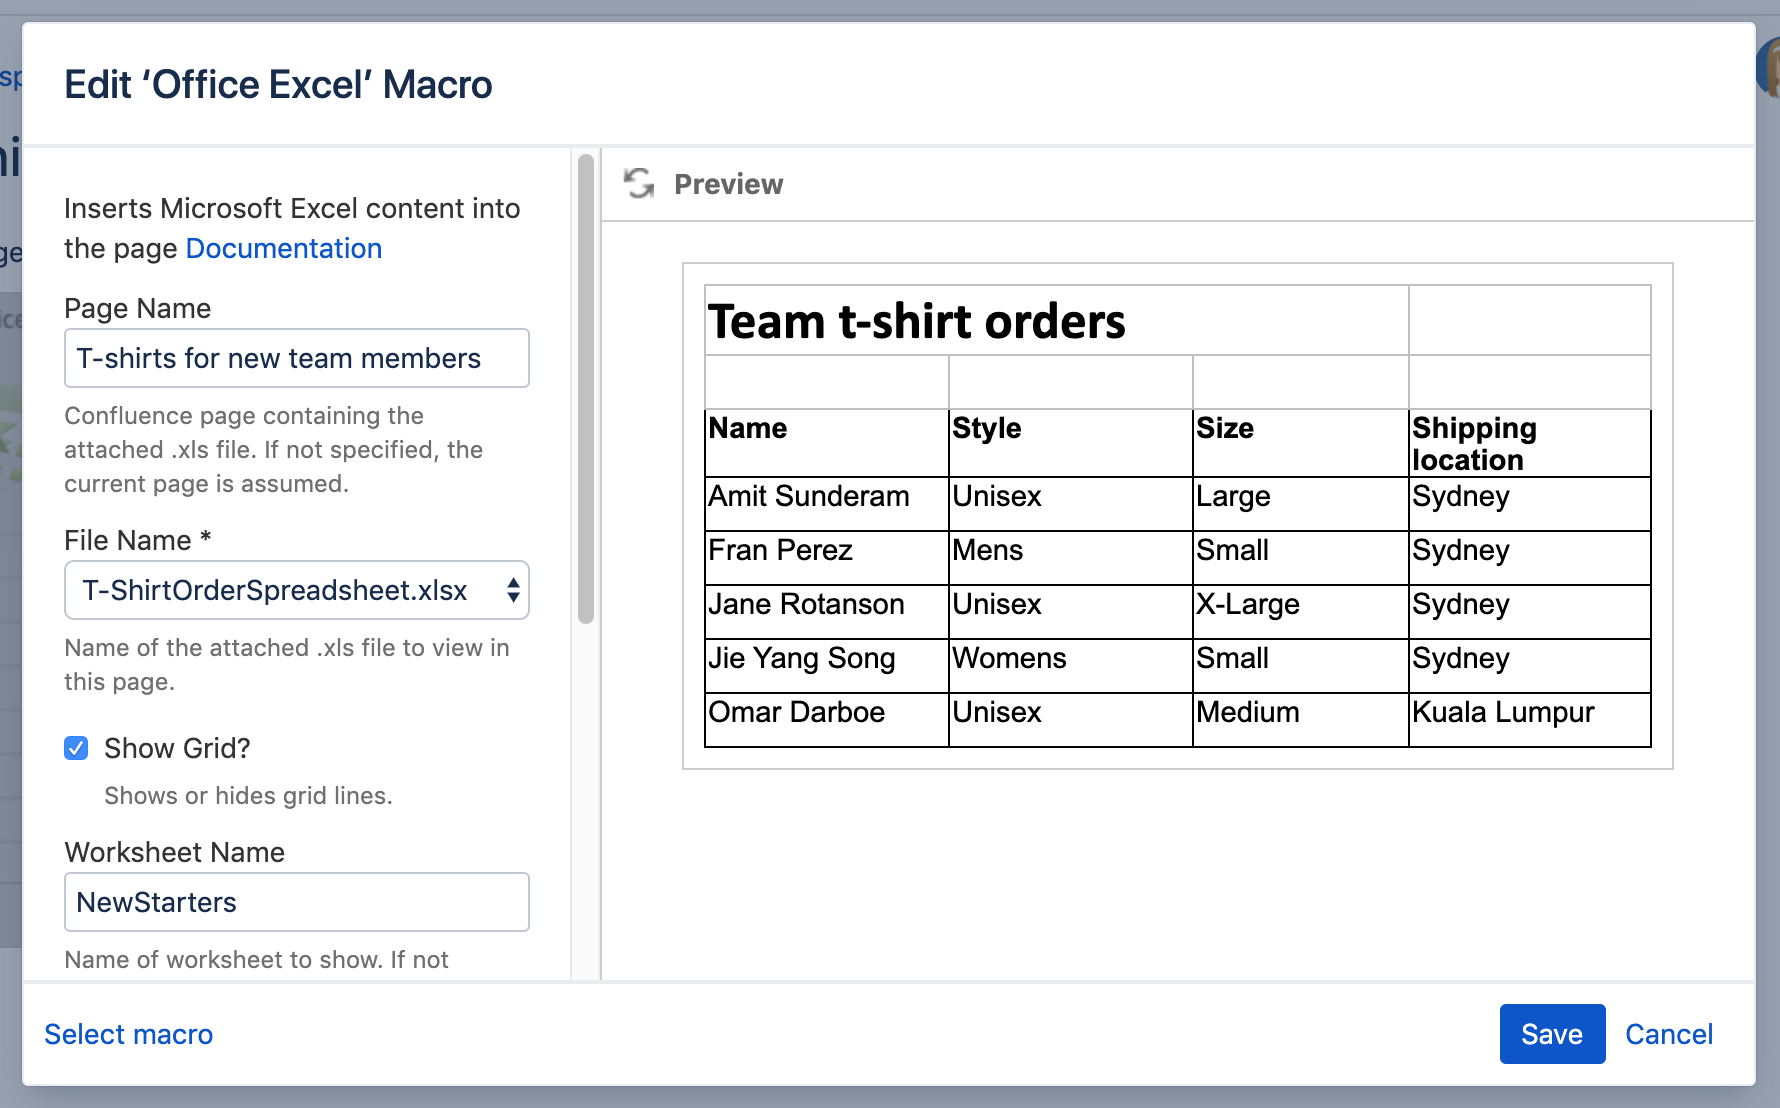
Screenshot: configuring the Office Excel macro in the macro browser.
Edit the attached file
If you have Excel installed, you can edit the attached file, and automatically re-upload the file back to Confluence.
See Edit Files for more information on the ways to do this.
Change the macro parameters
Macro parameters are used to change the behavior of a macro.
To change the macro parameters:
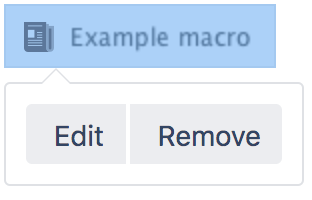
- In the editor, click the macro placeholder and select Edit.
- Update the parameters as required then select Insert.
Here's a list of the parameters available in this macro.
Parameter | Default | Description |
|---|---|---|
Page Name | The page which contains the macro | Enter a page name, if you wish to display a document which is attached to another Confluence page. |
File Name | none | The file name of the Office or PDF document to be displayed. The document must be attached to a page on your Confluence site. If the file does not appear, publish the page, then head back into the editor and try again. |
Show Grid? | true | Select to show grid lines around each cell of the Excel spreadsheet. Clear to hide these grid lines. |
Worksheet Name | Last worksheet viewed in the spreadsheet | The name of the worksheet that you want displayed. |
Last Row | Last row with content | The number of the last row you want displayed, starting from '0' as the first row. |
Last Column | Last column with content | The number of the last column you want displayed, starting from '0' as the first column. Hint for reducing the size of the spreadsheet: Use the Last Column and Last Row parameters to reduce the size of the spreadsheet displayed on the wiki page. This is especially useful to prevent the display from showing empty cells. This will also help to prevent 'out of memory' errors. |
Where the parameter name used in Confluence storage format or wikimarkup is different to the label used in the macro browser, it will be listed below in brackets (example).
Limitations
If your uploaded file does not appear in the File Name menu in the macro browser, you'll need to publish the page, and then hit Edit to return to the editor.
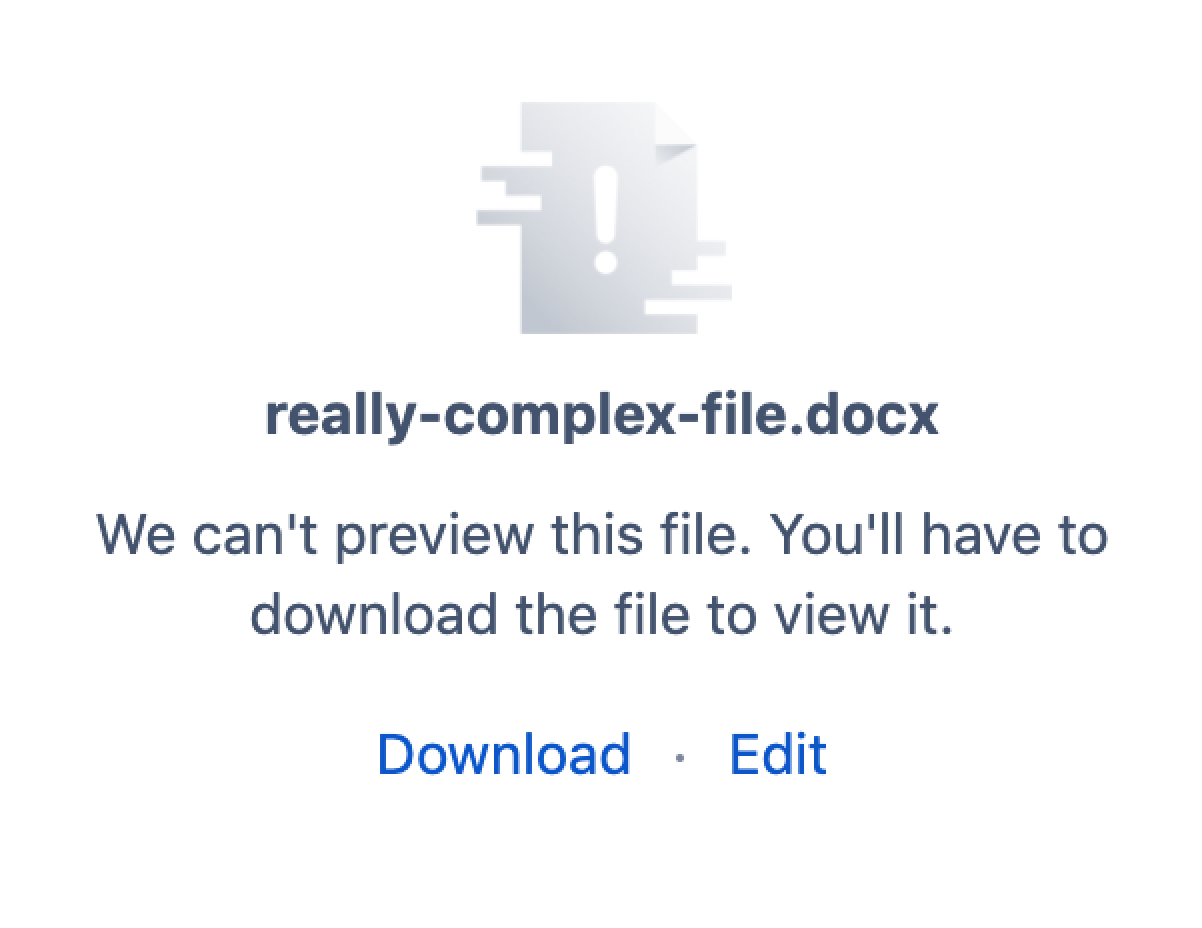
Rendering very large or complex files can put a lot of load on Confluence. For this reason, in Confluence Data Center we'll prompt you to download the file if we can't display with a set time limit. This limit varies depending on system properties set by your administrator, but is generally about 30 seconds. You can continue to view other content on the page while we attempt to display the file contents.
The Office Excel macro supports files with the .xlsx extension. For the .xlsm files to be properly displayed, convert them to .xlsx.
Other ways to add this macro
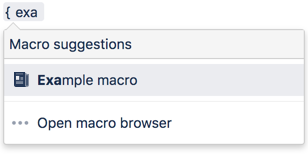
Add this macro as you type
Add this macro using wiki markup
This is useful when you want to add a macro outside the editor, for example as custom content in the sidebar, header or footer of a space.
Macro name: viewxls
Macro body: None.
{viewxls:col=5|page=Docs|name=My document.xls|grid=false|sheet=mysheet|row=5}